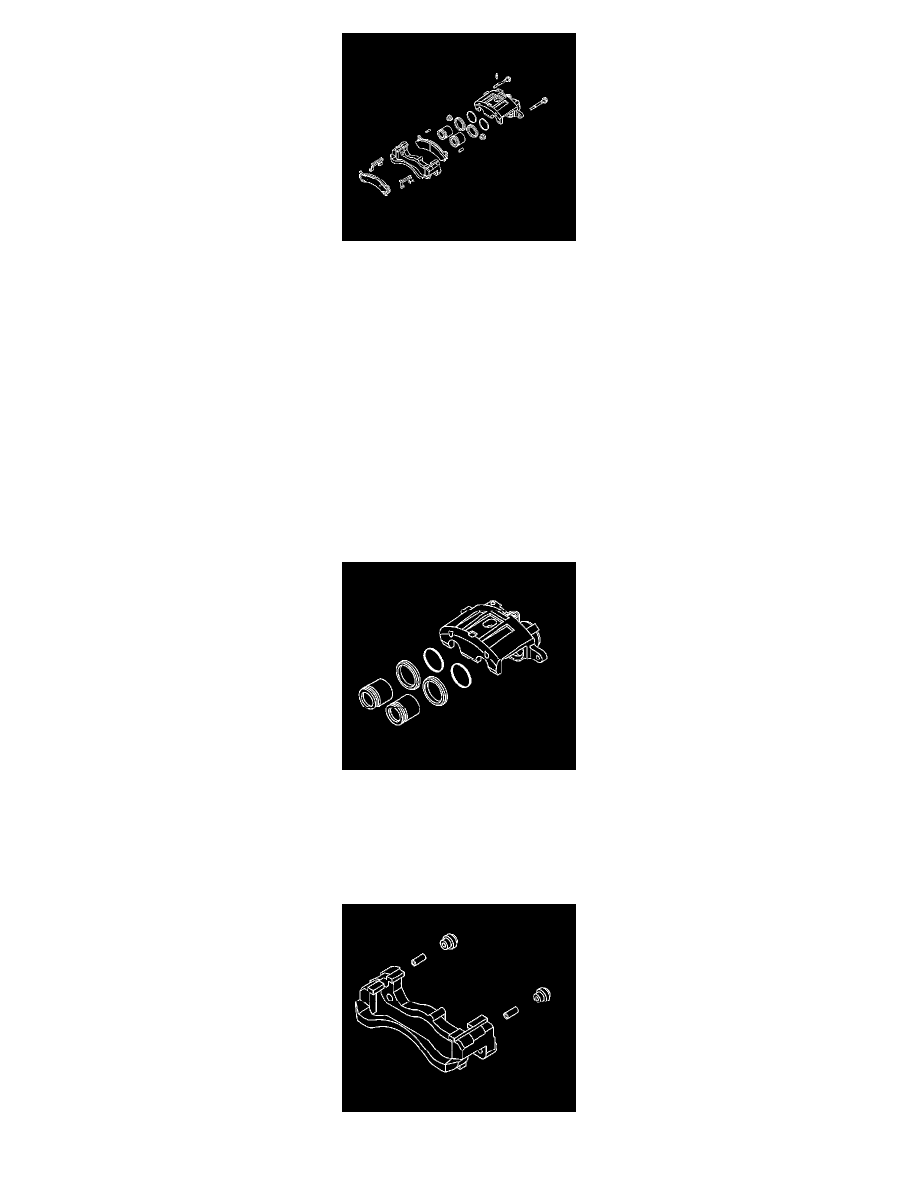
Express 3500 V8-4.8L (2007)

Important:
^
Replace all the components included in the repair kits used to service this brake caliper.
^
Lubricate the rubber parts with clean brake fluid to make assembly easier.
^
The torque values specified are for dry, non lubricated fasteners.
^
Perform the service operations on a clean bench, free from all mineral oil materials.
1. Remove the brake caliper from the vehicle.
Caution: Do not place your fingers in front of the piston in order to catch or protect the piston while applying compressed air. This could
result in serious injury.
2. Place a thin piece wood in front of the pistons in order to prevent damage. Remove the pistons by directing compressed air into the brake hose
inlet fitting port of the brake caliper housing.
3. Remove the 2 pistons.
4. Remove the 2 piston boots.
5. Remove the 2 piston seals.
6. Remove the brake caliper bleed screw cap.
7. Remove the brake caliper bleed screw.
8. Inspect the brake caliper bores and the piston seal grooves for scoring and corrosion. If you find excessive scoring or corrosion around the 2 piston
seal areas replace the brake caliper housing.
9. Inspect the brake caliper mounting bracket guide surfaces for corrosion and wear. Remove and replace the brake caliper mounting bracket if
