Express 3500 V8-4.8L VIN V (2005)

^
For vehicles equipped with JH6/JH7 brake systems, tighten the caliper bracket mounting bolts to 165 Nm (123 ft. lbs.).
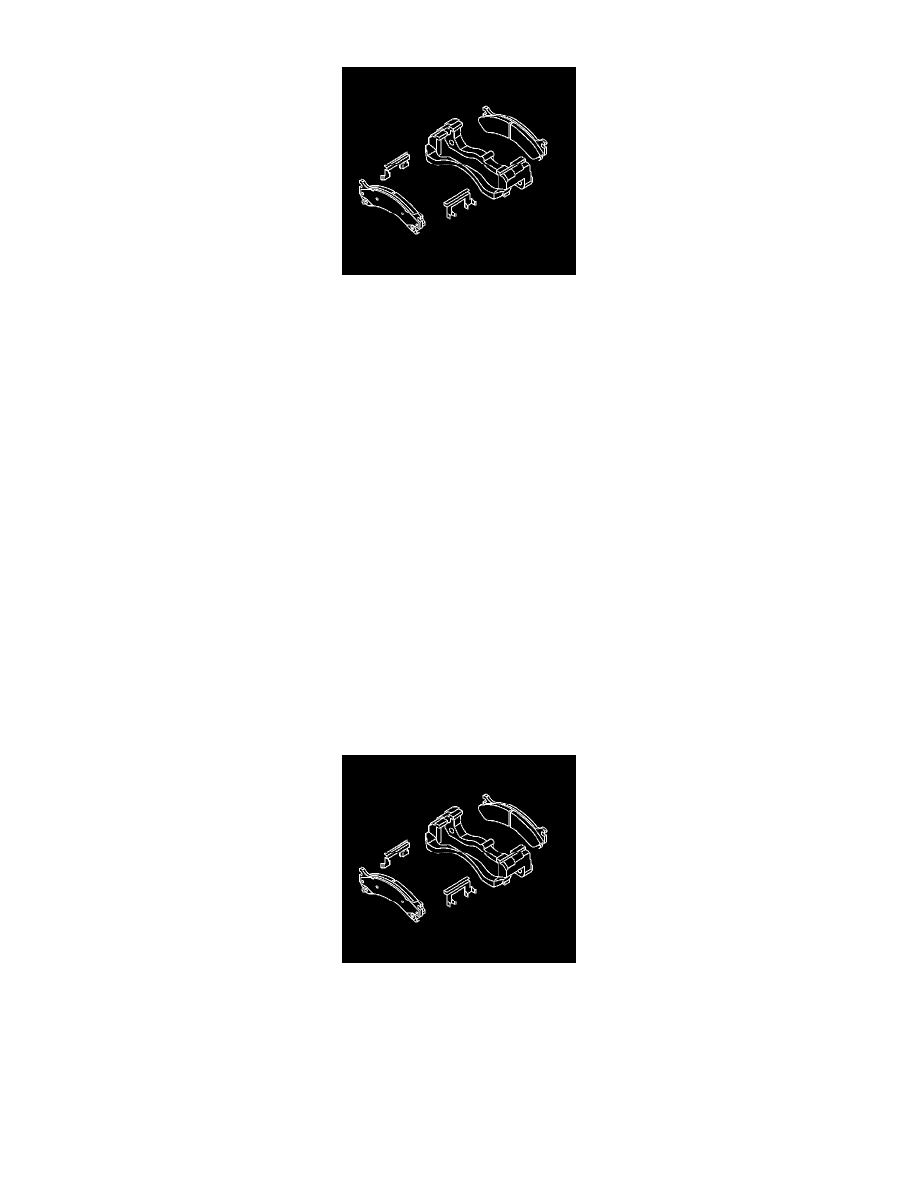
4. Install the anti-rattle clips to the brake caliper mounting bracket.
5. Install the brake pads to the brake caliper mounting bracket.
6. Slide the brake pads in until they contact the rotor.
7. Install the brake caliper.
8. Install the tire and wheel assembly.
9. Lower the vehicle.
10. With the engine OFF, gradually apply the brake pedal to approximately 2/3 of it's travel distance.
11. Slowly release the brake pedal.
12. Wait 15 seconds, then repeat steps 10-11 until a firm pedal is obtained. This will properly seat the brake caliper pistons and brake pads.
Disc Brake Hardware Replacement - Front
Disc Brake Hardware Replacement - Front
Caution: Refer to Brake Dust Caution in Service Precautions.
Removal Procedure
1. Raise and support the vehicle. Refer to Lifting and Jacking the Vehicle.
2. Remove the tire and wheel assembly.
3. Notice:
Support the brake caliper with heavy mechanic's wire, or equivalent, whenever it is separated from its mount and the hydraulic flexible brake hose
is still connected. Failure to support the caliper in this manner will cause the flexible brake hose to bear the weight of the caliper, which may cause
damage to the brake hose and in turn may cause a brake fluid leak.
Remove the caliper from the mounting bracket and support the caliper with heavy mechanic's wire or equivalent. DO NOT disconnect the
hydraulic brake flexible hose from the caliper.
4. Remove the disc brake pads from the disc brake caliper mounting bracket.
5. Remove the disc brake pad retainers from the disc brake caliper mounting bracket.
6. Inspect the disc brake hardware.
