
Express 3500 V8-4.8L VIN V (2005)
Shifter A/T: Service and Repair
Shift Lever Replacement
Removal Procedure
1. Caution: Refer to SIR Caution in Service Precautions.
Disable the SIR system. Refer to SIR Disabling and Enabling Zone 3 in SIR.
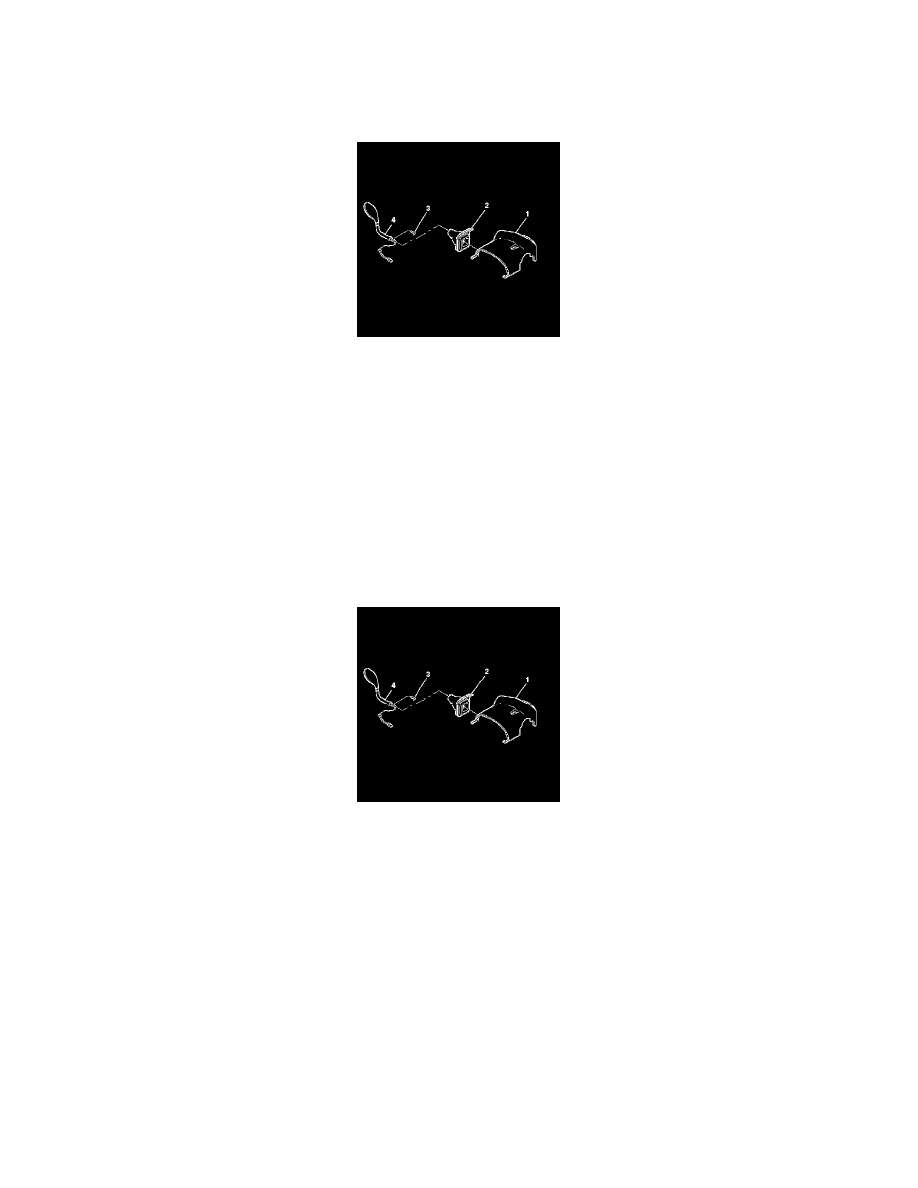
2. Slide the shift lever seal (2) up the shift lever (4).
3. If necessary, remove the steering column trim covers.
4. Disconnect the shift lever connector at the base of the column.
5. Remove the shift lever screw (3) from the shift lever assembly (4).
6. Remove the shift lever and seal from the linear shift assembly.
7. Important: The shift lever seal must be removed by sliding the shift lever seal towards the narrow section of the shift lever.
Remove the shift lever seal (2) from the shift lever (4).
Installation Procedure
1. Important: The shift lever seal must be installed to the narrow end of the shift lever.
Install the shift lever seal (2) onto the shift lever assembly (4).
2. Install the shift lever assembly (4) to linear shift assembly.
3. Notice: Refer to Fastener Notice in Service Precautions.
Install the shift lever screw (3) into the shift lever assembly (4).
^
Tighten the screw to 20 Nm (15 ft. lbs.).
4. Slide the shift lever seal (2) down the shift lever assembly (4).
5. Align the shift lever seal into the steering column trim covers.
6. If necessary, install the steering column trim covers.
7. Enable the SIR system. Refer to SIR Disabling and Enabling Zone 3 in SIR.