
Express 3500 V8-6.0L (2010)
Caution: Refer to Fastener Caution (See: Service Precautions/Vehicle Damage Warnings/Fastener Caution).
2. Install the pull handle and screws and tighten to 1.9 Nm (17 lb in).
3. Install the rear side door trim plate. Refer to Rear Door Trim Plate Replacement (See: Rear Door Trim Plate Replacement).
Rear Door Inside Handle Bezel Replacement
Rear Door Inside Handle Bezel Replacement
Removal Procedure
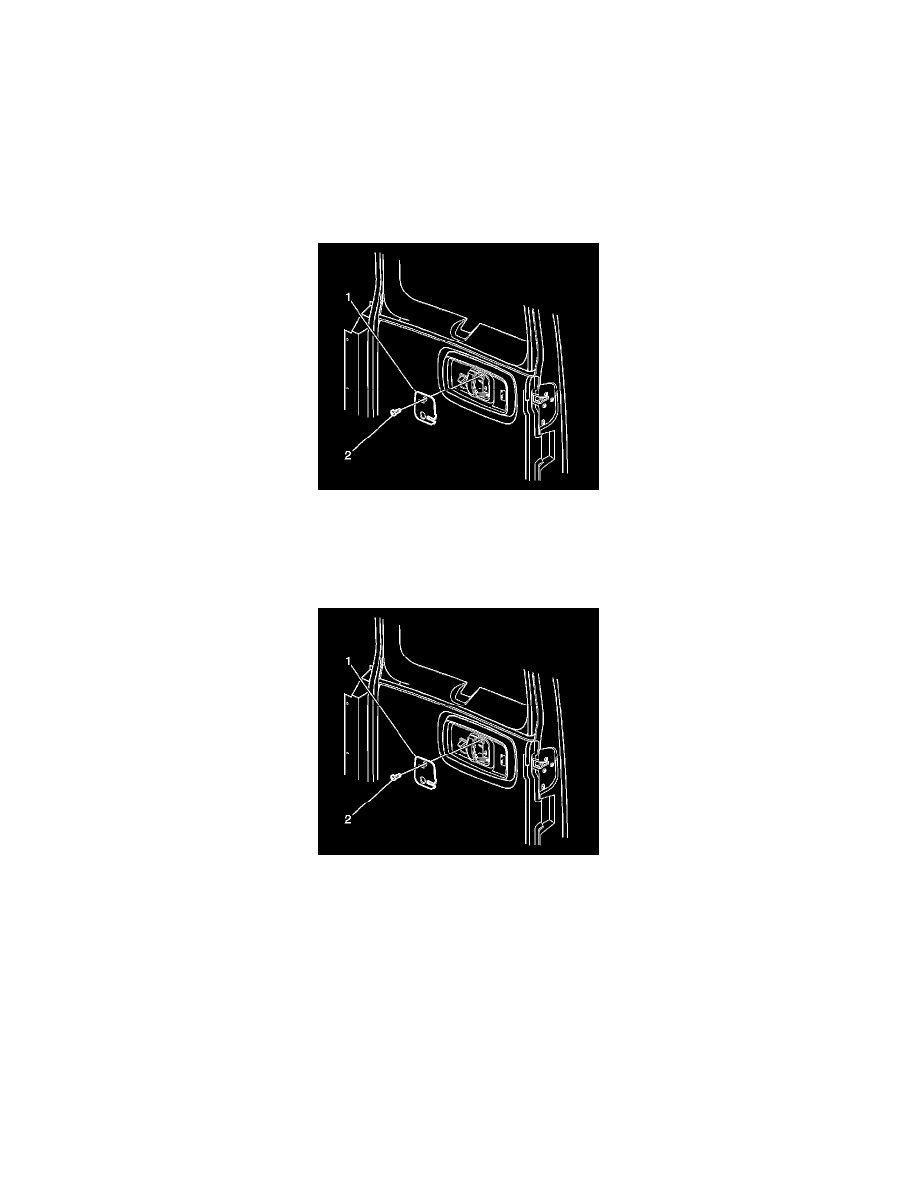
1. Remove the screw (2) from the inside door handle bezel.
2. Press the retaining tab on the inside door handle bezel (1) in order to release the inside door handle bezel (1) from the front door trim plate.
3. Remove the inside door handle bezel (1) from the vehicle.
Installation Procedure
1. Align the inside door handle bezel (1) to the front door trim plate.
2. Press the door handle bezel towards the door trim panel in order to engage the retaining tab.
Caution: Refer to Fastener Caution (See: Service Precautions/Vehicle Damage Warnings/Fastener Caution).
3. Install the bezel screw (2) and tighten to 1.9 Nm (17 lb in).
Rear Side Door Garnish Molding Replacement
Rear Side Door Garnish Molding Replacement
Removal Procedure