
Express 3500 V8-6.0L (2010)
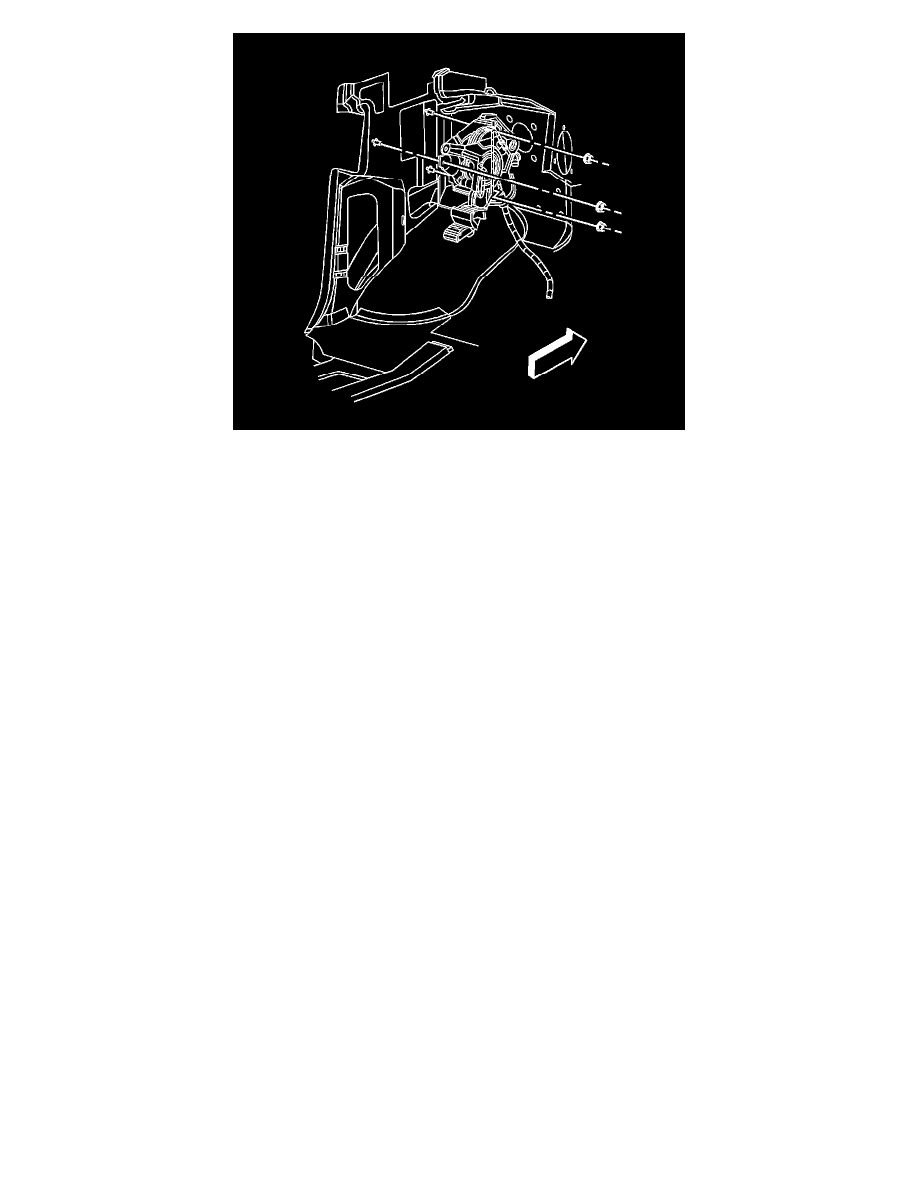
2. Install the pedal to the vehicle.
Caution: Refer to Fastener Caution (See: Service Precautions/Vehicle Damage Warnings/Fastener Caution).
3. Install the pedal retaining nuts and tighten to 25 Nm (18 lb ft).
4. Install the left floor air outlet duct. Refer to Floor Air Outlet Duct Replacement - Left Side (See: Heating and Air Conditioning/Air Duct/Service
and Repair/Floor Air Outlet Duct Replacement - Left Side).
5. Install the left side kick panel. Refer to Body Hinge Pillar Trim Panel Replacement (See: Body and Frame/Interior Moulding / Trim/Trim
Panel/Service and Repair/Body Hinge Pillar Trim Panel Replacement).
6. Install the release handle. Refer to Parking Brake Release Handle Assembly Replacement (See: Parking Brake Release Handle Assembly
Replacement).
7. Enable the park brake cable automatic adjuster. Refer to Parking Brake Cable Adjuster Enabling (See: Parking Brake Cable/Service and
Repair/Procedures/Parking Brake Cable Adjuster Enabling).
8. Verify that the vehicle will hold position with the brake pedal depressed.
9. If additional adjustments need to be made, refer to Parking Brake Adjustment (Without Dual Rear Wheel) (See: Adjustments/Parking Brake
Adjustment (Without Dual Rear Wheel))Parking Brake Adjustment (With Dual Rear Wheel) (See: Adjustments/Parking Brake Adjustment (With
Dual Rear Wheel)).