
Express 3500 V8-6.0L (2010)
1. Ensure that the CPA retainer is pulled out 1 click.
2. Connect the electrical connectors to their corresponding injectors.
3. Push the CPA retainer in 1 click.
4. Ensure that the connector is secured.
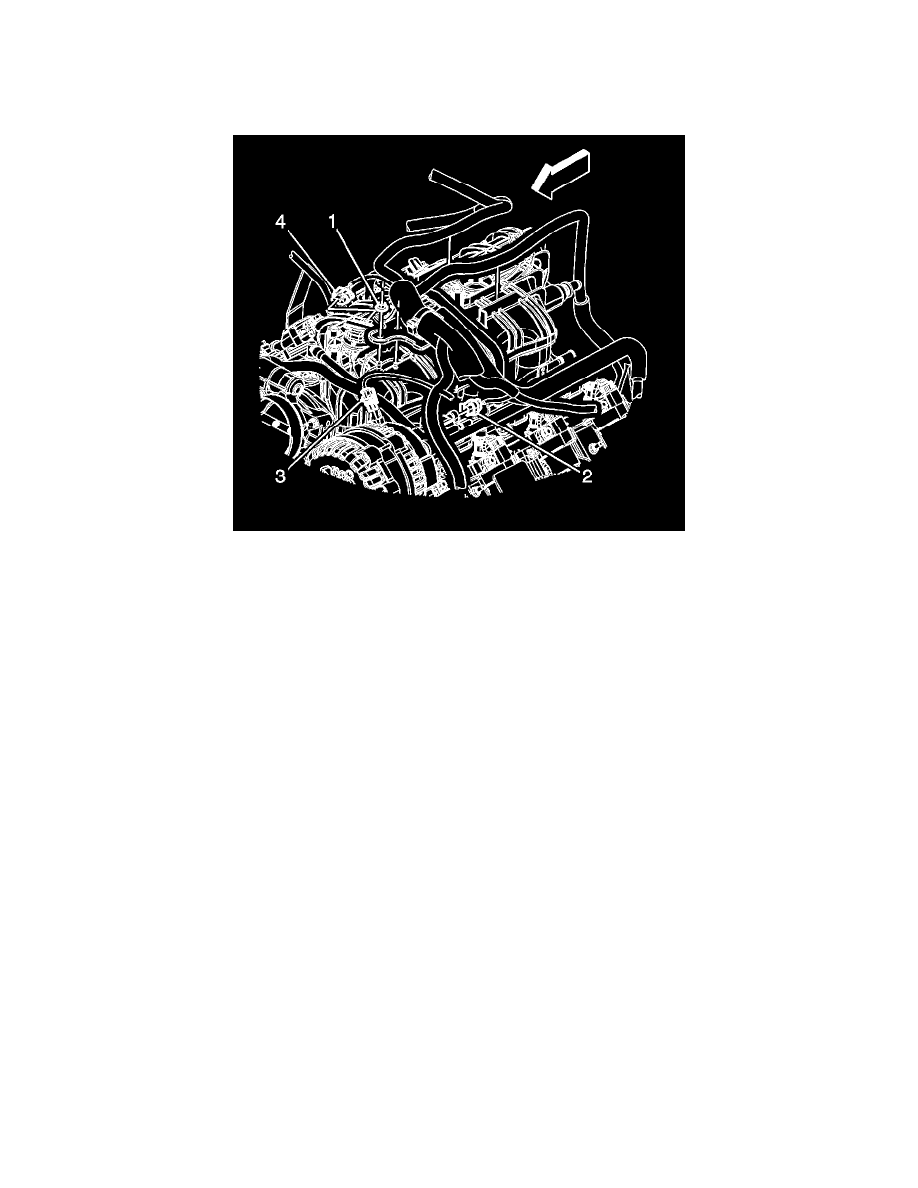
28. Connect the engine wiring harness electrical connector (4) to the MAP sensor.
29. Connect the engine wiring harness electrical connector (3) to the generator.
30. Connect the engine wiring harness electrical connector (2) to the EVAP purge solenoid.
31. Install the engine wiring harness bracket nut (1).
Tighten the nut to 5 Nm (44 lb in).
32. Connect the negative battery cable. Refer to Battery Negative Cable Disconnection and Connection (See: Starting and Charging/Battery/Battery
Cable/Negative/Service and Repair/Battery Negative Cable Disconnection and Connection).
33. Use the following procedure in order to inspect for leaks:
1. Turn the ignition ON, with the engine OFF for 2 seconds.
2. Turn the ignition OFF for 10 seconds.
3. Turn the ignition ON, with the engine OFF.
4. Inspect for leaks.
34. Install the air cleaner outlet duct. Refer to Air Cleaner Resonator Outlet Duct Replacement (See: Air Cleaner Housing/Air Cleaner Fresh Air
Duct/Hose/Service and Repair).