
Express 3500 V8-6.0L (2010)
Note: A distinct snap should be heard when assembling tube ends of the hose assembly to quick connectors. To ensure tube is fully inserted into
the connector, check by giving tube a forceful pull.
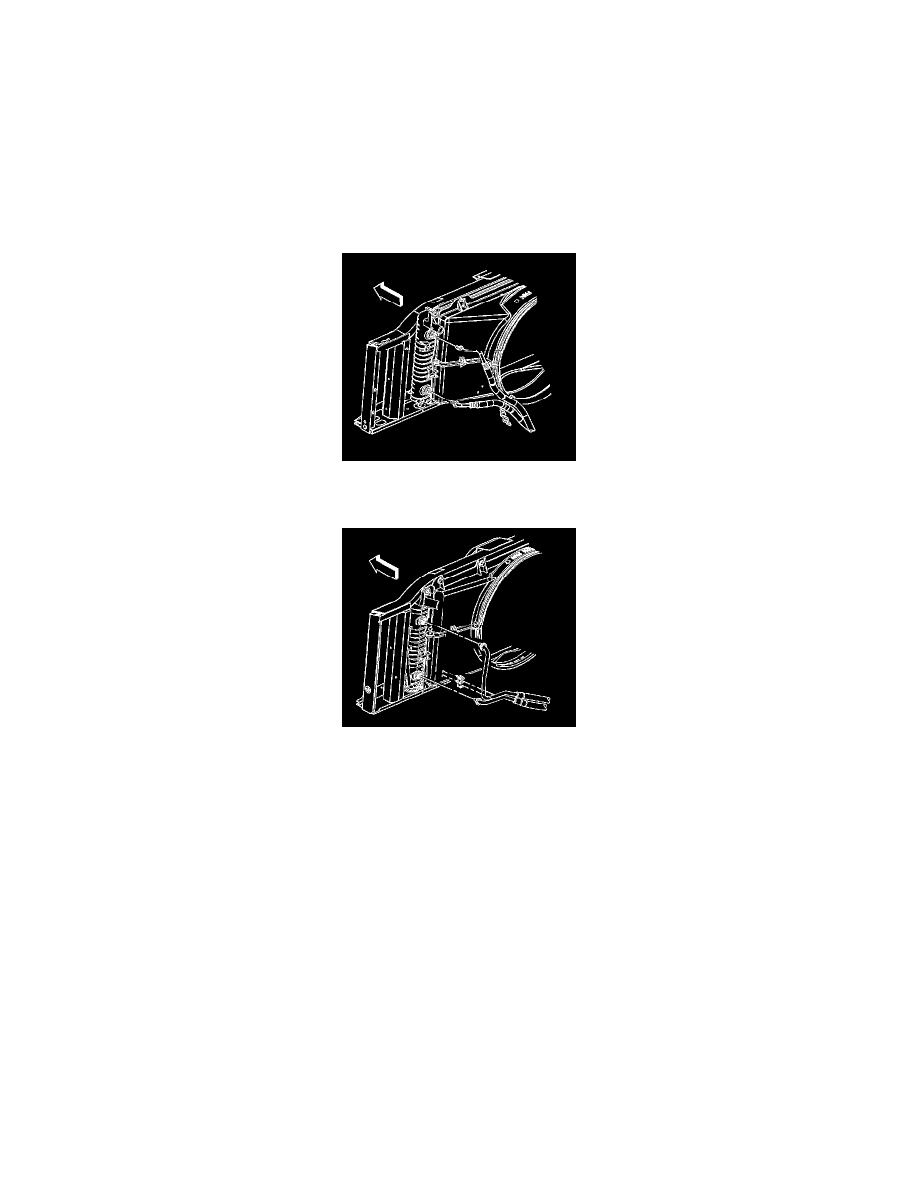
1. Install the oil cooler hose assembly and a new gasket.
2. Clean all dirt and oil from oil cooler hose adaptor bolt (2) threads and apply teflon pipe sealant to the threads. Refer to Adhesives, Fluids,
Lubricants, and Sealers (See: Cooling System/Specifications/Fluid Type Specifications)
Caution: Refer to Fastener Caution (See: Service Precautions/Vehicle Damage Warnings/Fastener Caution).
3. Install the oil cooler hose adapter bolts (2) and tighten to 12 Nm (106 lb in).
4. Install the oil cooler hose bracket bolt (1) and tighten to 25 Nm (18 lb ft).
5. Install the oil cooler hoses to the hose clip on the fan shroud.
6. Snap the oil cooler hose clip shut.
Note:
*
Ensure the oil cooler line being installed has a plastic cap on the end that connects to the quick connect fitting. If no plastic cap exists, or the
plastic cap is damaged, obtain a new cap. Install the cap on to the cooler line prior to cooler line installation.
*
Do not use the plastic cap in order to install the cooler line into the fitting.
7. Connect the oil cooler lines. Refer to Engine Oil Cooler Pipe/Hose Quick Connect Fitting Replacement (See: Engine Oil Cooler Pipe/Hose Quick
Connect Fitting Replacement).
8. Pull back sharply on the cooler line in order to ensure that the cooler line is installed in the quick connect fitting.