
Express 3500 V8-6.6L DSL Turbo (2008)
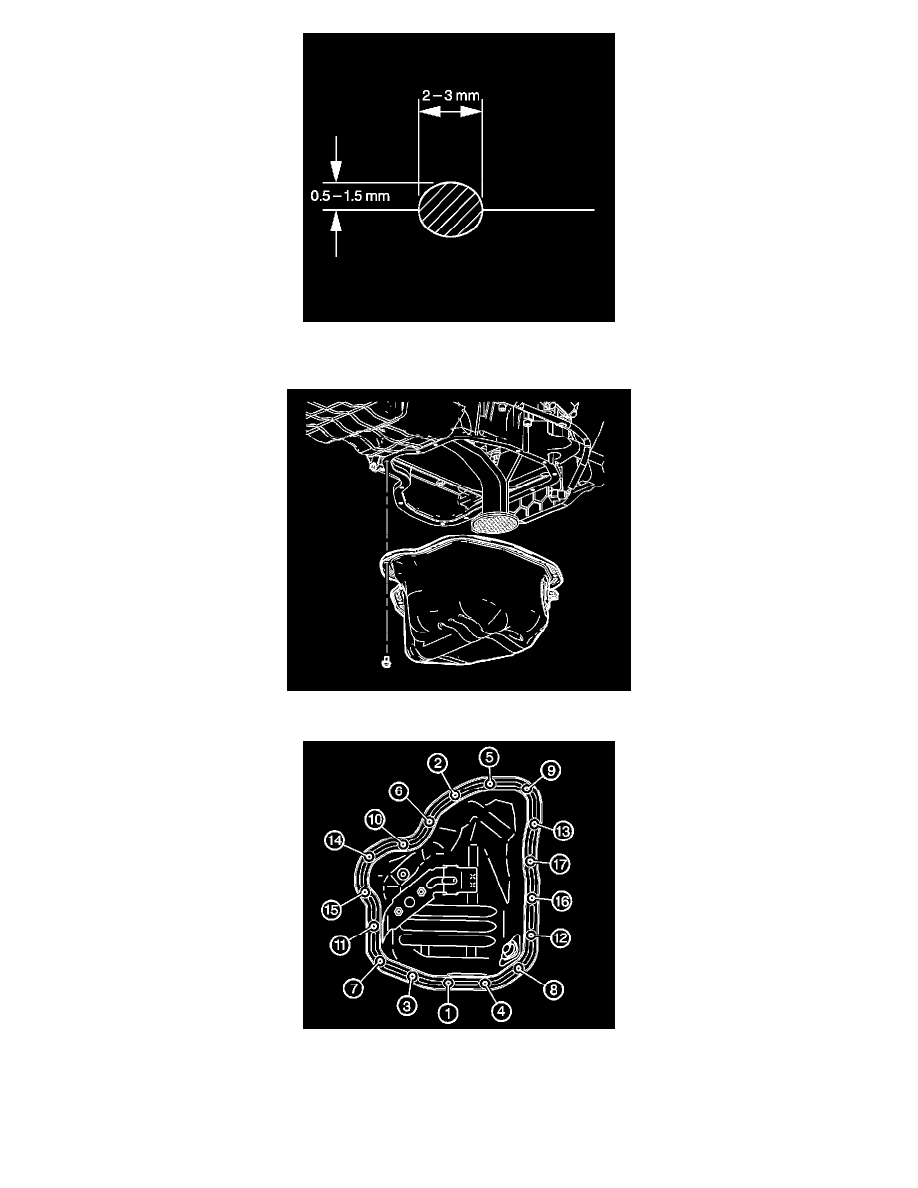
4. Apply a 2-3 mm wide by 0.5-1.5 mm high bead of sealant to the lower oil pan mating surface. Refer to Sealers, Adhesives, and Lubricants (See:
Specifications/Sealers, Adhesives, and Lubricants) .
5. Install the lower oil pan.
6. Install the lower oil pan bolts and nuts.
Tighten the bolts and nuts in the sequence shown to 10 N.m (89 lb in).