Express 3500 V8-6.6L DSL Turbo (2008)

Valve Clearance: Adjustments
Valve Clearance Adjustment
1. Remove the engine cover. Refer to Engine Cover Replacement .
2. Remove the upper fan shroud. Refer to Engine Coolant Fan Upper Shroud Replacement (4.3L, 4.8L, 5.3L, 6.0L, 6.2L, 7.0L) (See: Cooling
System/Fan Shroud/Service and Repair)Engine Coolant Fan Upper Shroud Replacement (6.6L) (See: Cooling System/Fan Shroud/Service and
Repair) .
3. Remove the fan clutch. Refer to Fan Clutch Replacement (See: Cooling System/Radiator Cooling Fan/Fan Clutch/Service and Repair) .
4. Remove the upper valve rocker arm covers. Refer to Valve Rocker Arm Cover Replacement - Upper Left Side (See: Cylinder Head
Assembly/Valve Cover/Service and Repair/Valve Rocker Arm Cover Replacement - Upper Left Side) and Valve Rocker Arm Cover Replacement
- Upper Right Side (LMM) (See: Cylinder Head Assembly/Valve Cover/Service and Repair/Valve Rocker Arm Cover Replacement - Upper Right
Side (LMM)) .
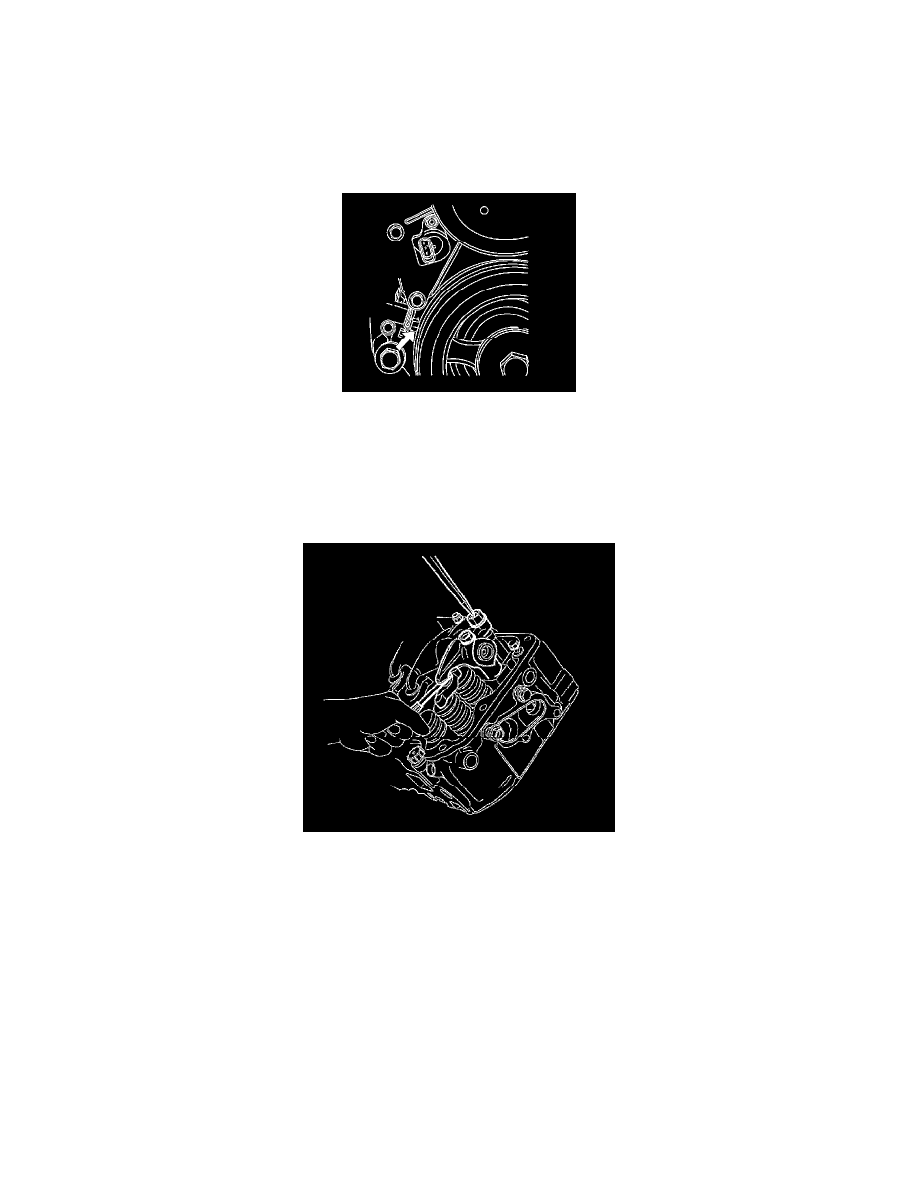
5. Rotate the crankshaft in order to bring the number 1 cylinder to top dead center (TDC) of the compression stroke. The number 1 cylinder is the
front cylinder on the right bank. The mark on the crankshaft balancer should be aligned with the mark on the engine.
6. Loosen the valve adjusting screws.
7. Insert a feeler gage between the tip of the rocker arm and the valve bridge.
