
Express 4500 V8-6.6L DSL Turbo (2009)
2. Align and install the front wheel hub extension to the original position on the hub.
Note: Follow the same tightening sequence for the front wheel hub extension that is used on an eight lug wheel. Refer to Tire and Wheel
Removal and Installation (See: Maintenance/Wheels and Tires/Service and Repair).
3. Install the front wheel hub extension nuts and tighten to 130 Nm (96 lb ft).
11. Install the tire and wheel assembly. Refer to Tire and Wheel Removal and Installation (See: Maintenance/Wheels and Tires/Service and Repair).
12. Lower the vehicle.
13. With the engine OFF, gradually apply the brake pedal to approximately 2/3 of its travel distance.
14. Slowly release the brake pedal.
15. Wait 15 seconds, then repeat steps 13-14 until a firm pedal is obtained. This will properly seat the brake caliper pistons and brake pads.
16. Fill the master cylinder reservoir to the proper level with clean brake fluid. Refer to Master Cylinder Reservoir Filling (See: Hydraulic
System/Brake Master Cylinder/Service and Repair/Procedures/Master Cylinder Reservoir Filling).
Rear Brake Rotor Replacement (With Dual Rear Wheel)
Rear Brake Rotor Replacement (With Dual Rear Wheel)
Removal Procedure
Warning: Refer to Brake Dust Warning (See: Service Precautions/Technician Safety Information/Brake Dust Warning).
1. Raise and support the vehicle. Refer to Lifting and Jacking the Vehicle (See: Maintenance/Vehicle Lifting/Service and Repair).
2. Remove the tire and wheel assembly. Refer to Tire and Wheel Removal and Installation (See: Maintenance/Wheels and Tires/Service and Repair
).
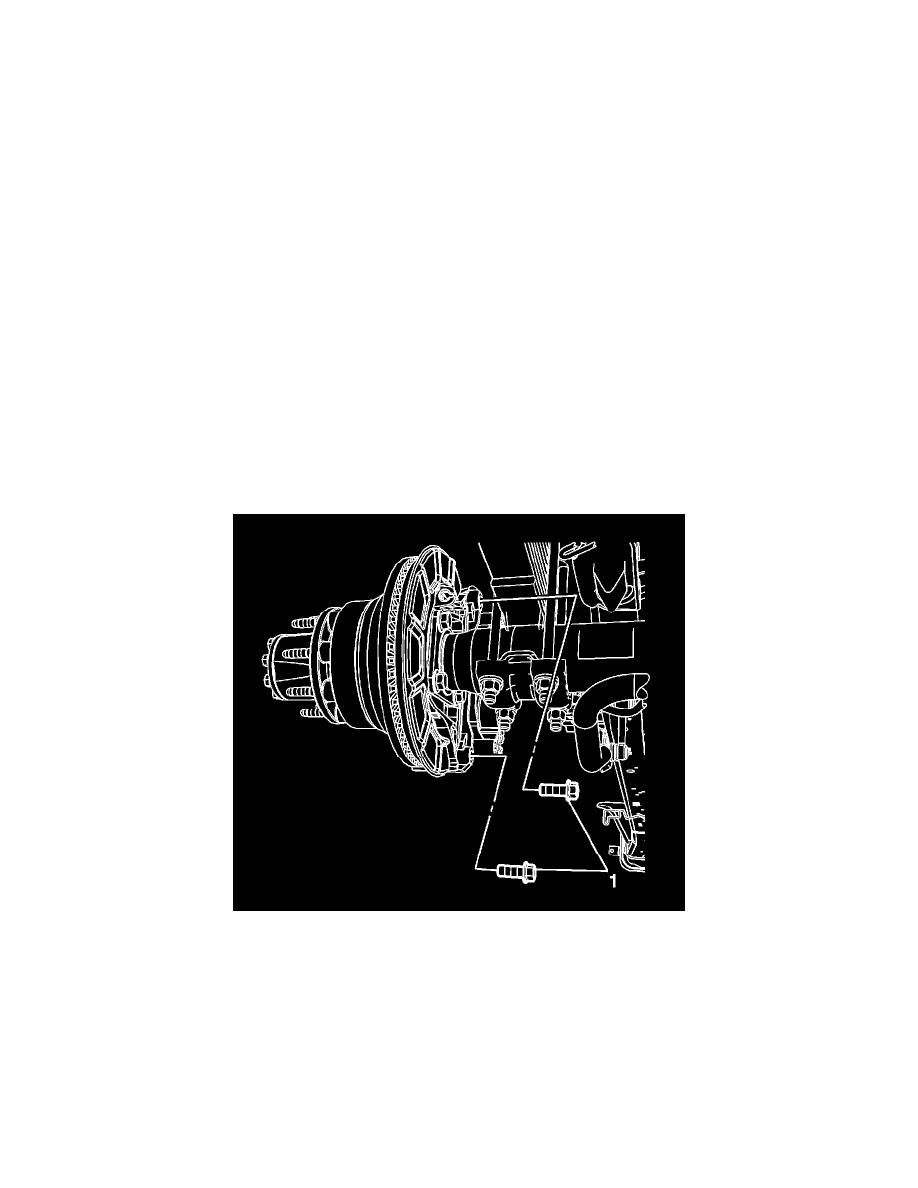
Note: Do not remove the brake caliper guide pins unless replacement is required.
3. Remove the brake caliper bracket bolts (1).