
G 10 Van V8-305 5.0L VIN M SFI (1996)
Intake Manifold: Service and Repair
Intake Manifold Removal
Lower
1. Drain the cooling system.
2. Remove the engine cover.
3. Remove the air cleaner assembly and intake duct.
4. Remove the coolant reservoir.
5. Mark the relationship of the distributor housing and rotor for proper reassembly.
6. Remove the distributor.
7. Remove the upper radiator hose at the thermostat housing.
8. Remove the heater hose at the lower intake manifold.
9. Remove the EGR valve.
10. Remove the coolant bypass hose.
11. Remove the fuel line bracket at the rear of the lower intake manifold.
12. Remove the wiring harness, electrical connectors, and brackets.
13. Remove the throttle cable and bracket at the throttle body.
14. Remove the cruise control cable (if equipped).
15. Remove the ignition coil and bracket.
16. Remove the left valve rocker cover.
17. Remove the transmission oil level indicator tube.
18. Remove the EGR inlet tube, clamp, and bolt.
19. Remove the PCV valve and vacuum hoses.
20. Remove the air conditioning compressor and bracket.
^
Remove the rear A/C line, if equipped.
^
Loosen the A/C compressor mounting bracket and slide forward, do not remove.
21. Remove the generator rear bracket bolt (if needed).
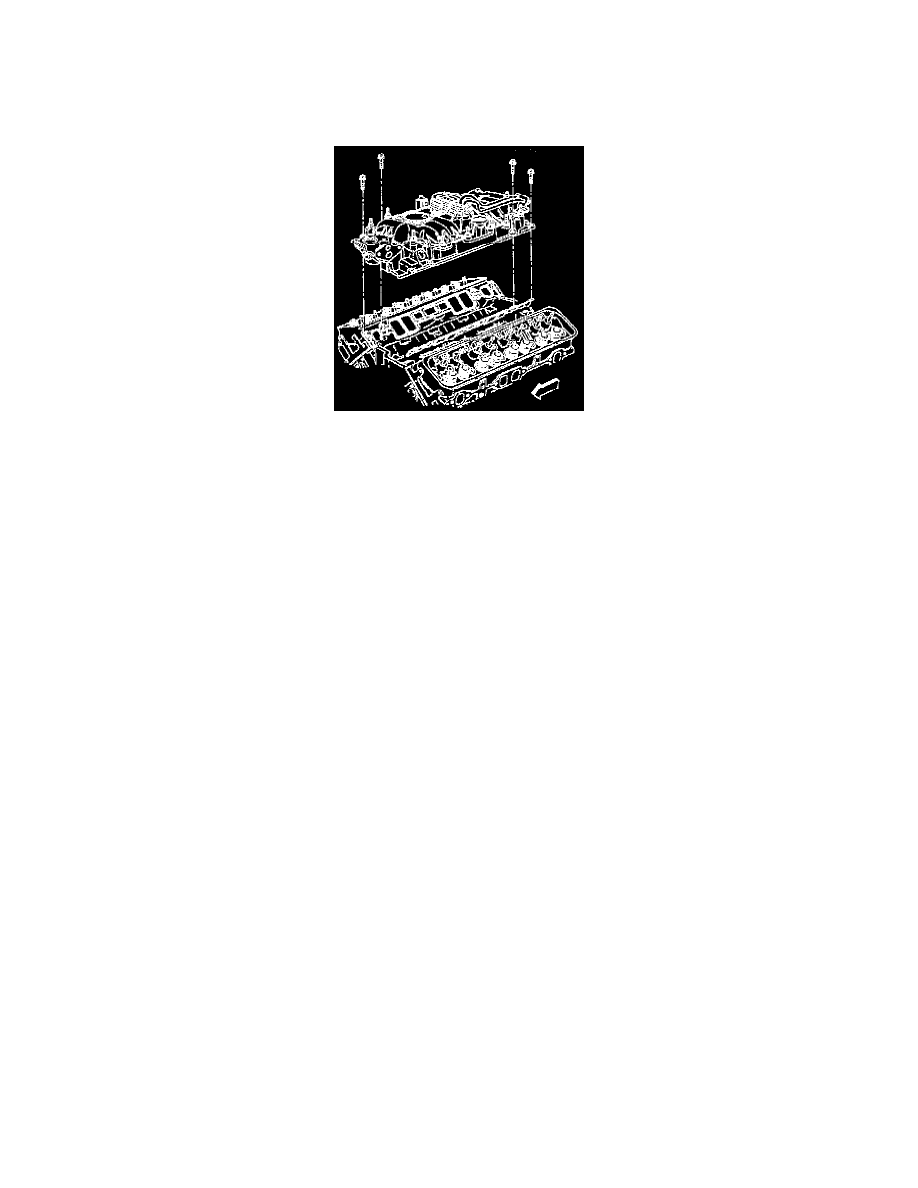
22. Remove the lower intake manifold bolts.
23. Remove the lower intake manifold.
24. Remove the old pieces of gasket from the gasket surfaces.
25. Remove excessive carbon buildup from inside the exhaust passages.
26. Remove the scale and deposits from the coolant passages.
27. Clean the EGR passage of excessive carbon deposits.
28. Inspect the manifold for cracks, broken flanges, and gasket surface damage.
Upper