
G 1500 1/2 Ton Van V6-4.3L VIN W (1997)
Brake Proportioning/Combination Valve: Service and Repair
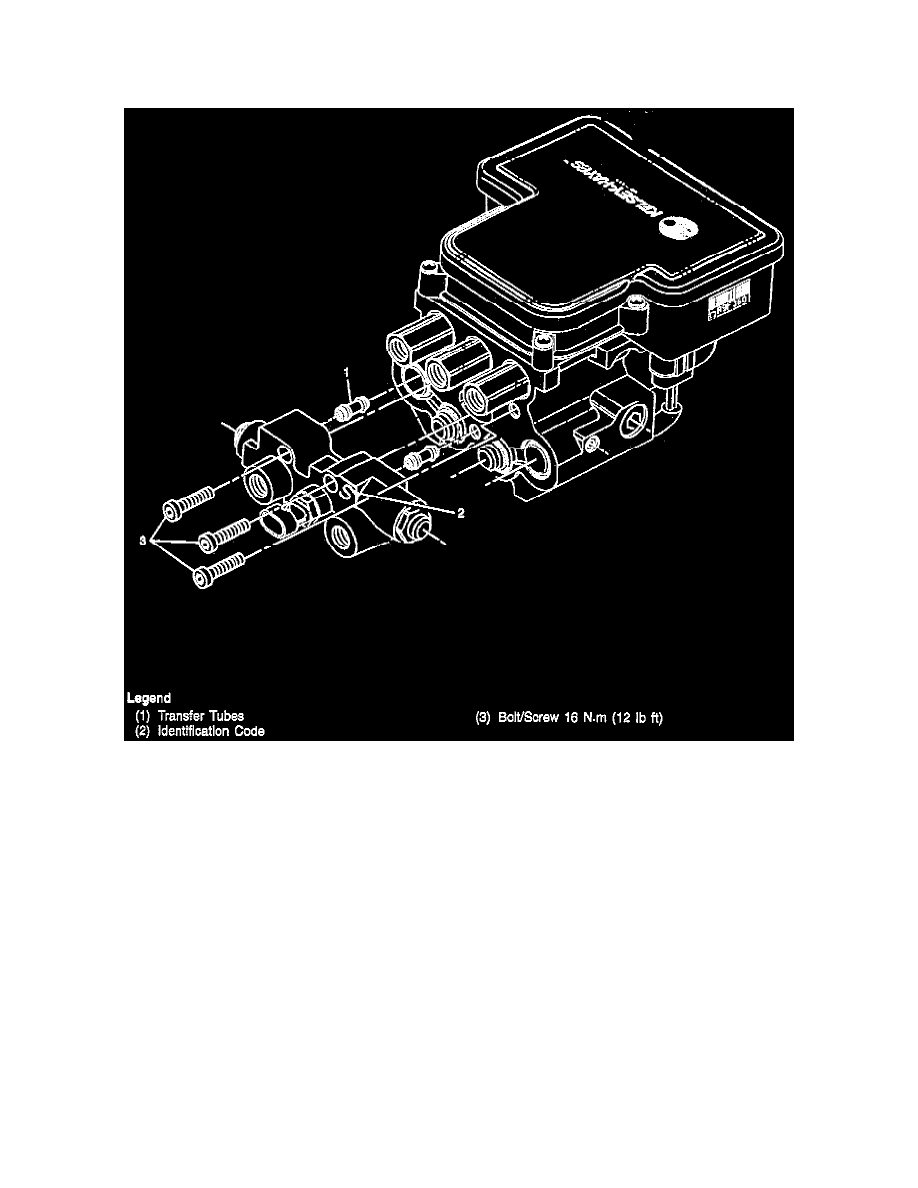
NOTE: Prior to replacement of the combination valve, note the identification code on the valve. It is necessary to have the proper code when ordering a
replacement valve.
REMOVE OR DISCONNECT
1. Raise the vehicle and properly support it with safety stands.
2. The retaining bolts from the shield.
3. The shield from the vehicle.
4. The 2-way electrical connector from the combination valve.
5. The front and rear brake pipes from the valve.
6. The allen bolts that fasten the combination valve to the Brake Pressure Modulator Valve (BPMV).
7. The combination valve from the BPMV.
8. Transfer tubes to the new valve.
NOTE:
^
Do not reuse the transfer tubes. Always install new transfer tubes with a new combination valve.
^
Verify that the replacement combination valve has the same pin punched identification code as the old part.
INSTALL OR CONNECT
1. The transfer tubes into the combination valve until fully seated.
2. The combination valve to the BPMV.
3. The allen bolts that fasten the combination valve to the BPMV.
^
Tighten the combination valve alien bolts to 8 Nm (6 ft. lbs.), Then to 16 Nm (12 ft. lbs.).
4. The front and rear brake pipes to the combination valve.
^
Tighten the brake pipe fittings to the combination valve to 30 Nm (22 lb. ft.).
5. The 2-way electrical connector.
6. The shield to the vehicle.