
G 1500 1/2 Ton Van V6-4.3L VIN W (1997)
Rocker Arm Assembly: Service and Repair
REMOVAL
1. Remove the left valve rocker arm cover.
2. Remove the right valve rocker arm cover.
NOTE: If only the pushrod is to be replaced, back the valve rocker arm nut off until the valve rocker arm can be moved away from the pushrod.
Then pull the pushrod out.
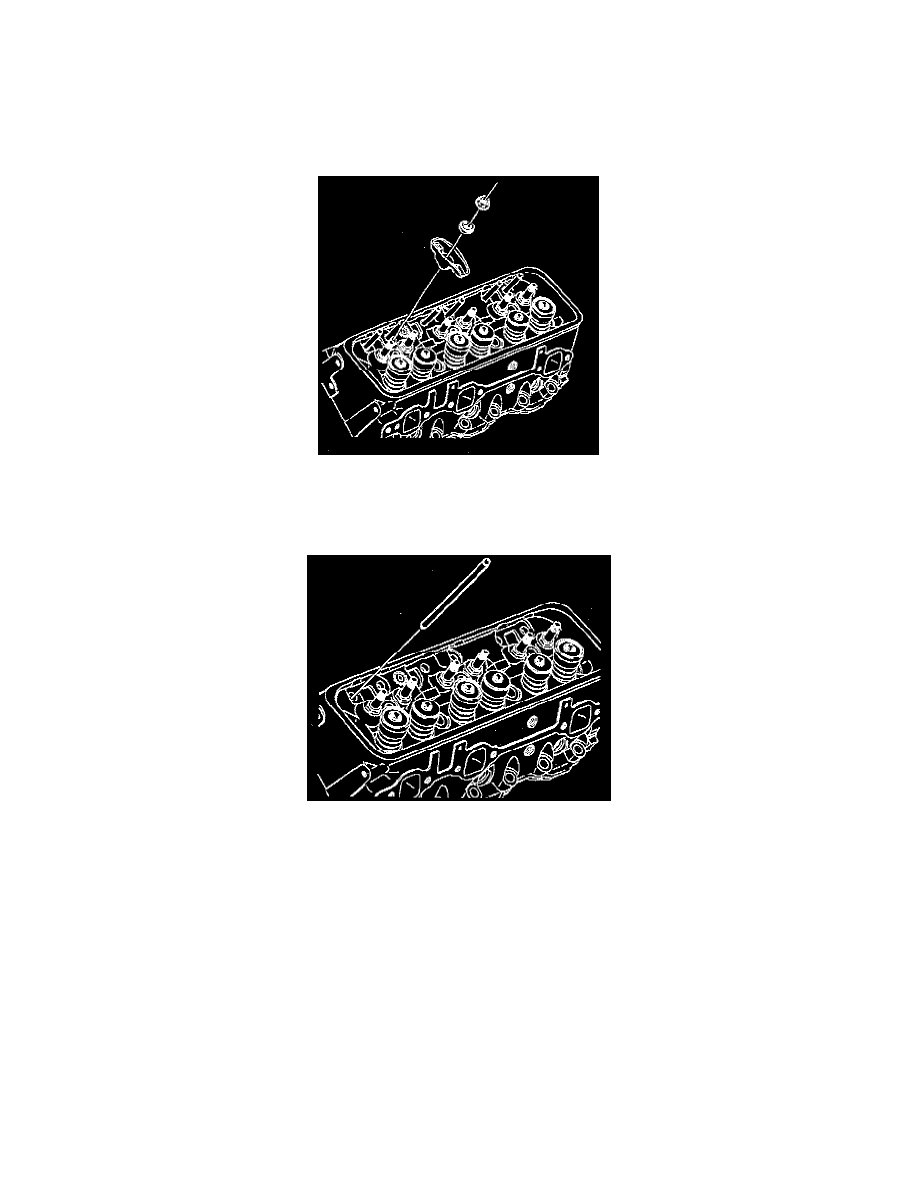
3. Remove the valve rocker arm nut.
4. Remove the valve rocker arm with the ball.
NOTE: Store the used components in an exact order, so they can be reassembled in the same position from which they were removed.
5. Remove the pushrod.
6. Inspect the valve rocker arms and balls at their mating surfaces. There, surfaces should be free from wear or other damage.
7. Inspect the valve rocker arm areas that contact the valve stems and the socket areas that, contact the ends of the pushrods. These areas should be
free of damage and wear.
8. Inspect the pushrods for scoring or roughness.
9. Roll the pushrod on a flat surface in order to determine if it is bent. If the pushrod is bent, the rod will not roll freely. Replace the pushrod if
necessary.
INSTALLATION
NOTE: When new valve rocker arms or balls are installed, coat the contact surfaces with high viscosity oil containing zinc GM P/N 1052365 or the
equivalent.
1. Install the pushrod. Make sure that the pushrod seats properly in the valve lifter.
2. Install the valve rocker arm and ball.
3. Install the valve rocker arm nut.
^
Tighten the valve rocker arm nut to 25 Nm (18 ft. lbs.).
4. Install the valve rocker arm covers.