
G 1500 1/2 Ton Van V6-4.3L VIN W (1997)
Valve Cover: Service and Repair
REMOVAL
1. Disconnect the negative battery cable.
2. Remove the engine cover.
3. Remove the coolant reservoir.
4. Remove the air cleaner assembly and the intake duct.
5. Remove the spark plug wires.
6. Remove the vent tube.
7. Remove the purge solenoid and bracket.
8. Disconnect the wiring harness at the valve rocker arm cover, including the bracket.
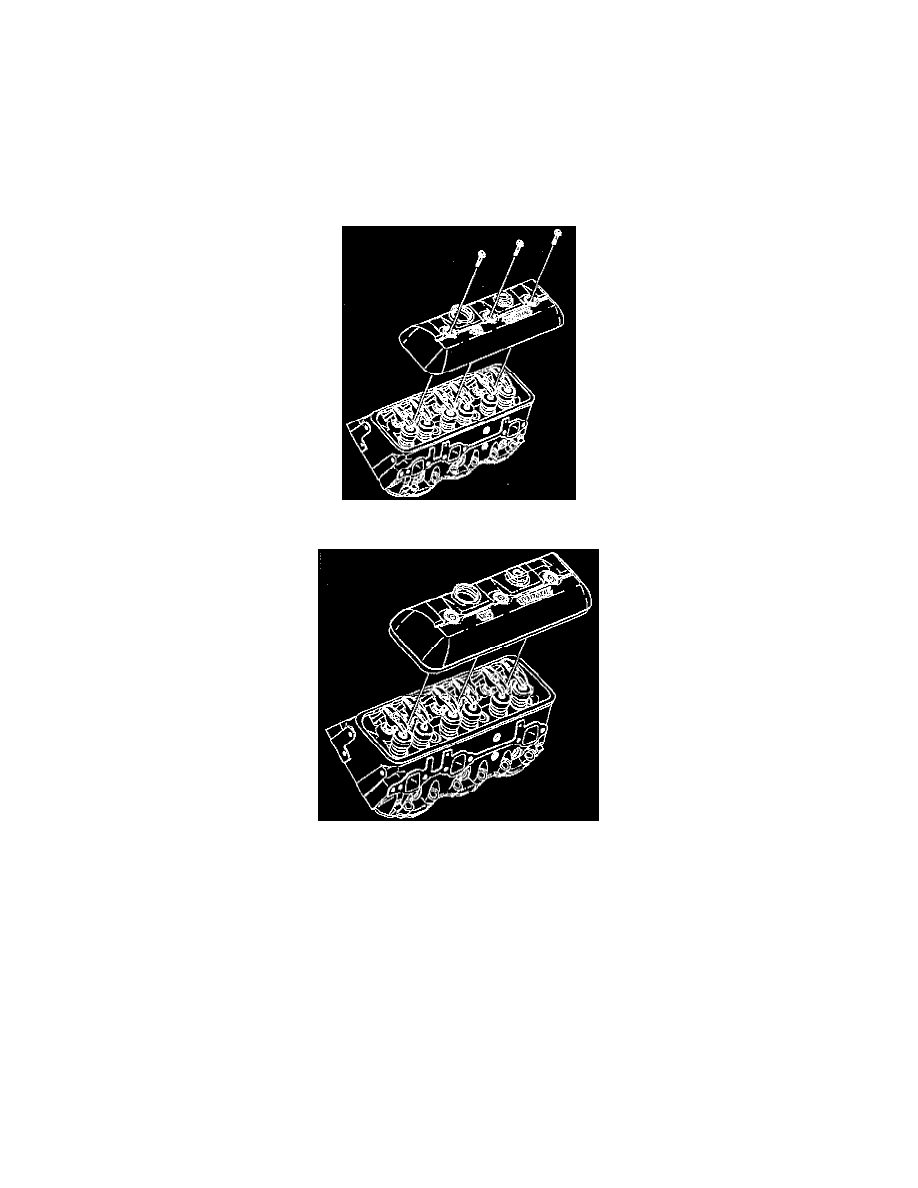
9. Remove the valve rocker arm cover bolts.
10. Remove the valve rocker arm cover and gasket.
11. Clean all traces of old gasket from the valve rocker arm cover and cylinder head.
12. Inspect the valve rocker arm cover sealing surface for distortion and damage. Replace the valve rocker arm cover, if necessary.
INSTALLATION
1. Install the valve rocker arm cover and a new gasket.
2. Install the valve rocker arm cover bolts.
^
Tighten the bolts to 12 Nm (106 inch lbs.)
3. Install the wiring harness.
4. Install the purge solenoid and bracket.
5. Install the vent tube.
6. Install the spark plug wires.
7. Install the air cleaner assembly and the duct.
8. Install the coolant reservoir.
9. Install the engine cover.
10. Connective the negative battery cable.