
G 1500 1/2 Ton Van V6-4.3L VIN W (1997)
Coolant: Testing and Inspection
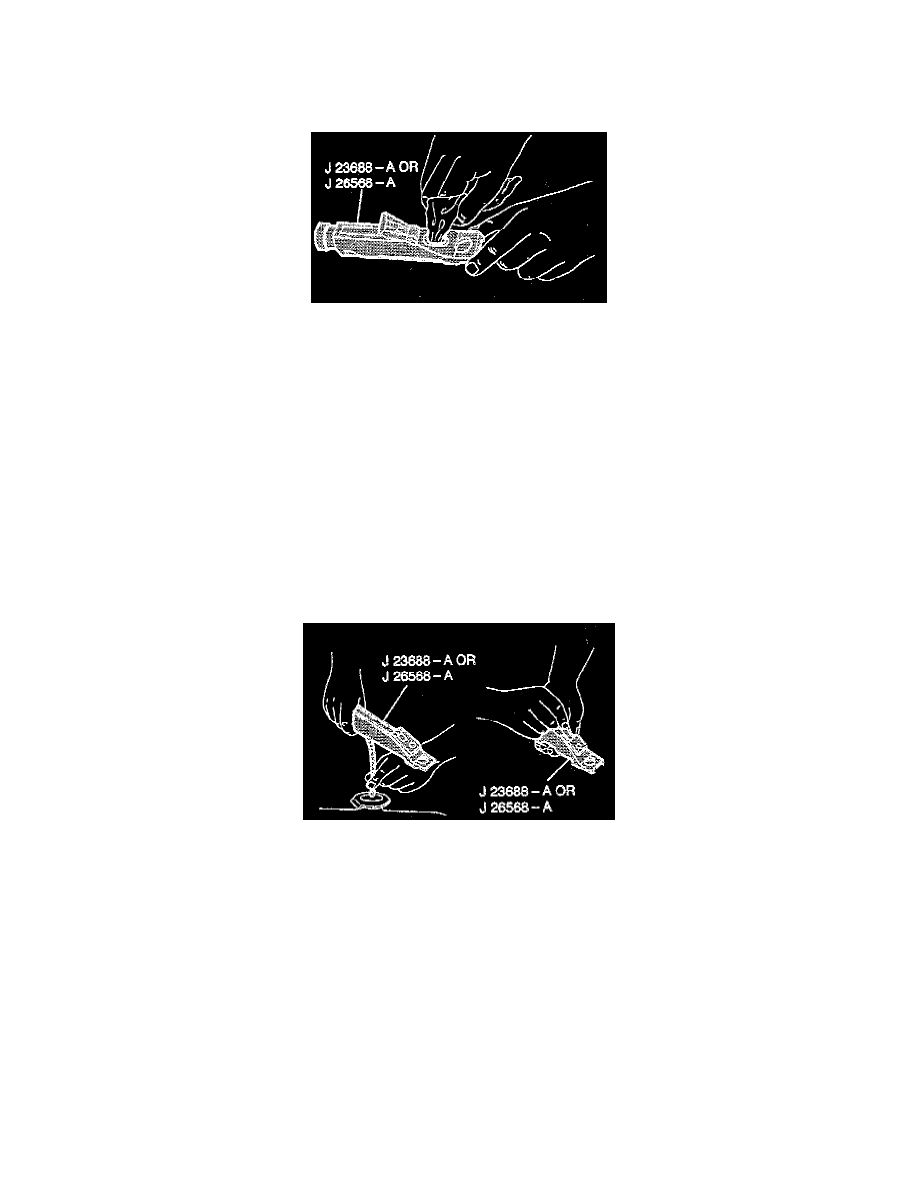
Coolant Concentration Testing
^
Tools Required:
-
J 23688-A or J 26568-A Coolant Tester, Or Equivalent
NOTE
^
Both coolant testers automatically compensate for temperature.
^
Make sure eyepiece of the coolant tester is totally free of solution before looking through it.
^
Before each use, swing plastic cover at slanted end of coolant tester exposing measuring window and bottom of plastic cover.
^
Wipe dry both prism and bottom of sample cover with tissue or clean soft cloth. Close plastic cover.
1. Release tip of pump from coolant testers housing.
^
Do not remove clear plastic pump from coolant testers.
WARNING: As long as there is pressure in the cooling system, the temperature can be considerably higher than the boiling temperature
of the solution in radiator without causing the solution to boil. Removal of the radiator cap while engine is hot and pressure is high will
cause the solution to boil instantaneously possibly with explosive force spewing the solution over engine, fenders and person removing
cap. Under some conditions, the ethylene glycol in engine coolant is combustible.
2. Remove radiator cap.
3. Insert tube into coolant recovery reservoir.
^
Make sure tube is below level of coolant.
4. Press and release bulb to get sample of coolant.
5. Bend tube around coolant testers so that tip can be inserted in cover plate opening.
6. Press bulb and allow a few drops to fall onto measuring surface.
^
Do not open plastic cover when taking readings because water evaporation can change readings.