
G 1500 1/2 Ton Van V6-4.3L VIN W (1997)
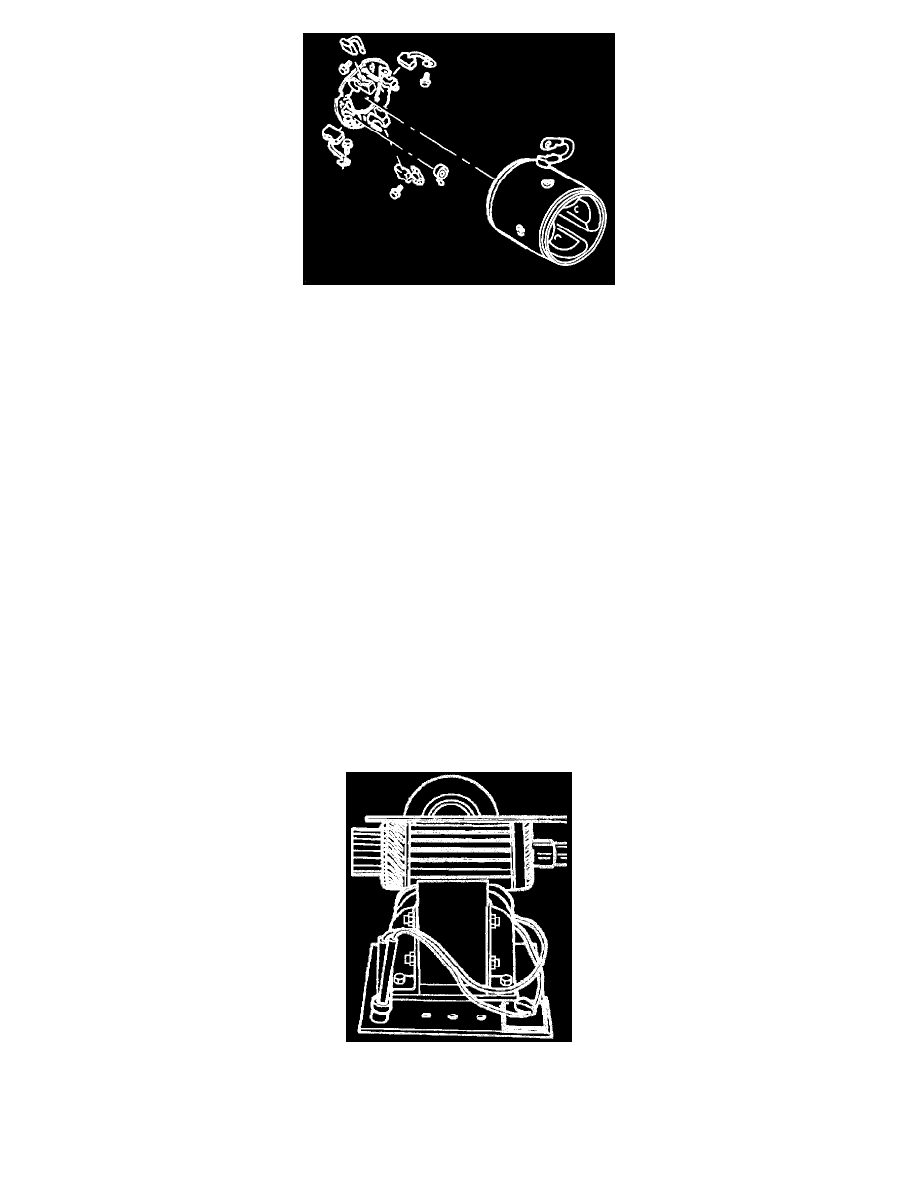
Frame, Field, And Brush Holder Group
9. Motor lead onto the frame and field assembly.
^
Remove the nut from the terminal on the solenoid, install the motor lead terminal, and reinstall the nut.
Tighten
^
Solenoid motor terminal nut to 11 N.m (100 lb in).
Testing After Overhaul
After an overhaul of the starter motor, perform the "Starter Draw Test".
Cleaning, Inspection, and Electrical Tests - SD-255 Starter Motor
CLEAN
^
All parts by wiping with a clean cloth.
NOTICE: Do not clean the starter motor parts in a degreasing tank. immersing parts in a cleaning solution will dissolve permanent lubrication and may
damage electrical Insulation, causing shortened motor life.
INSPECT
1. Bushing or armature bearing fit in the end frame, lever housing, and drive end frame housing. If the bushings or bearings are damaged or worn,
replace them.
^
Lubricate the bushings before assembling the starter motor. Avoid excessive lubrication. Do not lubricate roller bearings. They are
permanently lubricated at time of manufacture.
2. Armature shaft for runout or scoring. Replace the armature assembly if the condition of the armature shaft is questionable.
3. Commutator for discolored or uneven conductors.
^
Do not turn the commutator.
^
Do not undercut the insulation.
^
Clean the commutator with No. 240 grit emery cloth. Blow away any copper dust present. If the commutator cannot be cleaned, replace the
armature.
Testing Armature For Short Circuits
4. Armature for short circuits.
^
Rotate the armature in a growler with a steel strip, such as a hacksaw blade, held on the armature parallel to the shaft. The steel strip will
vibrate on the area of the short circuit.