
G 1500 1/2 Ton Van V6-4.3L VIN W (1997)
Fluid - A/T: Service and Repair
REMOVE OR DISCONNECT
-
Raise and support the vehicle.
-
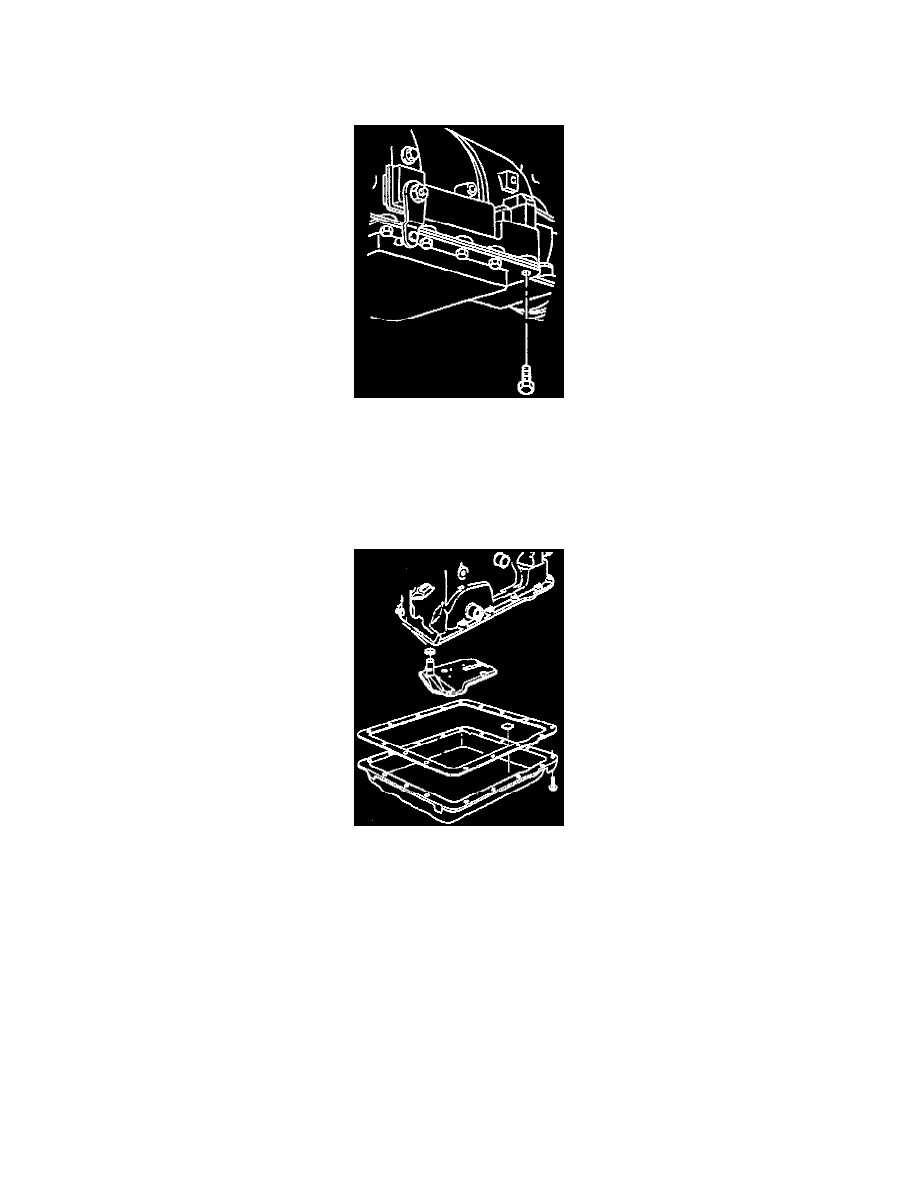
Place a drain pan under the transmission oil pan.
1. Oil pan bolts from the front and sides only.
-
Loosen the rear oil pan bolts approximately 4 turns.
Important: Use care, if prying down on the oil pan, not to damage the transmission case or the oil pan sealing surfaces.
2. Lightly tap the oil pan with a rubber mallet or pry down to allow the oil to drain.
-
Inspect the oil color.
3. Remaining oil pan bolts, oil pan and the gasket.
4. Oil filter and the seal.
-
The seal may be stuck in the pump.
Inspect
-
Filter, open filter by prying the metal crimping away from the top of the filter and pull apart. The filter may contain evidence for root cause
diagnosis.
^
Clutch material.
^
Bronze slivers indicating bushing wear.
^
Steel particles.
Clean
-
Transmission case and oil pan gasket surfaces with solvent and air dry.
-
All traces of old gasket material must be removed.
INSTALL OR CONNECT
-
Coat a new seal with a small amount of TRANSJEL(R) J 36850 or equivalent.