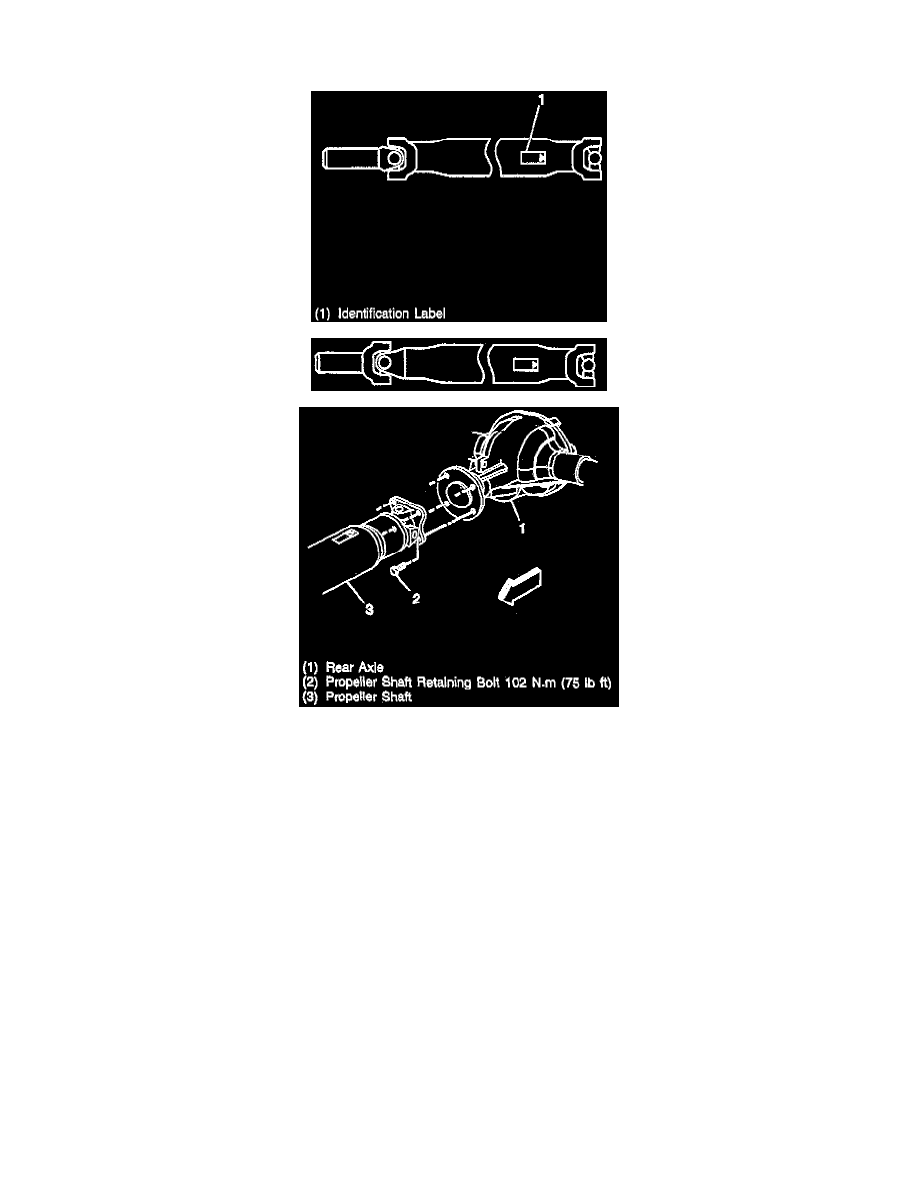
G 1500 1/2 Ton Van V6-4.3L VIN W (1997)

Drive/Propeller Shaft: Service and Repair
REMOVE OR DISCONNECT
1. Raise the vehicle on a hoist.
Important:
-
Center slip yokes to spline shafts, end yokes, companion flanges, etc. must not be rotated from their original position during reassembly.
-
It is essential that the positions of all driveling components relative to the propeller shaft and axles be observed and accurately reference
marked prior to disassembly. These components include the propeller shafts, drive axles, pinion flanges, output shafts, etc. All components
must be reassembled in the exact relationship to each other as they were when removed. In addition, published-specifications and torque
values, as well as any measurements made prior to disassembly, must be followed.
2. Reference mark the propeller shaft to the pinion flange or the yoke connection.
3. Support the propeller shaft.
4. The bolts from the flange.
-
Discard bolts to companion flange. New bolts must be used for re-installation.
Important:
-
Do not pound on the propeller shaft yoke ears. Never pry or place any tool between a yoke and a universal joint. Damage to the bearing
seals could result.
-
Tape bearing cups onto yoke and the universal joint to prevent the loss of bearing rollers.
5. The propeller shaft from the vehicle.
-
Slide the propeller shaft forward.
-
Lower the rear of the propeller shaft.
-
Do not allow the propeller shaft to incline unsupported, because the joint may fracture.
-
Slide the propeller shaft out of the transmission.
