
G 1500 1/2 Ton Van V8-5.7L VIN R (1997)
7. Secondary piston.
^
With the rear port plugged, apply a small amount of air pressure to the front port.
WARNING: If air pressure is used to remove the secondary piston, place the open end of the cylinder bore approximately 25 mm (1 inch)
from a padded workbench or other surface to catch the piston when it comes out of the bore. Apply low air pressure very carefully to
ease the piston out of the bore. Never point the open end of the bore at anyone when applying air pressure. The piston may come out of
the bore with considerable force and cause personal injury.
8. Seals.
9. Spring retainer and spring.
^
Clean
-
All metal parts in denatured alcohol.
-
All rubber parts in clean brake fluid.
^
Inspect
-
Diaphragm for cuts, cracks, or a swollen condition.
-
Cylinder bore for scoring or corrosion. If corrosion is present, replace the cylinder. Do not attempt to hone the bore.
-
Reservoir for cracks.
NOTE: Before assembly, lubricate the grommets, seals, and cylinder bore with clean brake fluid. Always use new seals when assembling the master
cylinder.
INSTALL OR CONNECT
1. Spring and spring retainer.
2. Seals on the secondary piston.
3. Secondary piston.
4. Primary piston assembly.
5. Snap ring.
^
The primary piston must be compressed when installing the snap ring.
6. Grommets.
^
Use new grommets when assembling the master cylinder.
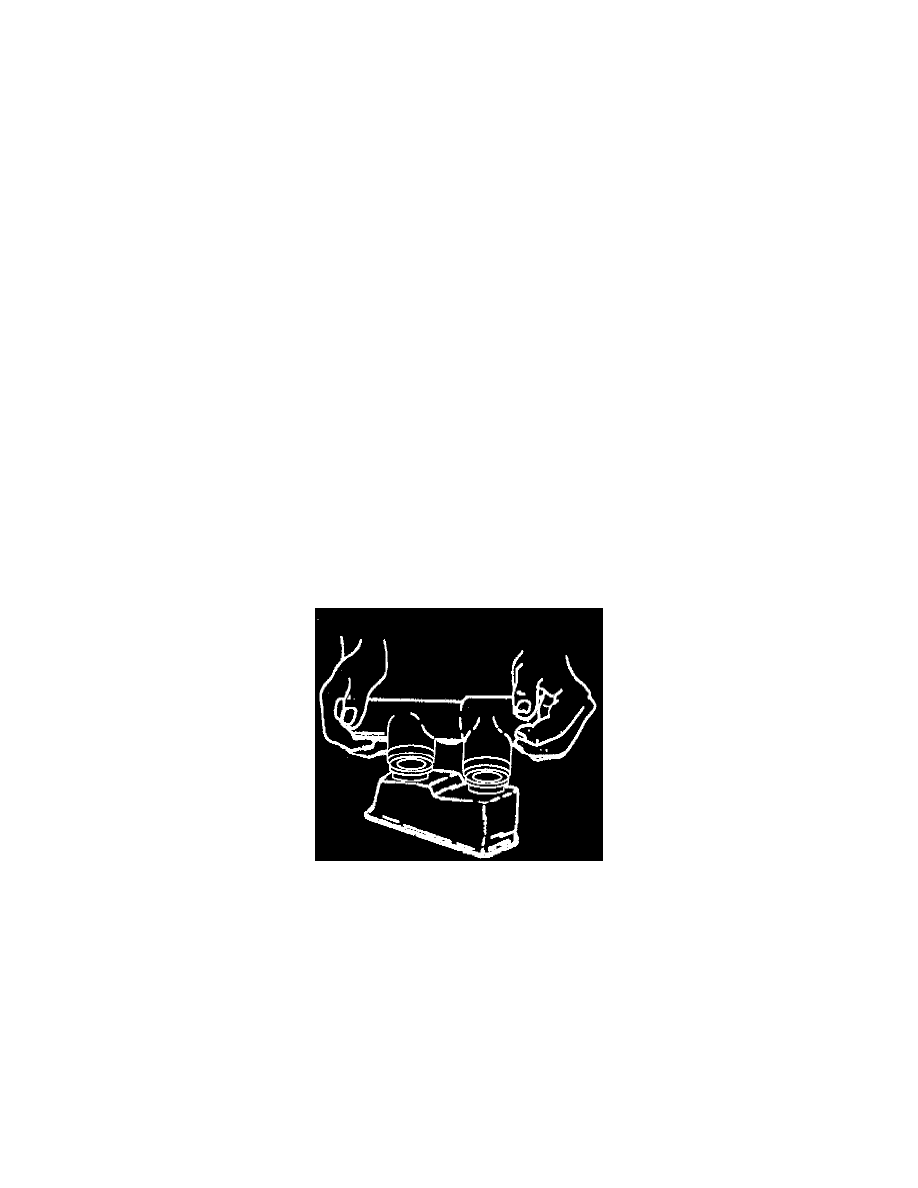
7. Reservoir.
^
Press on the body while using a rocking motion.
8. Diaphragm in cover.
9. Cover.