
G 1500 1/2 Ton Van V8-5.7L VIN R (1997)
Crankshaft: Service and Repair
Replacement
REMOVAL
1. Remove the engine. Refer to Engine Replacement.
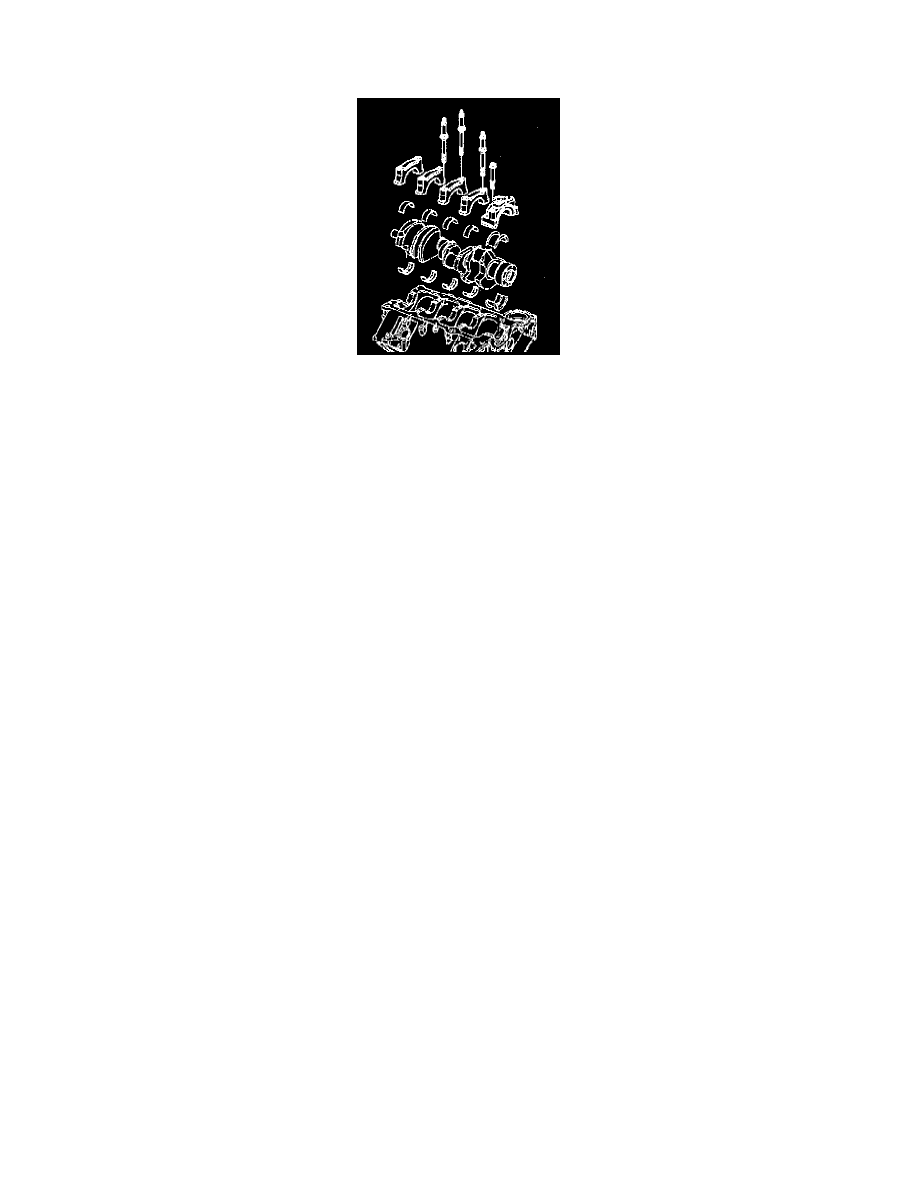
2. Remove the crankshaft bearing caps.
3. Remove the crankshaft.
4. Remove crankshaft bearings.
SELECTION
NOTE: Crankshaft bearings are the precision insert type and do not use shims for adjustment. Excessive clearances require a new bearing. Service
bearings are available in standard size. Service bearings are also available in the following undersizes
-
0.0254 mm (0.001 inch)
-
0.0508 mm (0.002 inch)
-
0.2540 mm (0.010 inch)
-
0.5080 mm (0.020 inch)
-
0.2286 mm (0.009 inch)
Selective fitting of both connecting rod and crankshaft bearings is necessary in order to obtain close tolerances. For this reason, you may use one half
of a 0.0254 mm (0.001 inch) undersize bearing which will decrease the clearance 0.0127 mm (0.0005 inch) from using a full standard bearing.
Undersize Crankshaft Journals
1. When a production crankshaft cannot be precision fit by the method described below, the crankshaft is then ground 0.2286 ram (0.009 inch)
underside.
2. Grind only those crankshaft journals that cannot be properly fitted. All journals will not necessarily be ground.
3. A 0.2286 mm (0.009 inch) undersize bearing or 0.2540 mm (0.010 inch) undersize bearing will then be used for precision fining in the same
manner as previously described.
Oversize Rear Crankshaft Bearing Thrust Faces
1. Some engines have rear crankshaft bearings that are 0.2032 mm (0.008 inch) wider than standard across the thrust faces.
2. The crankshaft on these engines can be identified by .008 stamped on the rear counterweight.
3. If the rear crankshaft bearings are replaced, they must have the proper distance between thrust faces in order to obtain correct crankshaft end
play.
INSTALLATION
NOTE: If undersized bearings are used, ensure that the bearings are fitted to the proper journals.
1. Install the upper crankshaft bearings to block.
2. Install the lower crankshaft bearings to the bearing caps. Lubricate the crankshaft bearings with clean oil.
3. Install the crankshaft.
CAUTION: In order to prevent the possibility of cylinder block or crankshaft bearing caps are tapped into the cylinder block cavity using a brass,
lead, or leather mallet before the attaching bolts are installed. Do not use attaching bolts to pull the crankshaft bearing caps into the seats. Failure
to observe this information may damage a cylinder block or a bearing cap.
NOTE: Ensure that the arrows on the crankshaft bearing caps are facing the front of the engine.
4. Install the crankshaft bearing caps and the bolts to the block in their correct position and location. Do not Install the rear crankshaft bearing cap at