
G 1500 1/2 Ton Van V8-5.7L VIN R (1997)
Harmonic Balancer - Crankshaft Pulley: Service and Repair
REMOVAL
-
Tools Required
-
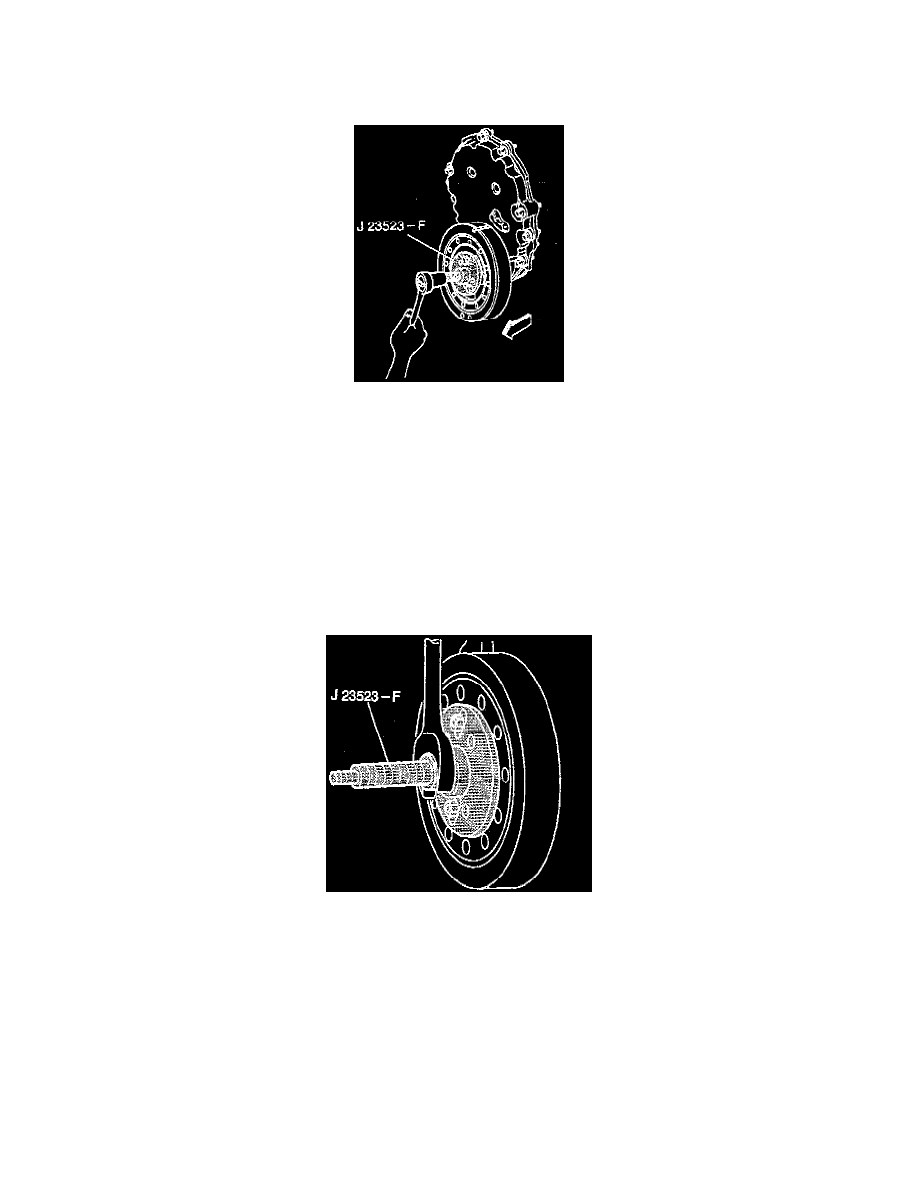
J 23523 F Crankshaft Balancer Puller and Installer, Or Equivalent
1. Remove the engine cooling fan.
2. Remove the accessory drive pulley.
3. Remove the crankshaft balancer bolt.
4. Remove the crankshaft balancer. Use the crankshaft balancer puller.
INSTALLATION
-
Tools Required
-
J 35468 Oil Seal Installer
-
J 23523-F Crankshaft Balance Puller and Installer
CAUTION: The inertial weight section of the crankshaft balancer is assembled to the hub with a rubber type material. The correct installation
procedures (with the proper tool) must be followed or movement of the inertial weight section of the hub will destroy the tuning of the crankshaft
balancer.
1. Install the crankshaft balancer using the following procedure
a. Install the stud to the crankshaft.
b. Thread the stud fully into the tapped hole in the crankshaft.
c. Install the crankshaft balancer (external) over the end of the stud. Align the keyway in the crankshaft balancer (external) shaft with the
crankshaft key. Use a small amount of RTV sealant in order to seal the crankshaft balancer (external) key to the crankshaft joint.
d. Install the bearing, washer and nut on the crankshaft balance installer.
e. Turn the nut to pull the crankshaft balancer onto the crankshaft.
f.
Remove the crankshaft balance installer.
2. Install the crankshaft balancer (external) bolt and washer.
-
Tighten the bolt to 100 Nm (74 ft. lbs.).
3. Install the accessory drive pulley.
4. Install the engine cooling fan.