
G 1500 1/2 Ton Van V8-5.7L VIN R (1997)
Oil Pan: Service and Repair
Installation
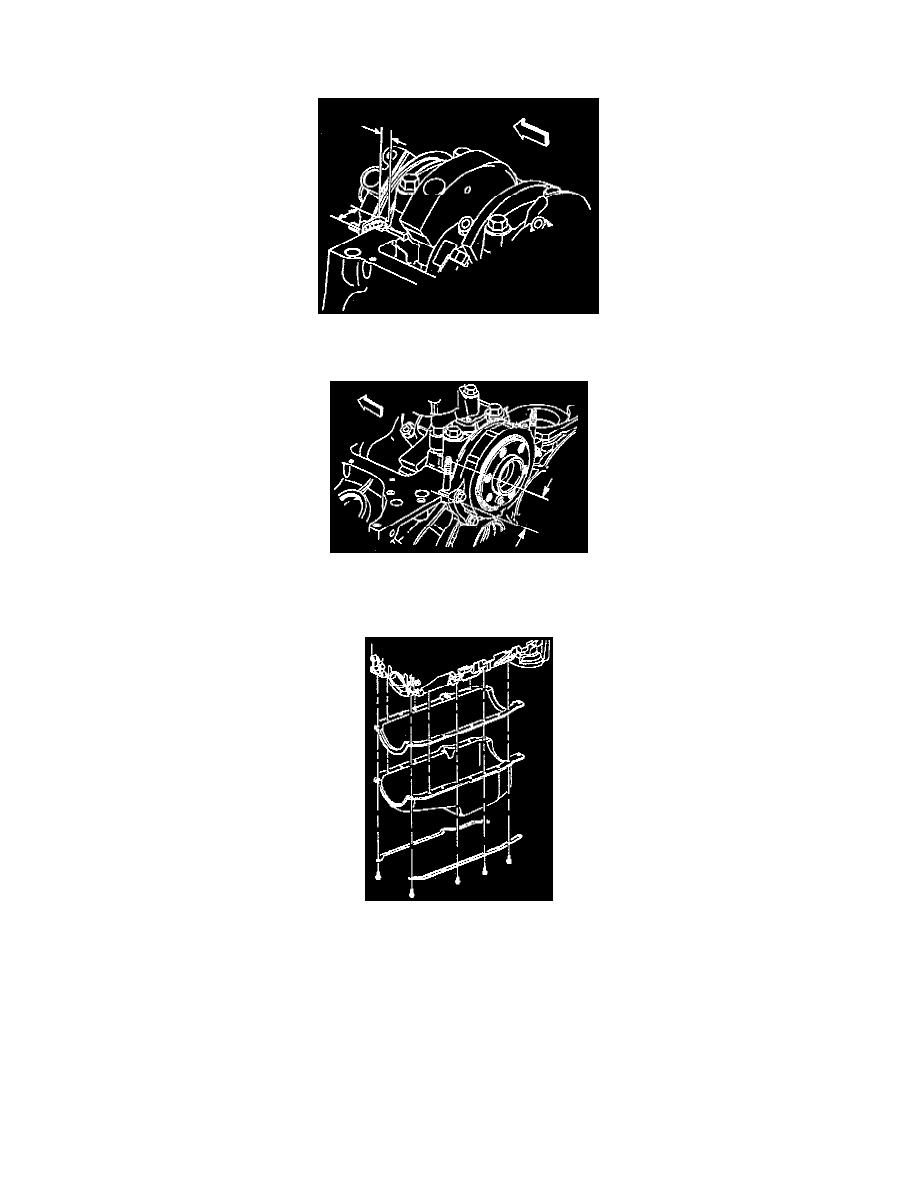
1. Apply sealant GM P/N 12346004 or the equivalent to the engine front cover to block joint. Apply the sealant for about 25 mm (1 inch) in both
directions from each of the four comers.
2. Apply sealant GM P/N 12346004 or the equivalent to the rear crankshaft seal to block joint. Apply the sealant for about 25 mm (1 inch) in both
directions from each of the four corners.
3. Install the oil pan gasket to the oil pan.
4. Install the oil pan to the engine.
5. Install the oil pan reinforcements, bolts, and nuts.
-
Tighten the oil pan bolts and nuts to 25 Nm (18 ft. lbs.).
6. Install the transmission oil cooler line retainer to the bracket.
7. Install the flywheel inspection cover.
8. Install the exhaust crossover pipe.
9. Remove the safety stands.
10. Lower the vehicle.
11. Install the engine oil level indicator.
12. Connect the battery negative cable assembly to the battery negative terminal.
-
Tighten the bolt to 15 Nm (11 ft. lbs.).
13. Fill the engine crankcase with the proper quantity and grade of engine oil.