G 1500 1/2 Ton Van V8-5.7L VIN R (1997)

Wheels: Initial Inspection and Diagnostic Overview
Test Description
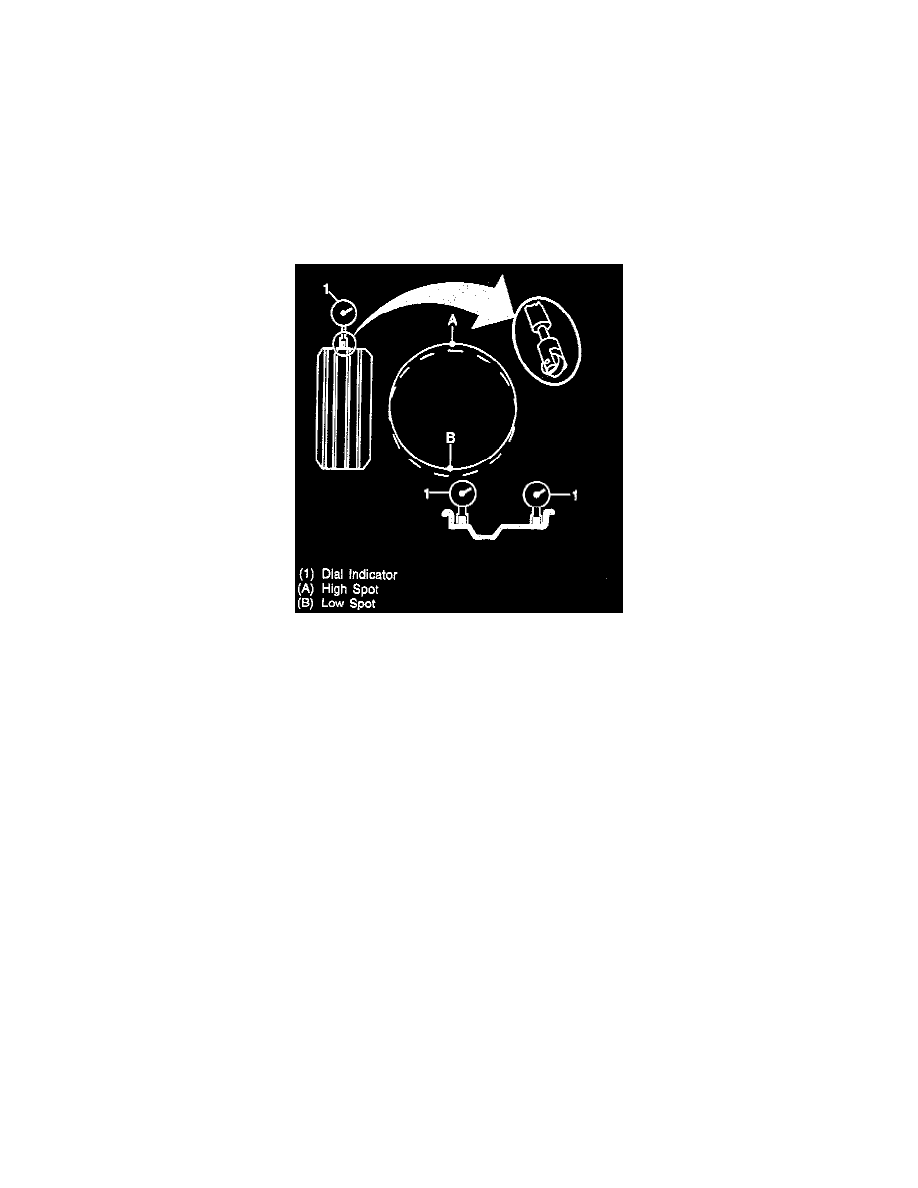
Wheel runout should be measured with an accurate dial indicator. Measurements may be taken with the wheel installed on or off the vehicle using an
accurate mounting surface such as on a wheel balancer. Measurements may also be taken with or without the tire mounted on the wheel.
Radial runout and lateral runout should be measured on both the inboard and outboard rim flanges. With the dial indicator firmly in position, slowly
rotate the wheel one revolution and record the total indicator reading. If any measurement exceeds specifications, and there is vibration that wheel
balancing will not correct, the wheel should be replaced. Disregard any indicator readings due to welds, paint runs, scratches, etc.
Radial Runout
Radial runout is the egg-shaped difference from a perfect circle. Measure the tire radial runout from the center of the tire tread rib, although other tread
ribs can be measured as well. The total runout is the reading from the gage and the high spot is the location of the maximum runout. On a rim, if either
flange is beyond specifications, replace the rim.
-
Aluminum Wheels - 0.762 mm (0.030 inches).
-
Steel Wheels - 1.015 mm (0.040 inches).
Lateral Runout
