G 20 Van V6-262 4.3L VIN Z (1993)

Pulley Rotor & Bearing Puller Installation
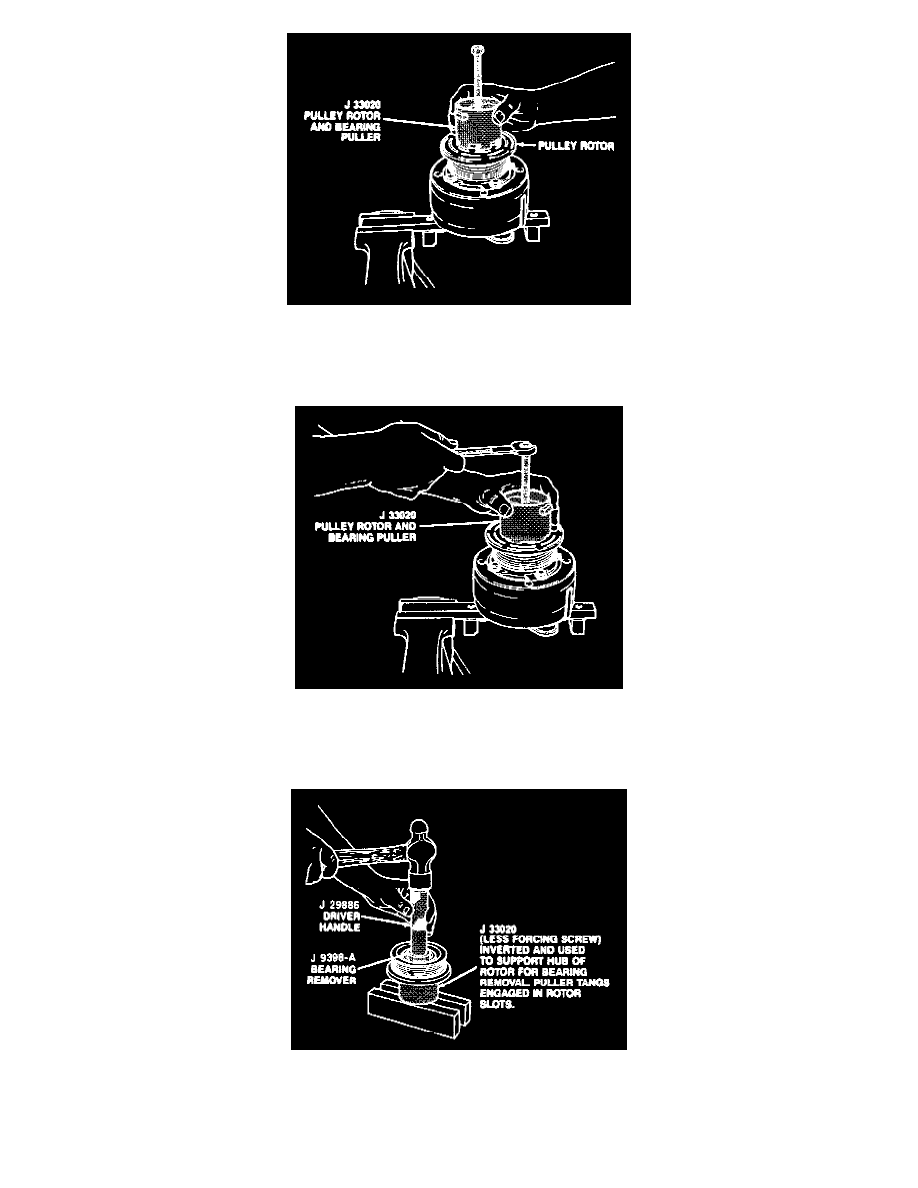
3. Install Pulley Rotor and Puller Guide J 25031 to the front head, and install J 33020 Pulley Rotor and Bearing Puller down into the inner circle of
slots in the rotor. Turn the J 33020 puller clockwise in the slots to engage the puller tangs with the segments between the slots in the rotor.
Pulley Rotor & Bearing Puller Removal
4. Hold the J 33020 Puller in place and tighten the puller screw against the Puller Guide to remove the pulley rotor and bearing assembly.
5. To prevent damage to the pulley rotor during bearing removal, the rotor hub must be properly supported.
Bearing Removal
Remove the forcing screw from J 33020 Puller and with the puller tangs still engaged in the rotor slots, invert the assembly onto a solid flat surface
or blocks.
