
G 20 Van V6-262 4.3L VIN Z (1993)
Clutch Coil Assembly
3. Slide the pulley rim off the Rotor and Hub assembly The Pulley Rim and the Clutch Coil are replaceable at this point.
Install or Connect
1. Assemble the Clutch Coil, Pulley Rim and the Clutch Rotor and Bearing assembly. Use new screws and apply sealer GM 12345382 (Loctite 242,
or equivalent) to screw threads but do not lock the screws in place.
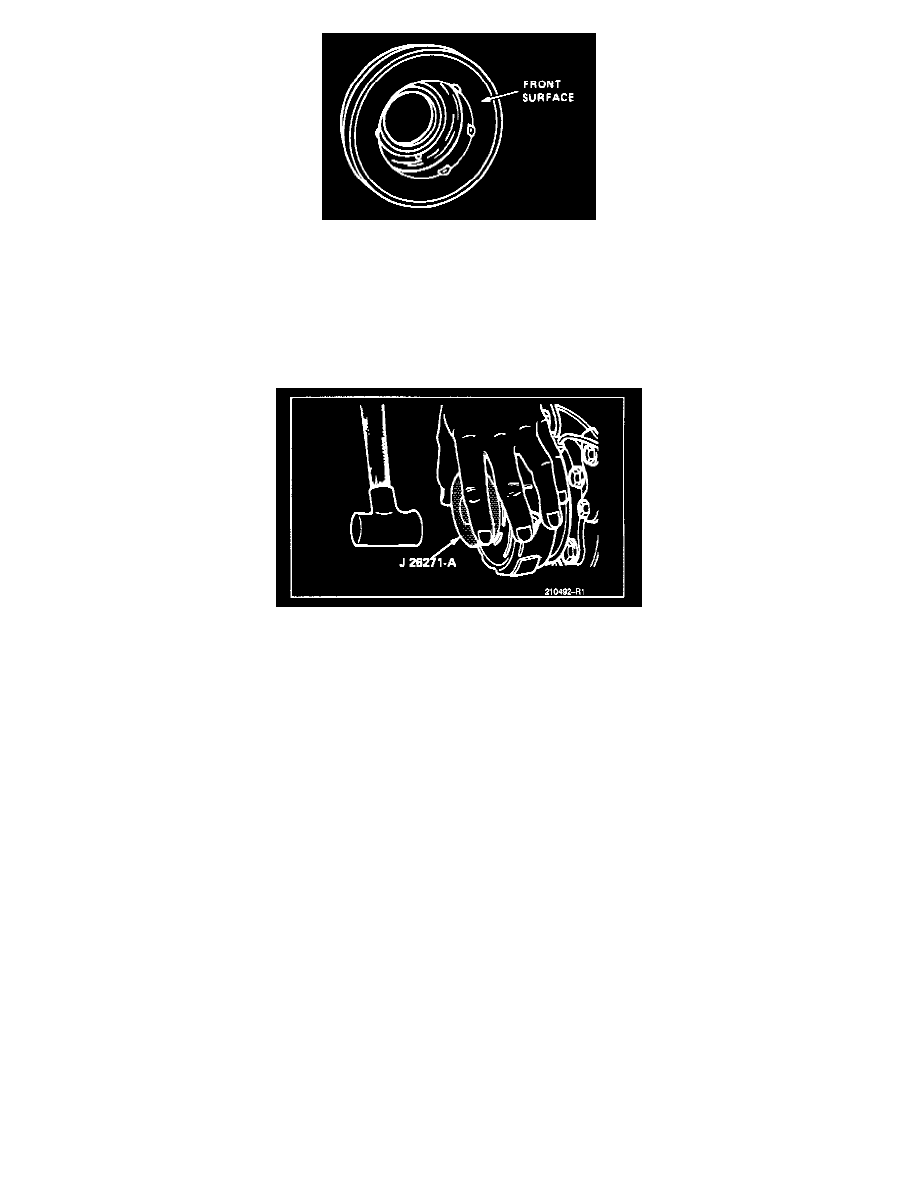
Installing Rotor And Bearing Assembly (On-Vehicle)
2. Place the assembly on the neck of the Front Head and seat into place using Rotor & Bearing Installer J 26271-A.
^
Before fully seating the assembly on the Front Head. be sure the clutch coil terminals are in the proper location in relation to the compressor
and that the three protrusions on the rear of the clutch coil align with the locator holes in the Front Head.