
G 20 Van V6-262 4.3L VIN Z (1993)
Removing/Installing Shaft Seal And O-Ring
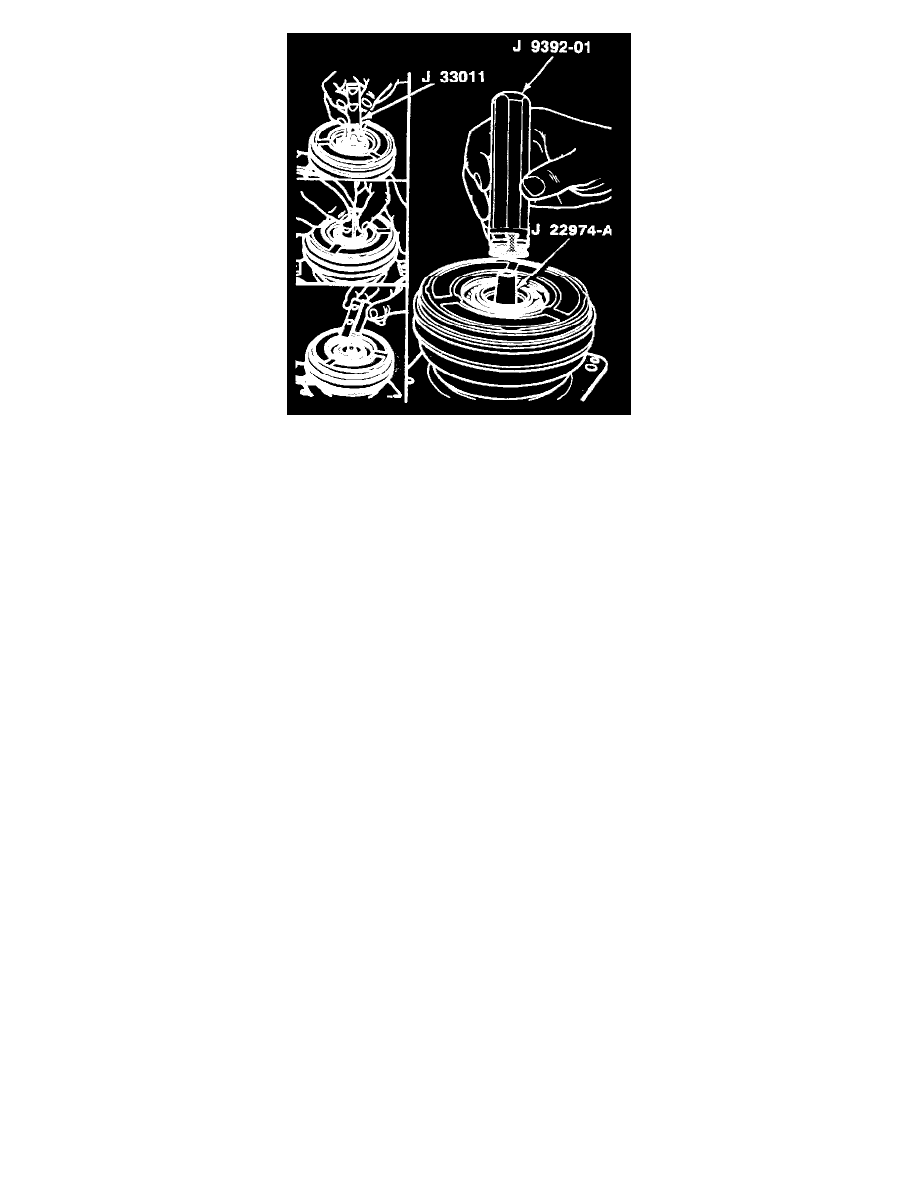
6. Shaft seal.
^
Place J 22974-A over the end of the shaft (38) to prevent cutting the O-ring (13).
^
Insert J 9392-01 over the compressor shaft (39).
^
Engage the tabs on the seal (14) by twisting the J 9392-01 to the right.
^
Engage the tabs and lift the seal (14) out of the shaft (39) cavity hold J 22974-A in place while removing the seal.
7. O-ring (15) with J 9553-01.
Install or Connect
Tools Required:
J 5403 External Snap Ring Pliers
J 9392-01 Shaft Seal Remover and Installer
J 9393-A Seal Seat Remover and Installer
J 9366 Compressor Shaft Nut Socket
J 9625-A Pressure Test Set with Schrader Valves
J 22974-A Shaft Seal Protector
J 23128-A Ceramic Seal Remover and Installer
J 33011 O-Ring Installer
1. O-ring (15) with J 33011.
^
Dip the seal (15) into clean 525 viscosity refrigerant oil.
^
Insert J 33011 down into the compressor neck until the tool "bottoms."
^
Lower the movable slide of J 33011 into the lower groove.
^
Rotate J 33011 to seat the seal (15).
^
Remove J 33011.
2. Shaft seal.
^
Coat the seal (14) with clean 525 viscosity refrigerant oil.
^
Mount the seal (14) to J 9392-01 by engaging the tabs of the seal with the tangs of J 9392-01.
^
Place J 22974-A over the end of the compressor shaft (39).
^
Slide the seal (14) and J 22974-A down onto the compressor shaft (38).
^
Twist J 9392-01 to the right (clockwise) while pushing the seal assembly down the shaft (38) until the seal assembly (14) engages the flats on
the shaft and seat in place.
^
Disengage J 9392-01 by pressing downward and twisting to the left (counterclockwise).
3. Shaft seal seat (13).
^
Seal (13) to J 23128-A.
^
Dip the seal (13) into clean 525 viscosity refrigerant oil.