
G 20 Van V6-262 4.3L VIN Z (1993)
Remove or Disconnect
1. Engine coolant.
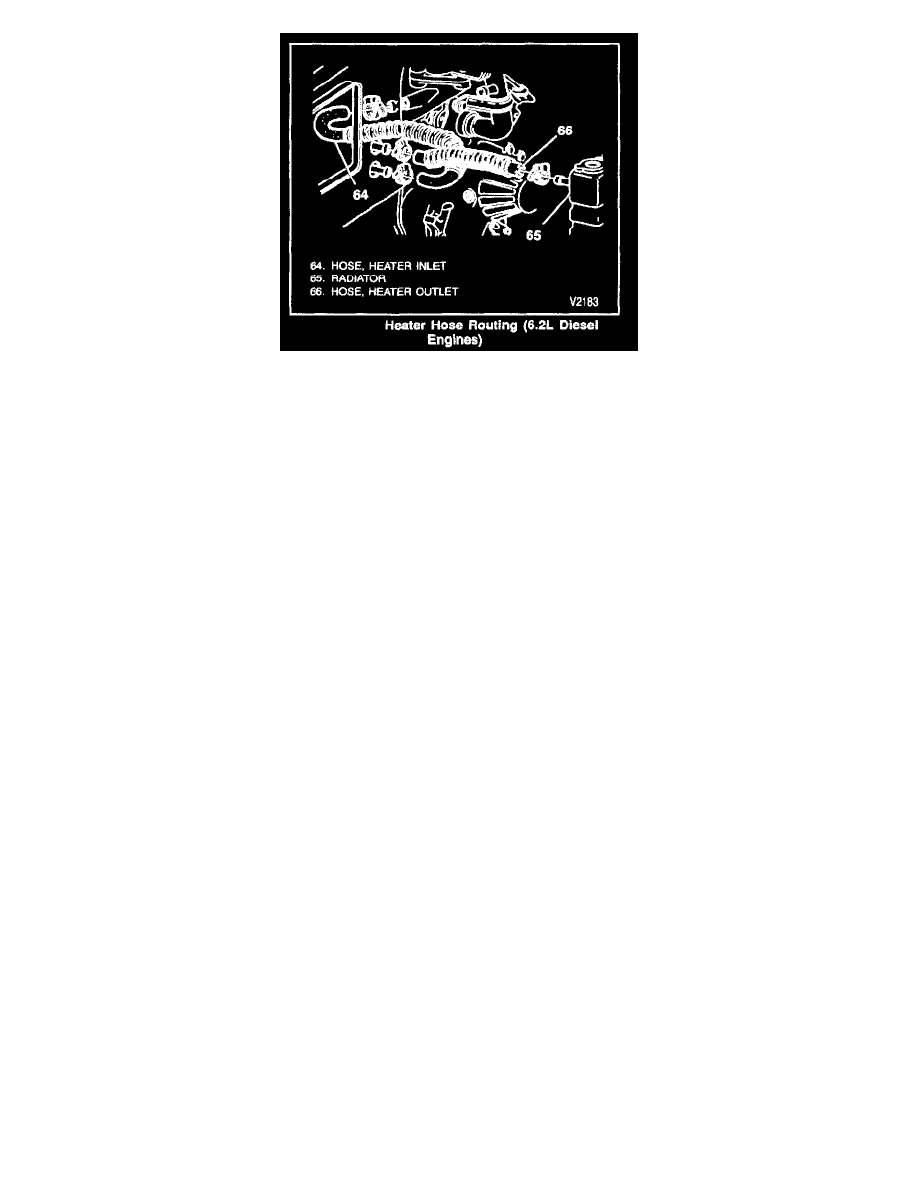
2. Heater hoses. (Figure 14, 15)
-
Blow out residual coolant from core using compressed air. This will prevent coolant leakage into the passenger compartment.
3. Engine cover.
Refer to Access Cover, Engine. See: Body and Frame
4. Floor air outlet duct(s). (Figure 12)
Remove or disconnect:
-
Floor outlets (45).
-
Instrument panel lower extension.
-
Screws (46 and 48).
-
Floor air outlet duct (47) from lower extension.
5. Steering column. Refer to Steering Column. See: Steering and Suspension/Steering
-
Lower the steering column for access.
6. Instrument panel. See: Instrument Panel, Gauges and Warning Indicators
-
Raise and support the right side of the instrument panel.
7. Defroster duct screw (62) (Figure 13).
8. Temperature control cable. (Figure 8)
9. Defroster control cable. (Figure 8)
-
Fold the cable(s) back for access.
10. Heater case (33).
-
Three nuts at the engine compartment side of the distributor case and one screw on the passenger side.
-
Tilt the case assembly rearward at the top while lifting up until the core tubes clear the dash openings.
11. Screws (34).
12. Core clamps (29).
13. Core (35).
Install or Connect
1. Core (35).
-
Apply a bead of permagum sealer between the core and the case.
2. Core clamps (29).
3. Screws (34).
4. Heater case (33).
-
Apply a bead of permagum sealer between the heater case and the opening in the vehicle.
-
Tilt the case until the core tubes clear the cowl opening.
5. Temperature control cable.