
G 20 Van V8-379 6.2L DSL VIN C FI (1992)
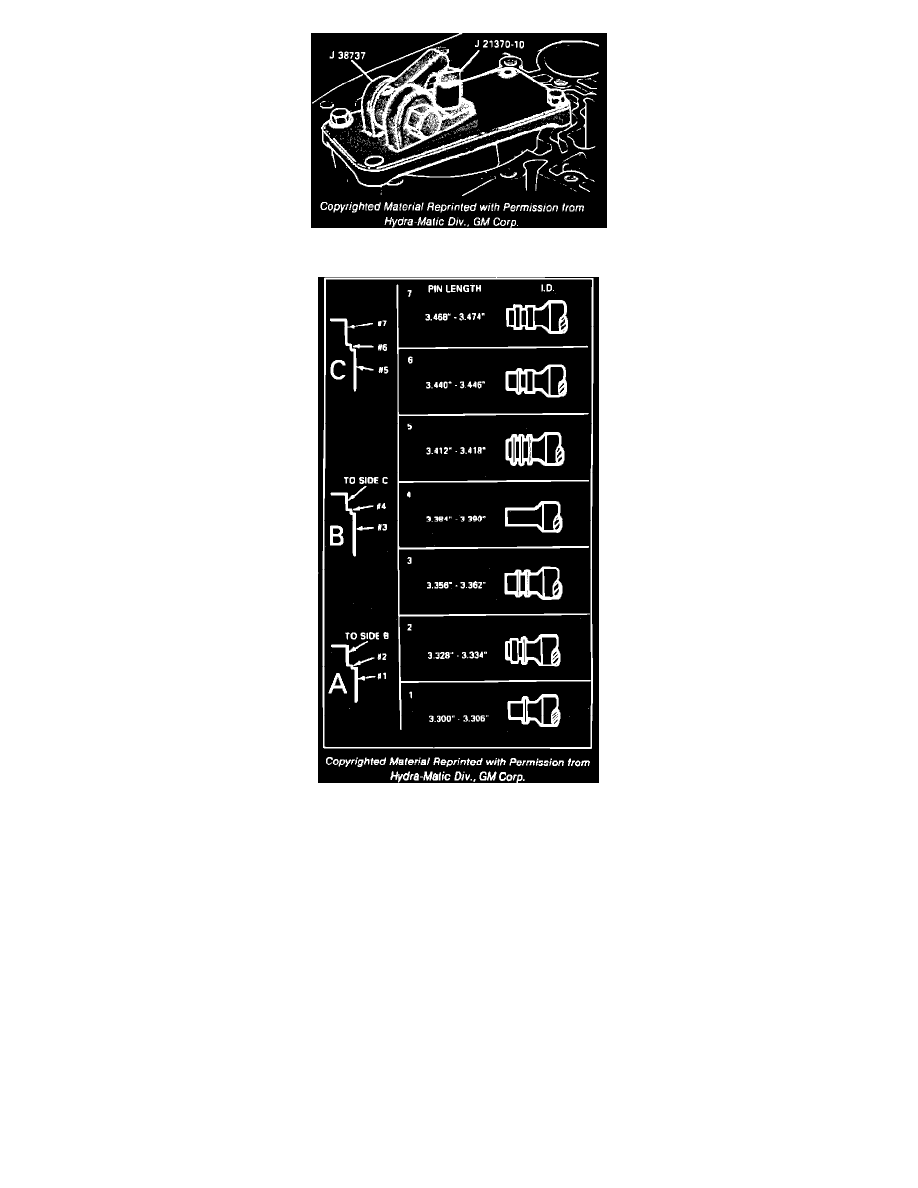
Fig. 8 Installing Servo Pin Gage
Fig. 9 Band Apply Pin Selection Chart
1.
Drain and remove oil pan, then filter and gasket.
2.
Remove servo cover to case bolts, servo cover, gasket and retaining clip, Fig. 7.
3.
Remove retaining clip, rear servo piston, reverse servo piston seal and accumulator piston.
4.
Remove inner and outer piston seals, washer, rear servo spring and retainer.
5.
Remove rear band apply pin and rear accumulator spring.
6.
Check and measure the apply pin as follows:
a.
Place gage pin part No. J-21370-10 in servo bore, Fig. 8.
b.
Position band apply pin checking tool part No. J-38737 over the bore with hex nut facing parking pawl linkage.
c.
Secure with two rear cover bolts, then torque, to 18 ft. lbs.
d.
Ensure gage pin moves freely in tool and pin bore.
e.
Determine correct pin length by torquing, to 25 ft. lbs. the nut on gage.
f.
Refer to Fig. 9, for proper pin selection.
7.
Reverse procedure to install. Tighten retaining bolts to specifications.
8.
Install filter and pan.
9.
Fill transmission with proper fluid.