
G 20 Van V8-393 6.5L DSL VIN Y (1995)
Tool Required J 23028-01 Spring Remover
^
Raise the vehicle, and suppont with suitable safety stands, allowing the control arms to hang free.
1. Tire and wheel assembly.
2. Shock absorber (29) at the lower end and move it aside.
^
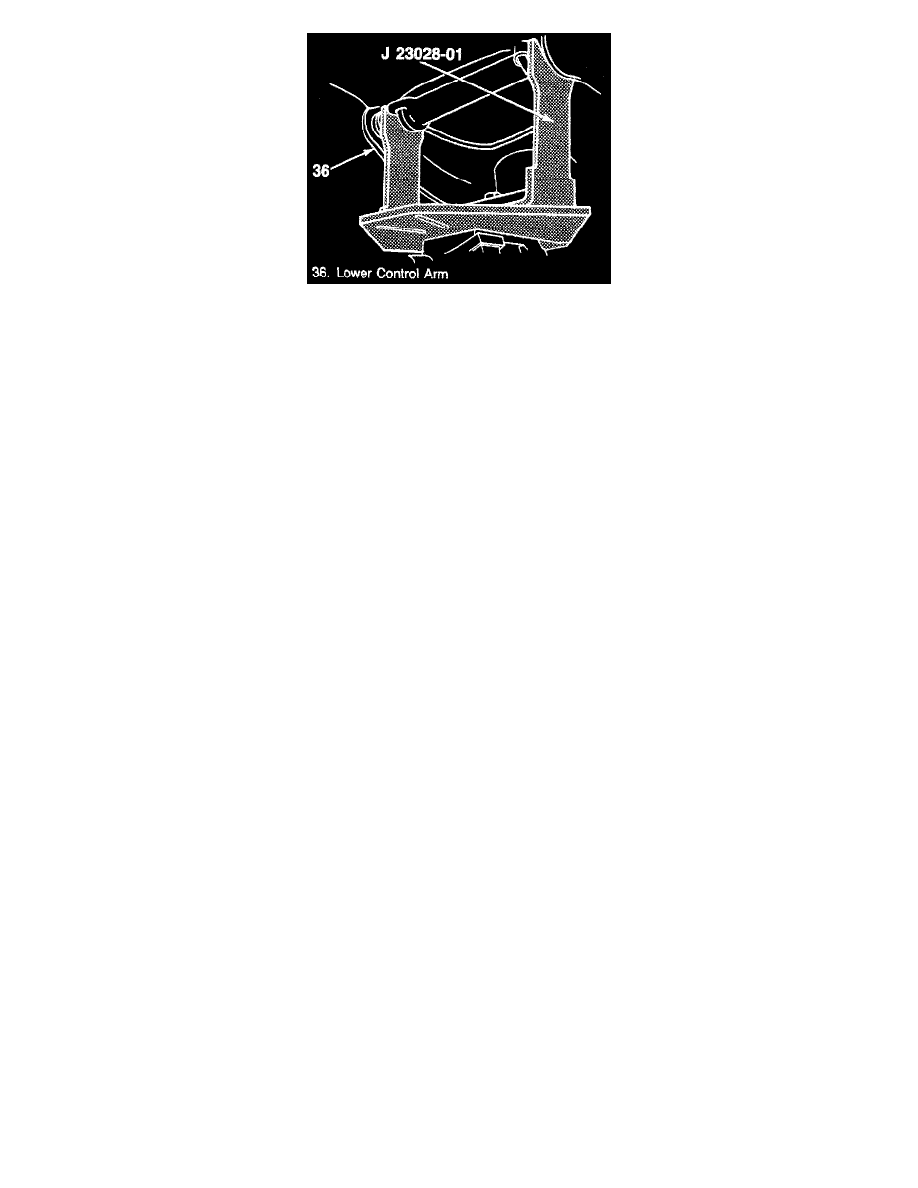
Install J 23628-01 on a suitable jack and then under the lower control arm.
3. Nuts (38), bolts (43), washers (39) and clamp (42).
4. Stabilizer shaft (59) from the lower control arm (36).
5. Nuts (49) and washers (48).
CAUTION: Failure to secure J 23028-01 to a suitable floor jack could result in personal injury.
Important:
^
Install a chain around the coil spring (32) and through the lower control arm (36) as a safety precaution.
^
In order to do this with an air cylinder installed, remove the valve core from the cylinder (69) and expel the air by pushing on it with a pry bar.
Replace the valve cap in order to retain the vacuumed condition, and push the air cylinder as far as possible toward the top of the spring.
^
Raise the jack to remove the tension from the lower control arm pivot shaft (50) and remove the U-bolts.
^
Lower the control arm by slowly releasing the jack until the spring can be removed.
^
Do not damage the ball joint (37) by applying too much force.
6. Spring (32) and safety chain, only after all compression is removed from the spring.
^
Proper maneuvering of the spring will allow easy removal.
7. Air cylinder (69), if equipped.
Inspect Air cylinder for leaks by replacing the valve core and inflating to 138 kPa (20 psi). Submerge in water and check for air bubbles.
Install or Connect