G 2500 3/4 Ton Van V8-305 5.0L VIN M SFI (1997)

INSTALL OR CONNECT
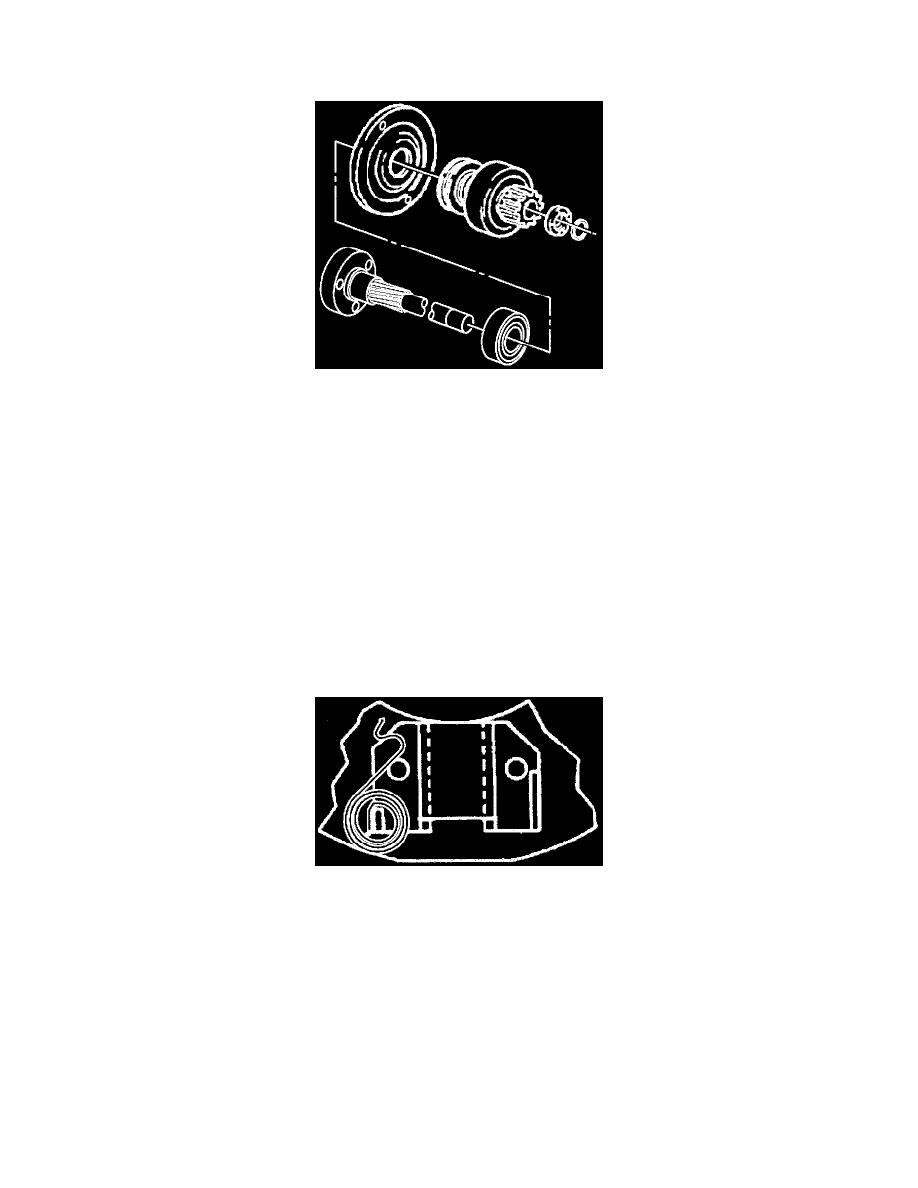
1. Arms on the shift lever with the shift collar onto the driveshaft and clutch group.
2. Assembled shift lever and driveshaft and clutch group into the drive housing.
Drive Shaft And Clutch Group
A. Align the holes in the driveshaft support with those in the drive housing.
B. Make sure that the driveshaft support is fully seated in the drive housing and that the drive- shaft bearing remains fully seated in the drive-
shaft support.
3. Shift lever screw, washer, and nut.
Tighten
^
Shift lever nut to 4.5 N.m (40 lb in).
4. Plate, if used, and drive housing plug to the drive housing.
5. Washers in the same number and position as noted at disassembly.
6. Armature support bracket to the drive housing.
^
Align the mark made prior to disassembly with that on the drive housing.
7. Drive housing bolts.
Tighten
^
Drive housing bolts to 8.5 N.m (75 lb in).
Frame, Field, and Brush Holder Group
Brush Spring On The Post
INSTALL OR CONNECT
1. Brush springs, if removed.
A. Start each brush spring onto the post on the brush holder assembly just enough to hold the inside end of the spring from turning.
B. Grasp the free end of the spring with needle nose pliers and twist it to the right over the top of the brush socket.
C. Push the spring fully onto the post and release the free end to engage the notch in the brush socket.
NOTICE: Brush leads may be damaged by excessive handling. Do not overflex the leads near the clip welds or the clips may break off.
2. Brushes, if removed.
