
G 2500 3/4 Ton Van V8-305 5.0L VIN M SFI (1997)
Transmission Cooler: Service and Repair
4L80-E
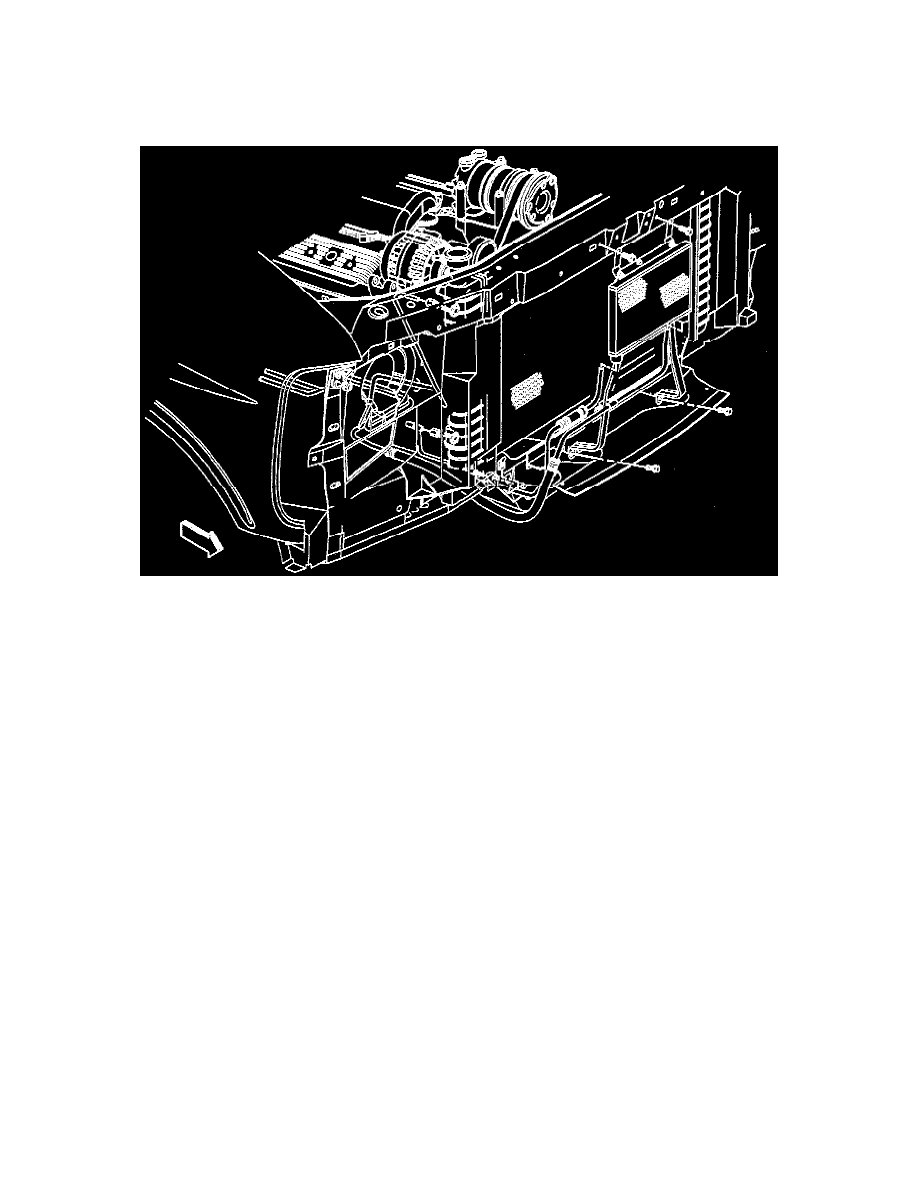
Auxiliary Oil Cooler Replacement
REMOVE OR DISCONNECT
1. Two oil cooler lines from the oil cooler.
2. Four bolts securing the oil cooler brackets to the radiator.
3. Four bolts and nuts securing the oil cooler to two brackets.
INSTALL OR CONNECT
1. Four bolts and nuts securing the oil cooler to two brackets.
-
Tighten bolts securing the oil cooler to the two brackets to 6 Nm (53 inch lbs.).
2. Four bolts securing the oil cooler brackets to the radiator.
-
Tighten bolts securing the oil cooler to the radiator to 10 Nm (89 inch lbs.).
3. Two cooler lines to the oil cooler.
Transmission Cooler Flushing
Important:
^
Transmission oil cooler flushing must be performed whenever a transmission is removed for service. It is essential to flush the oil cooler after
transmission installation, after a major overhaul, if oil contamination is suspected, or in any case of pump or torque converter replacement.
^
To ensure the complete transmission system service it is recommended that the flush procedure be performed after the overhauled or replacement
assembly has been reinstalled in the vehicle.
^
Tools Required:
-
J 35944 Cooler Flushing Tool
-
J 35944-20 or J 35044-CSE Biodegradable Flushing Solution
PREPARATION
1. After the overhauled or service replacement transmission is reinstalled in the vehicle, do not reconnect the oil cooler lines.
2. Remove the fill cap on J 35944 and fill the can with 0.6 liter (20-21 ounces) of flushing solution. Do not overfill or the tool will need to be
recharged with air before the backflush. Follow the manufacturer's suggested procedures for proper handling of the solution.
NOTICE: Do not substitute with any other solution. The flushing tool Is designed to use only this concentrate. Use of any other solution can
result in damage to the tool, cooler components, or improper flushing of the cooler.
3. Secure the fill cap and pressurize the flusher can with shop air to 550-700 kPa (80-100 psi).