
G 2500 3/4 Ton Van V8-305 5.0L VIN M SFI (1997)
Installing The Pinion Flange
REMOVE OR DISCONNECT
1. Raise the vehicle and support it with suitable safety stands.
2. The propeller-shaft from the pinion flange.
Important: The driveline components in this vehicle have been factory system-balanced. System balance provides a smoother running driveline
operation. However, it is essential that the positions of all driveline components relative to the propeller shaft and axles be observed end accurately
reference marked prior to disassembly. These components include the propeller shafts, drive axles, pinion flanges, output shafts, etc. All
components must be reassembled in the exact relationship to each other as they were when removed. Specifications and torque values, as well as
any measurements made prior to disassembly, must be followed to maintain the factory balance.
3. Scribe a line on the pinion stem, pinion nut and the pinion flange. Use the scribed reference as a reinstallation guide.).
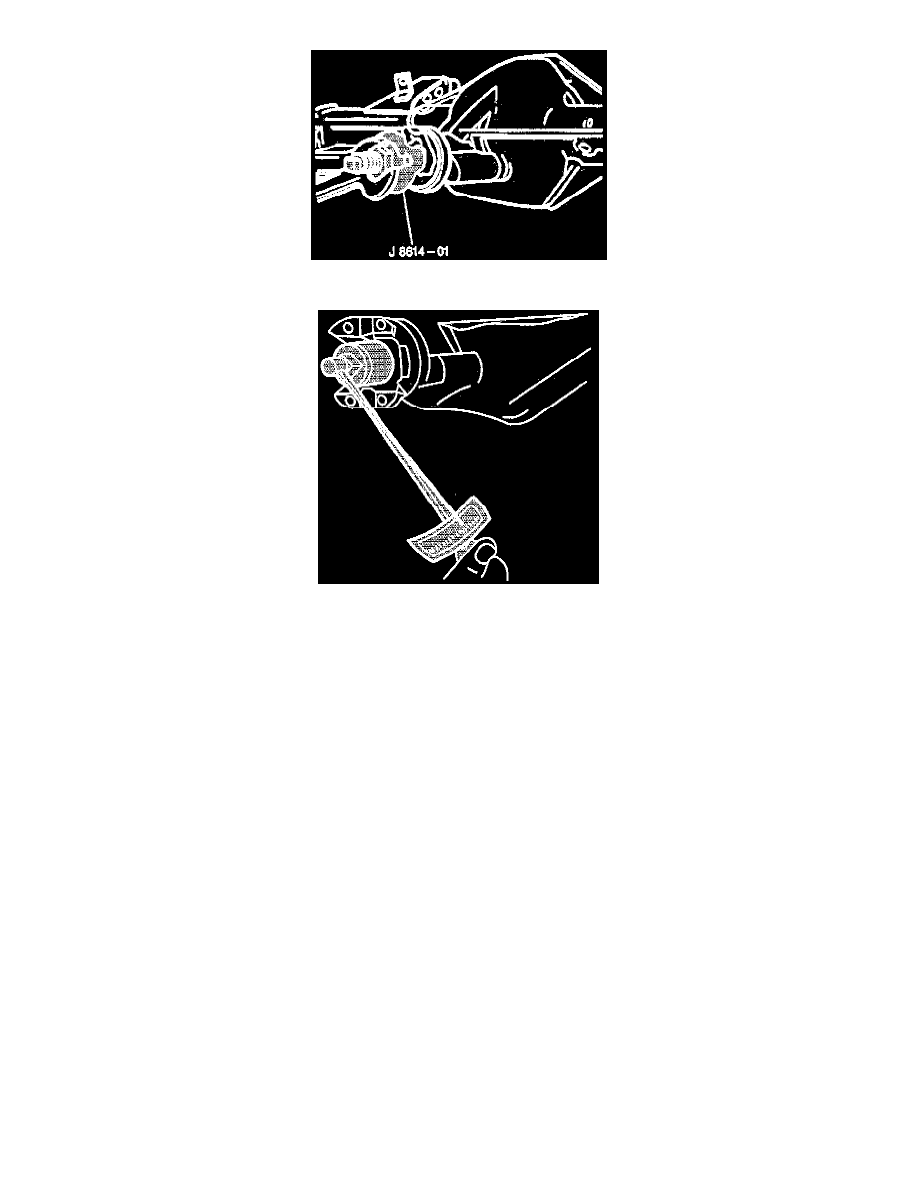
4. Using J 8614-01 to the pinion flange, remove the pinion nut from the yoke.
5. The pinion flange yoke from the axle carrier using J 8614-01.
-
Use the special nut and forcing screw to remove the flange.
6. The pinion oil seal from the axle carrier using J 22388 or J 22836.
Inspect
-
The pinion flange for a smooth oil seal surface, for worn drive splines, damaged. ears and for smoothness of the bearing contact surface. Replace if
necessary.
7. The dust deflector.
-
Tap the deflector from the flange if replacement is necessary.
-
Clean up the stake points on the flange.
-
Clean all foreign material from the contact area.
INSTALL OR CONNECT
Important: All components must be reassembled in the exact relationship to each other as-they were when removed. Specifications and torque
values, As well as any measurements made-prior to-disassembly must be followed to maintain, the factory, balance.
1. The dust deflector onto the flange.
-
Stake the new deflector at three new equally spaced positions. Staking must be such that the seal operating surface is not damaged.