
G 2500 3/4 Ton Van Exhaust Manifold Service and Repair (Left)
Exhaust Manifold: Service and Repair
Left
REMOVAL
1. Disconnect the negative battery cables.
2. Remove the engine cover.
3. Remove the heat shield from the turbocharger.
4. Remove the engine oil level indicator tube (left side).
5. Remove the transmission oil level indicator tube (right side).
6. Raise the vehicle, if necessary. Support the vehicle with safety stands.
7. Remove the glow plugs.
8. Remove the exhaust pipes from the exhaust manifold to the turbocharger.
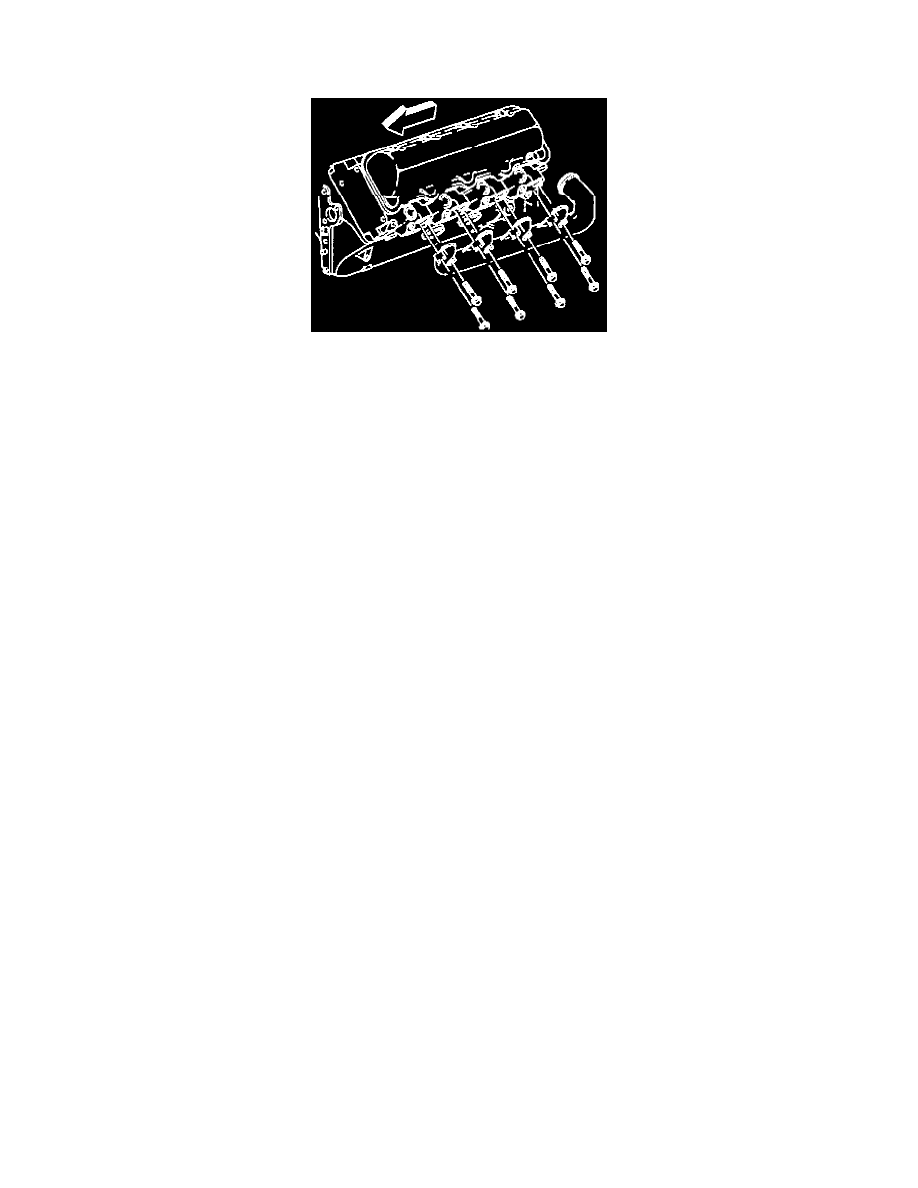
9. Remove the left exhaust manifold bolts.
10. Remove the left exhaust manifold.
11. Clean the following items
^
The sealing surfaces on the exhaust manifold
^
The sealing surfaces on the cylinder head
^
The threads on the manifold bolts.
INSTALLATION
1. Install the left exhaust manifold to the cylinder head.
2. Install the left exhaust manifold bolts.
^
Tighten the bolts to 35 Nm (26 ft. lbs.).
3. Install the exhaust pipe from the turbocharger to the exhaust manifold.
4. Install the glow plugs.
5. Lower the vehicle, if raised.
6. Install the transmission oil level indicator tube (right side).
7. Install the engine oil level indicator tube (left side).
^
Tighten the oil level indicator tube bracket bolt to 4 Nm (35 inch lbs.).
8. Install the heat shield to the turbocharger assembly.
9. Install the engine cover.
10. Connect the negative battery cables.