G 30 1 Ton Van L6-250 4.1L VIN D 2-bbl (1983)

Timing Cover: Service and Repair
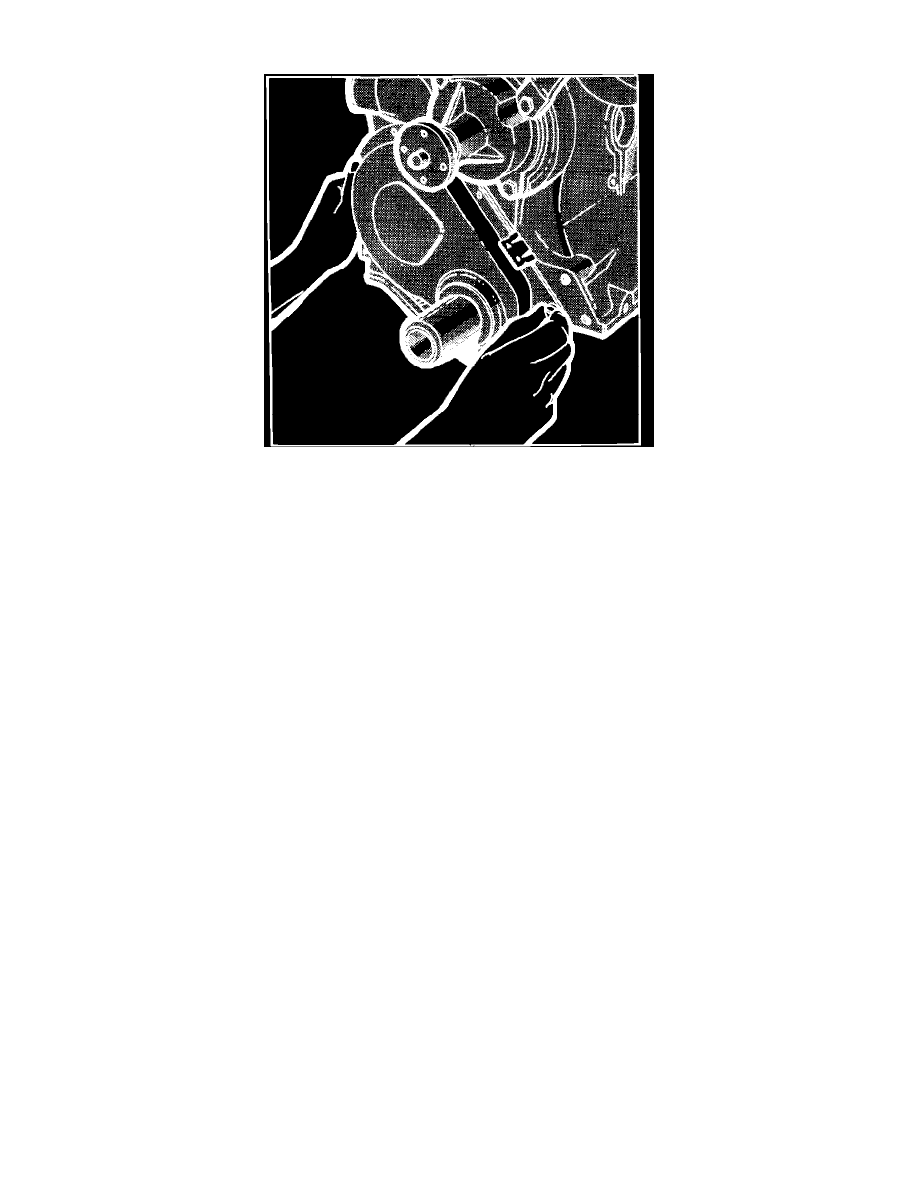
Fig. 27 Timing case cover installation. 6-250 & 292
6-250, 292
1.
Remove radiator.
2.
Remove vibration damper.
3.
Remove the two oil pan to front cover attaching screws.
4.
Remove front cover to cylinder block attaching screws.
5.
On 6-250 engines, pull cover slightly forward, then using a sharp knife, cut oil pan front seal flush with cylinder block at both sides of cover.
6.
Remove cover and attached portion of oil pan front seal.
7.
Pry oil seal out of cover with a large screwdriver. Install new seal with open side of seal inside of cover and drive or press seal into place.
8.
Clean gasket surfaces.
9.
On 6-250 engines, cut tabs from new oil pan front seal, then install seal on cover, pressing tips into cover holes.
10.
Apply a 1/8 inch bead of RTV sealant to the joint formed at oil pan and cylinder block.
11.
Install a suitable centering tool over end of crankshaft.
12.
Coat gasket with light grease and position on cover.
13.
Apply a 1/8 inch bead of RTV sealer at joint of oil pan and cover.
14.
Install cover over centering tool, Fig. 27, and install cover screws, tightening them to 6 to 8 ft. lbs. on 1980---85 models. On 1986---87 models,
torque timing case cover-to-block bolts to 80 inch lbs. and timing case cover-to-oil pan bolts to 45 inch lbs. It is important that the centering tool
be used to align the cover so the vibration damper installation will not damage the seal. Position seal evenly around damper hub surface.
