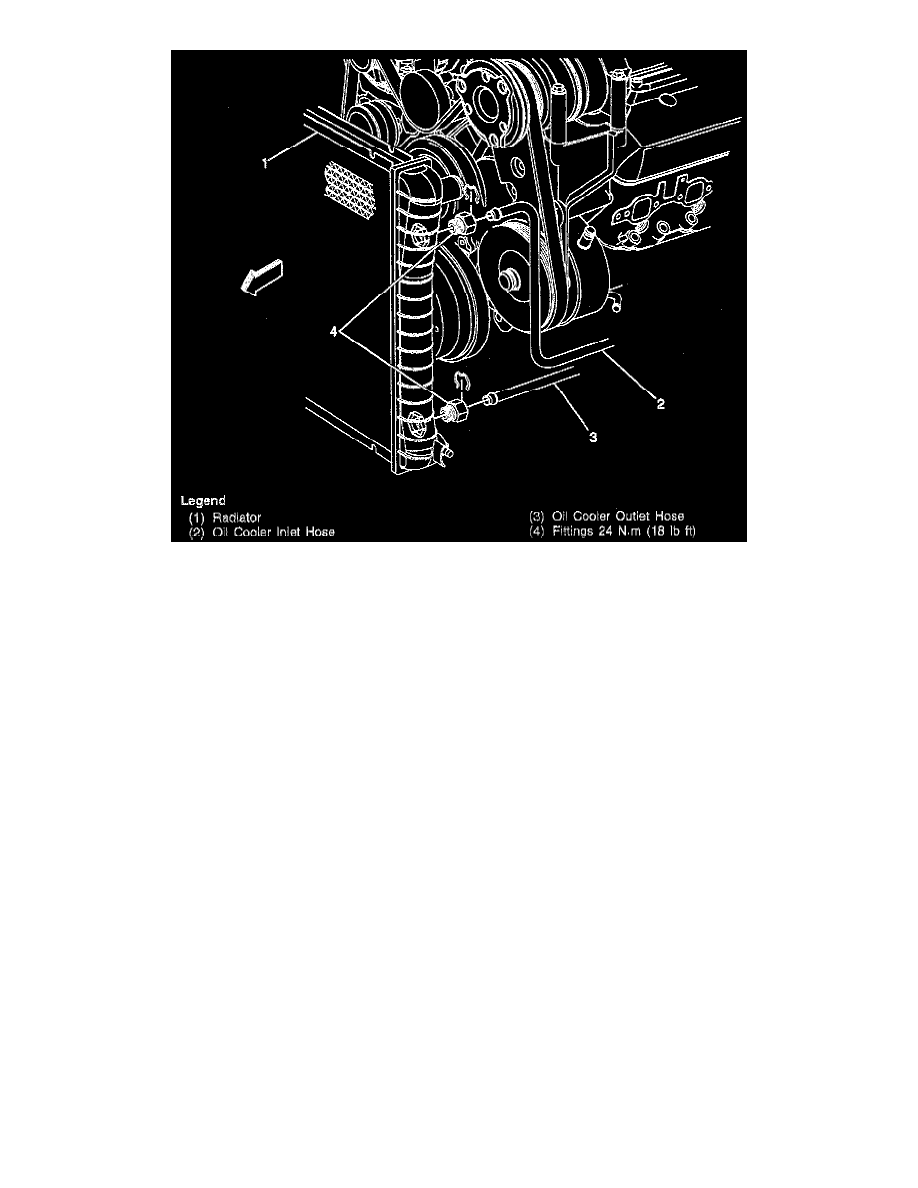
G 30 Van V8-454 7.4L VIN J SFI (1996)

C. Remove the retaining ring from the quick connect fitting.
D. Discard the retaining ring.
E. Pull the cooler line straight out from the quick connect fitting.
F. Repeat Step 2 to remove the remaining cooler lines from the remaining quick connect fittings.
INSTALLATION
1. "NEW" retaining ring (E-clip) into the quick connect firing.
NOTE
^
Do not reuse any of the existing retaining rings removed from the existing quick connect fittings. All retaining rings being installed must be
"NEW."
^
Do not install the new retaining ring onto the fitting by pushing the retaining ring down over the fitting.
^
Ensure the following procedures are performed when installing the new retaining rings onto the fittings.
A. Hook one of the open ends of the retaining ring in one of the slots in the quick connect fitting.
B. Rotate the retaining ring around the fitting until the retaining ring is positioned with all three ears through the three slots on the fitting.
C. Ensure the three retaining ring ears can be seen from inside the fitting and the retaining ring can move freely in the fitting slots.
2. Repeat Step 1 to install the remaining retaining rings onto the remaining quick connect fittings.
CAUTION: Ensure the cooler line being Installed has a plastic cap on each end that connects to a quick connect fitting. If no plastic cap exists, or
the plastic cap is damaged, obtain a NEW plastic cap and position on to the cooler line prior to cooler line installation.
3. Cooler lines to the vehicle.
4. Oil cooler line retaining bolt to the oil filter base.
^
Tighten the oil cooler line retaining bolt to the oil filter base to 35 Nm (26 ft. lbs.).
5. Check the oil level and fill as necessary.
