
G 30 Van V8-454 7.4L VIN N TBI (1995)
Distributor: Service and Repair
Distributor Replacement
Preassembled replacement distributors are not available. Components are available to assemble a new distributor. Some components, such as the air
cleaner, may need to be removed to reach the distributor. The distributor has a separate ignition coil that mounts to a bracket on the top of the engine.
REMOVE OR DISCONNECT
Make sure the ignition switch is "OFF."
1. Air cleaner and hoses.
2. Electrical connectors at the side of the distributor cap.
3. Two screws on the sides of the distributor cap.
4. Ignition coil wire and spark plug wires on either the left or right side of the distributor.
5. Distributor cap and move it aside.
A. Use chalk to note the position of the rotor in relation to the engine.
B. Use chalk to note the position of the distributor housing in relation to the engine.
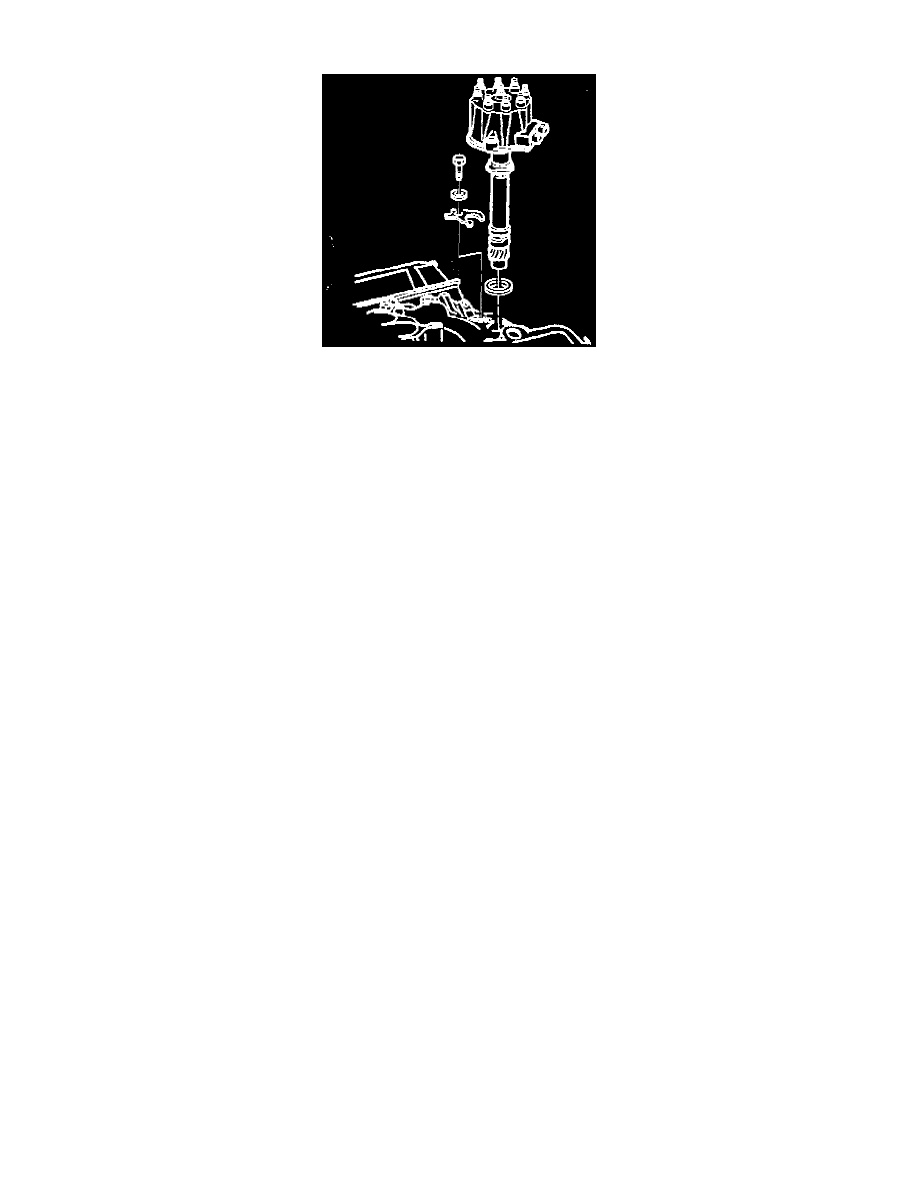
6. Distributor bolt and hold-down clamp.
7. Distributor.
INSTALL OR CONNECT
1. Distributor.
A. To ensure correct timing of the distributor, it must be installed with the rotor correctly positioned as noted in step 5 of the removal procedure. Line
up the rotor to the mark on the engine, and the mark on the housing to the engine.
B. If the distributor shaft won't drop into the engine, remove the distributor, insert a screwdriver into the hole for the distributor and rotate the oil
pump driveshaft so it lines up with the distributor drive gear.
2. Hold-down clamp and bolt.
Tighten
Bolt to 27 Nm (20 lbs. in.).
3. Distributor cap with two screws.
4. Wiring harness connectors to the sealed ICM connectors at the side of the distributor.
5. Spark plug wires and coil wire.
6. Air cleaner and hoses.
Check the ignition base timing.