
HHR L4-2.2L (2007)
1. Install the upper balance shaft chain guide.
Tighten the upper balance shaft chain guide bolts to 10 N.m (89 lb in).
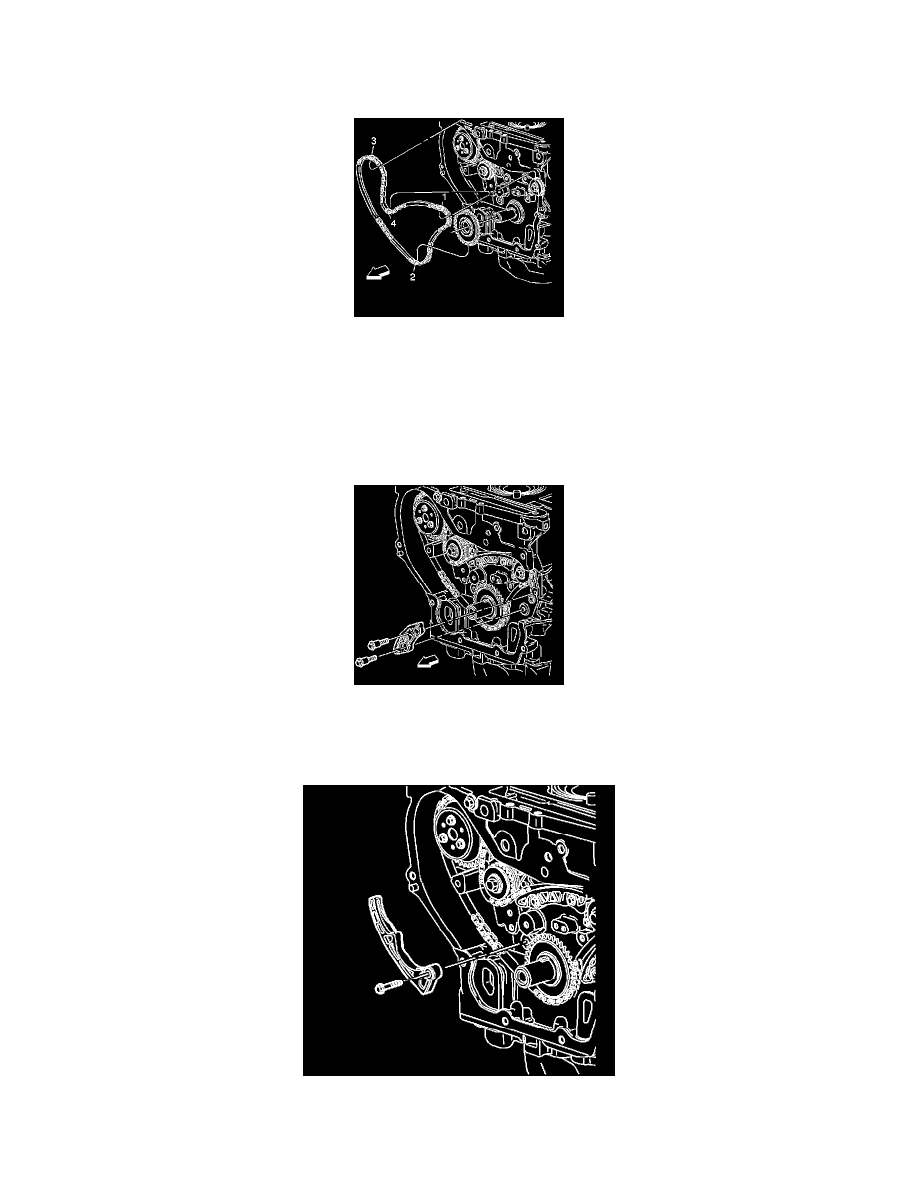
2. Install the balance shaft drive chain with the colored links lined up on with the marks on the balance shaft drive sprockets and the crankshaft
sprocket. Use the following procedure to line up the links with the sprockets:
Orient the chain so that the copper colored and chrome links are visible.
1. Place the uniquely colored link (1) so that it lines up with the timing mark on the intake side balance shaft sprocket.
2. Working clockwise around the chain, place the first matching colored link (2) in line with the timing mark on the crankshaft drive sprocket.
(approximately 5 o'clock position on the crank sprocket).
3. Place the chain (3) on the water pump drive sprocket (alignment is not critical).
4. Align the last matching colored link (4) with the timing mark on the exhaust side balance shaft drive sprocket.
3. Install the small balance shaft chain guide.
4. Tighten the balance shaft chain guide bolts.
Tighten the chain guide bolts to 10 N.m (89 lb in).
5. Install the adjustable balance shaft drive chain guide.
Tighten the chain guide bolts to 10 N.m (89 lb in).