
HHR L4-2.2L (2007)
4. While lightly holding the brake pedal, install and adjust the stop lamp switch:
1. If a new brake pedal assembly is being installed, the pedal will include a stop lamp switch adjustment spacer in place over the switch contact
rubber bumper.
2. If the pedal assembly is being reused, position a 2 mm (5/64 in) drill bit or a hex wrench as a spacer over the face of the switch contact rubber
bumper.
3. Insert the stop lamp switch into the retainer.
4. Ensure the switch plunger is fully depressed against the adjustment spacer, drill bit, or hex wrench without deflecting the bracket or the switch
contact arm on the brake pedal.
5. Rotate the switch clockwise to secure the switch in the retainer.
6. Remove the adjustment spacer, drill bit, or hex wrench.
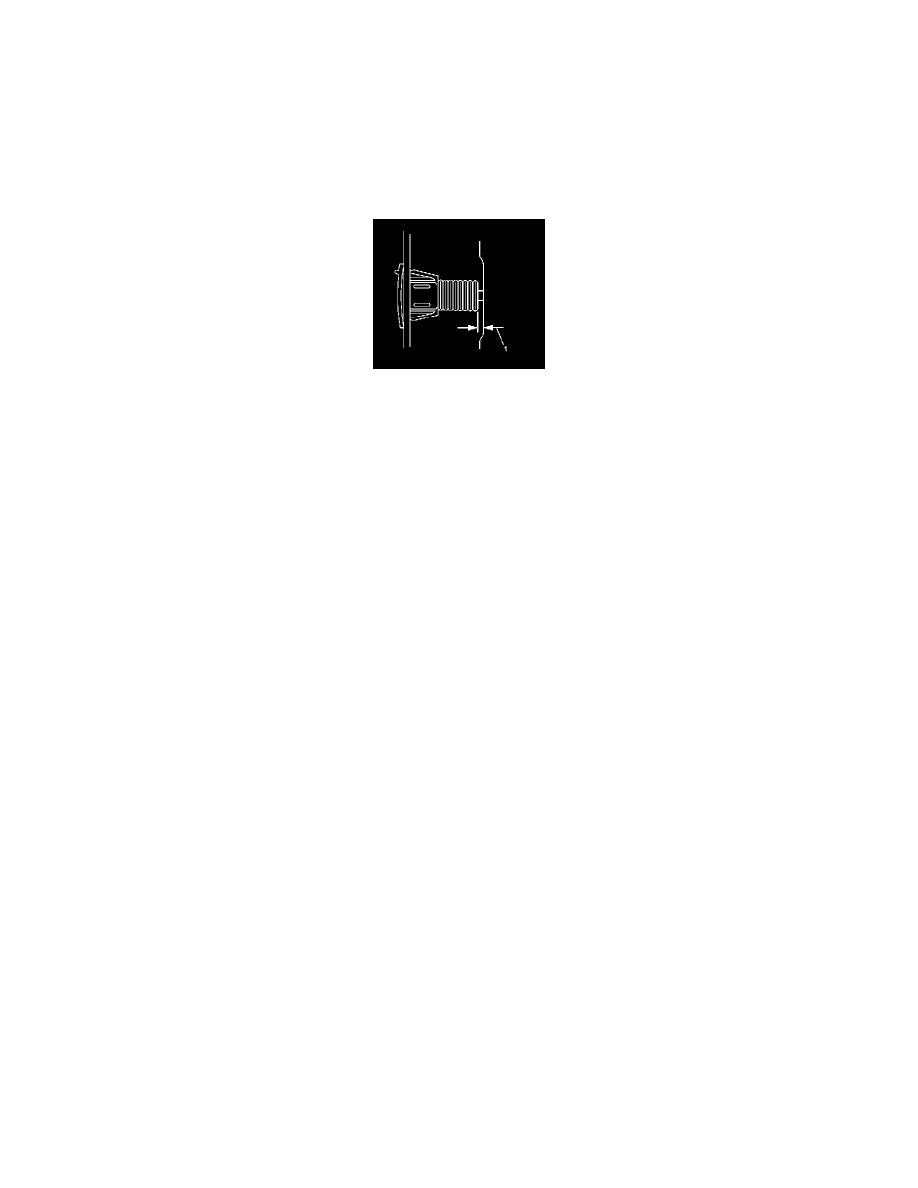
5. Release the brake pedal and inspect the switch barrel to switch contact rubber bumper clearance (1).
Clearance should not exceed 1.2 mm (0.047 in).
6. Ensure the following contacts open at 25.4 mm (1 in) or less of pedal travel:
-
The cruise release switch
-
The stop lamp and torque converter clutch (TCC) switch.
7. Ensure the switches open simultaneously or before the onset of braking.
8. The brake pedal may travel up to 25.4 mm (1 in) before the cruise control system disengages.
9. Install the sound insulator.