
HHR L4-2.2L (2007)
12. Remove the wheel bearing/hub retaining nuts from both sides.
13. Remove the wheel bearing/hubs, with the brakes and backing plate as an assembly.
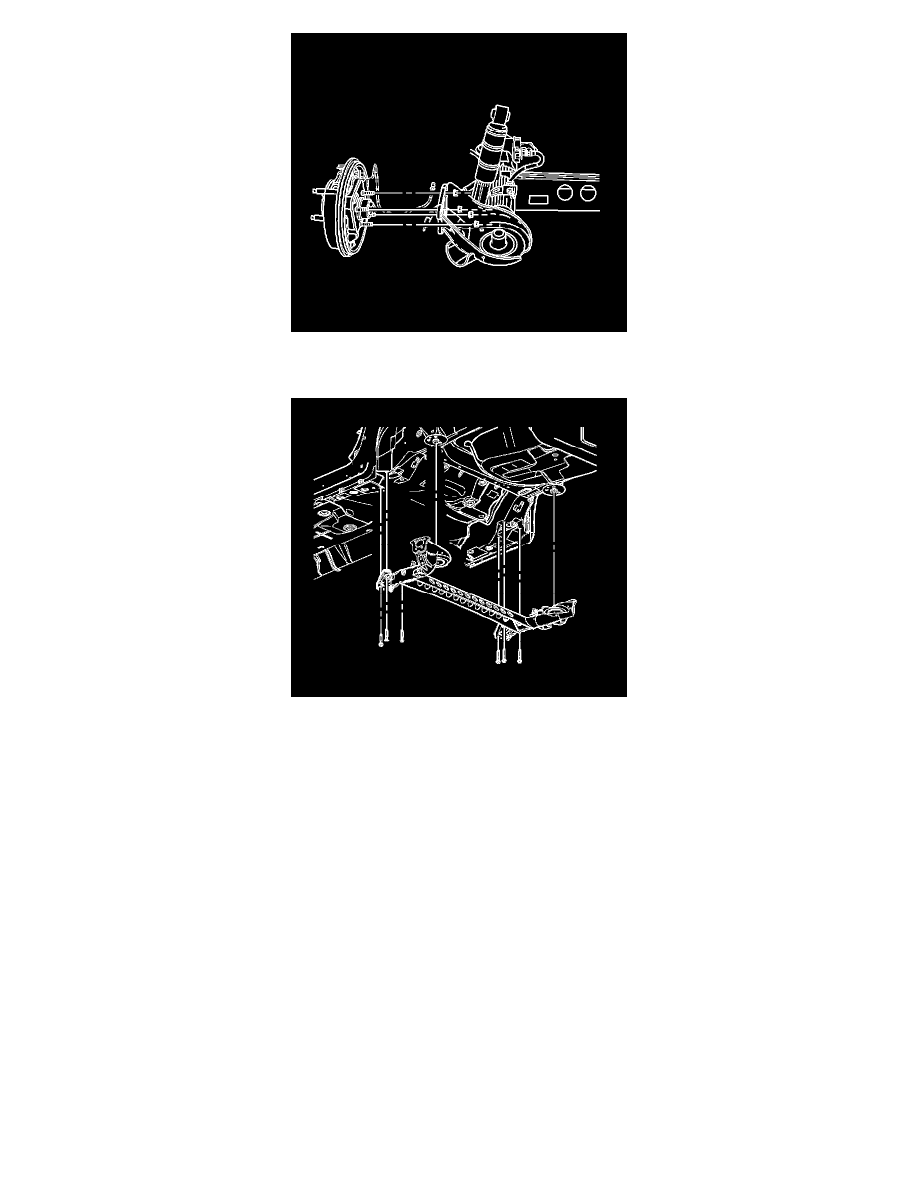
Axle Assembly
14. Remove all rear axle bushing bracket bolts.
15. Use the hydraulic lift table to lower the rear axle from the vehicle.
16. Remove the rear axle bushing through bolts and the park brake cable brackets.
17. Remove the rear coil spring lower seat from the axle.
Installation Procedure
1. Install the rear coil spring lower insulators to the axle.
2. Install the axle brackets to the axle bushings, with the alignment slot on the outboard side.
Important: The axle bushing through bolts must be installed with the bolt head facing inboard.
3. Loosely install the bushing bolts and nuts.
4. Place the axle on the hydraulic lift table.
5. Raise the axle into position.