
HHR L4-2.4L (2010)
1. Spread the beads and mark the puncture with a tire crayon.
2. Inspect the inner tire for any signs of internal damage.
3. Remove the puncturing object, noting the direction of the penetration.
4. Probe the injury with a blunt awl in order to determine the extent and direction of the injury.
5. Remove any loose foreign material from the injury.
6. Punctures exceeding 6.35 mm (1/4 in) should not be repaired.
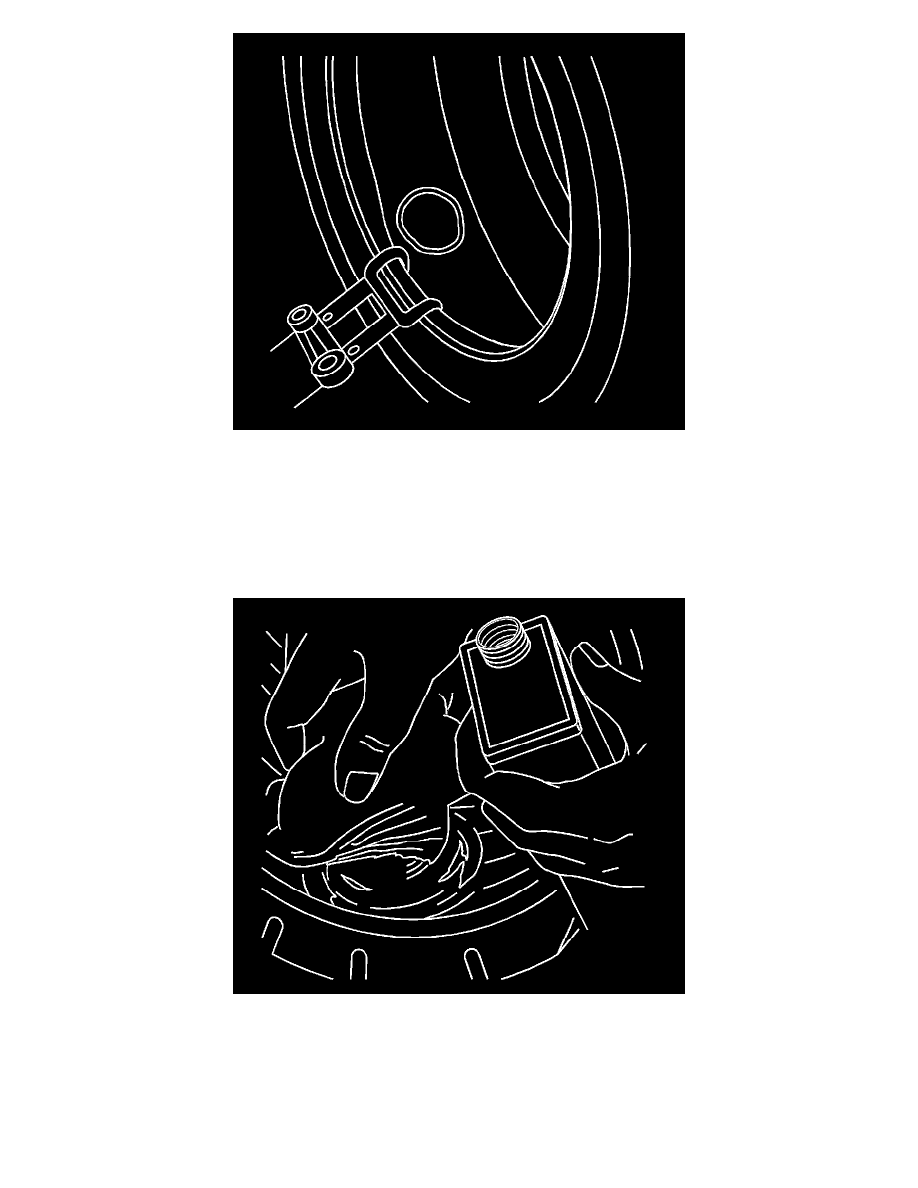
Cleaning
1. Clean the area around the puncture thoroughly with a proper liner cleaner, clean cloth and a scraper. This step serves to remove dirt and mold
lubricants to insure proper adhesion and non-contamination of the buffing tool.
2. Refer to information on the product or manufacturer's Material Safety Data Sheet and follow guidelines for handling and disposal.
Clean the Injury Channel