
Impala V6-3.5L VIN N (2006)
Note
Glue should be Instant Adhesive-Gel, P/N 12345632 (US), 10953475 (CN), or equivalent, such as SAF-T-LOK IB-45
(ETHILCIANOCRILATO).
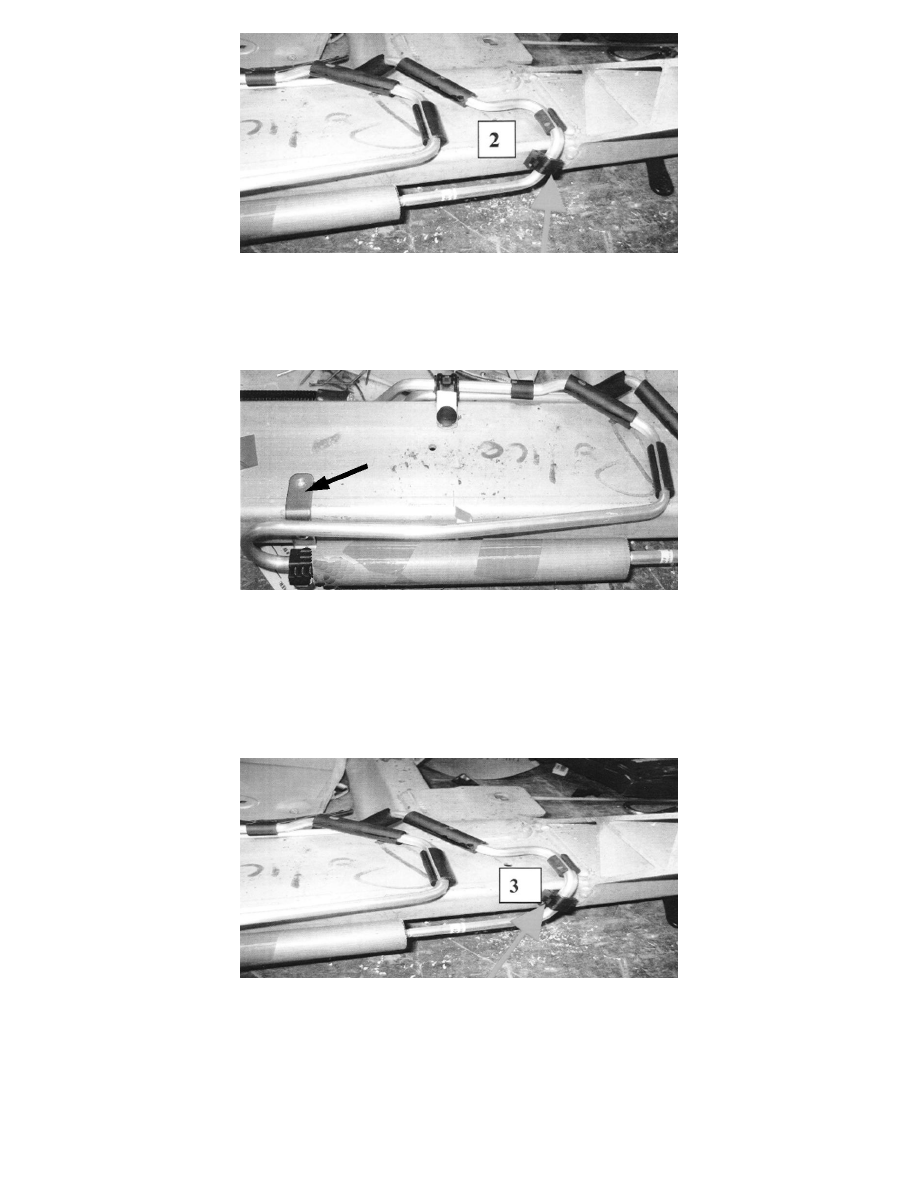
23. Move the other clip to the front of the cradle and replace with glued isolator (2).
Note
The hole should be drilled using a 7/32 in drill bit and is located 402mm (15-13/16 in) from the weld and 19mm (3/4 in) from the top of the cradle.
The z-bracket should be riveted to the cradle using P/N 10125439 (instruction sheet may show P/N 11516301, but it may not be available).
24. Drill a hole in the cradle through the z-bracket.
Note
The hole should be drilled using 1/4 in drill bit and is located 40mm (1-9/16 in) from the weld and 16mm (5/8 in) from the top of the cradle.
25. Drill to fit clip in front of cradle (3).
26. Remove the cardboard protector from fin cooler.
27. Install the right side engine mount and bracket to the vehicle.
28. Install the right side engine mount bracket bolts.
Tighten
Tighten the engine mount bracket bolts to 50 Nm (37 lb ft).
29. Raise the rear of the frame (cradle) using an adjustable jackstand.