Impala V6-3.5L VIN N (2006)

Fluid Line/Hose: Service and Repair
Transmission Fluid Cooler Connector Replacement
Transmission Fluid Cooler Connector Replacement
Removal Procedure
1. Notice:
Allow sufficient clearance around the transaxle oil cooler pipes and around the hoses to prevent damage or wear which may cause fluid loss.
Raise and support the vehicle. Refer to Vehicle Lifting.
2. Position a drain pan under the vehicle.
3. Remove the transaxle oil cooler hoses from the transaxle oil cooler fittings.
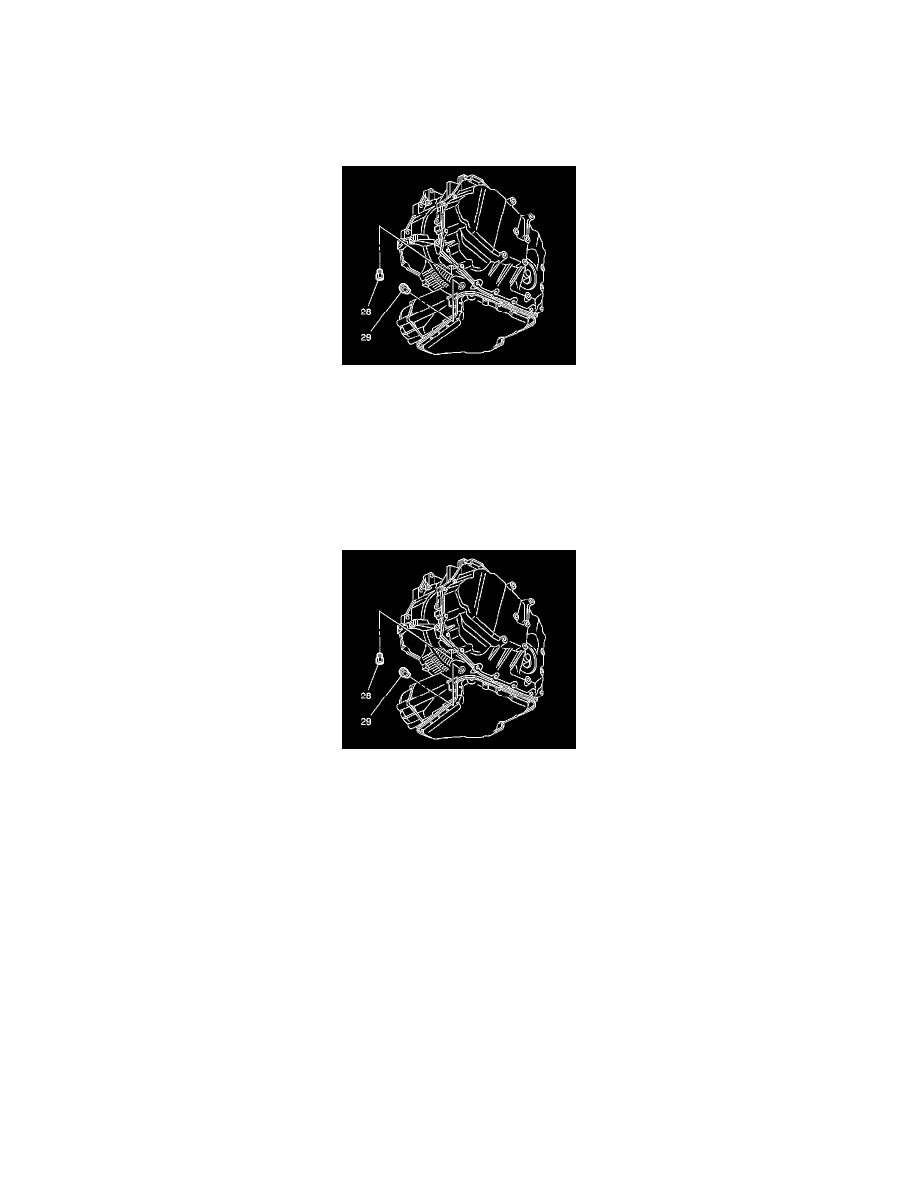
4. Remove the transaxle oil cooler fittings (28, 29) from the transaxle.
Installation Procedure
1. Notice:
Refer to Fastener Notice in Service Precautions.
Important:
The correct thread engagement is critical. Crossthreaded fittings can achieve proper tightness and still leak.
Install the transaxle oil cooler fittings (28, 29) to the transaxle.
Tighten the fittings to 38 Nm (28 ft. lbs.).
2. Install the transaxle oil cooler hoses to the transaxle oil cooler fittings.
3. Lower the vehicle.
4. Notice:
Refer to Transmission Overfill Notice in Service Precautions.
Adjust the fluid level.
5. Inspect for fluid leaks.
6. Remove the drain pan from under the vehicle.
