
Impala V6-3.8L SC VIN 1 (2005)
Front Door Striker: Service and Repair
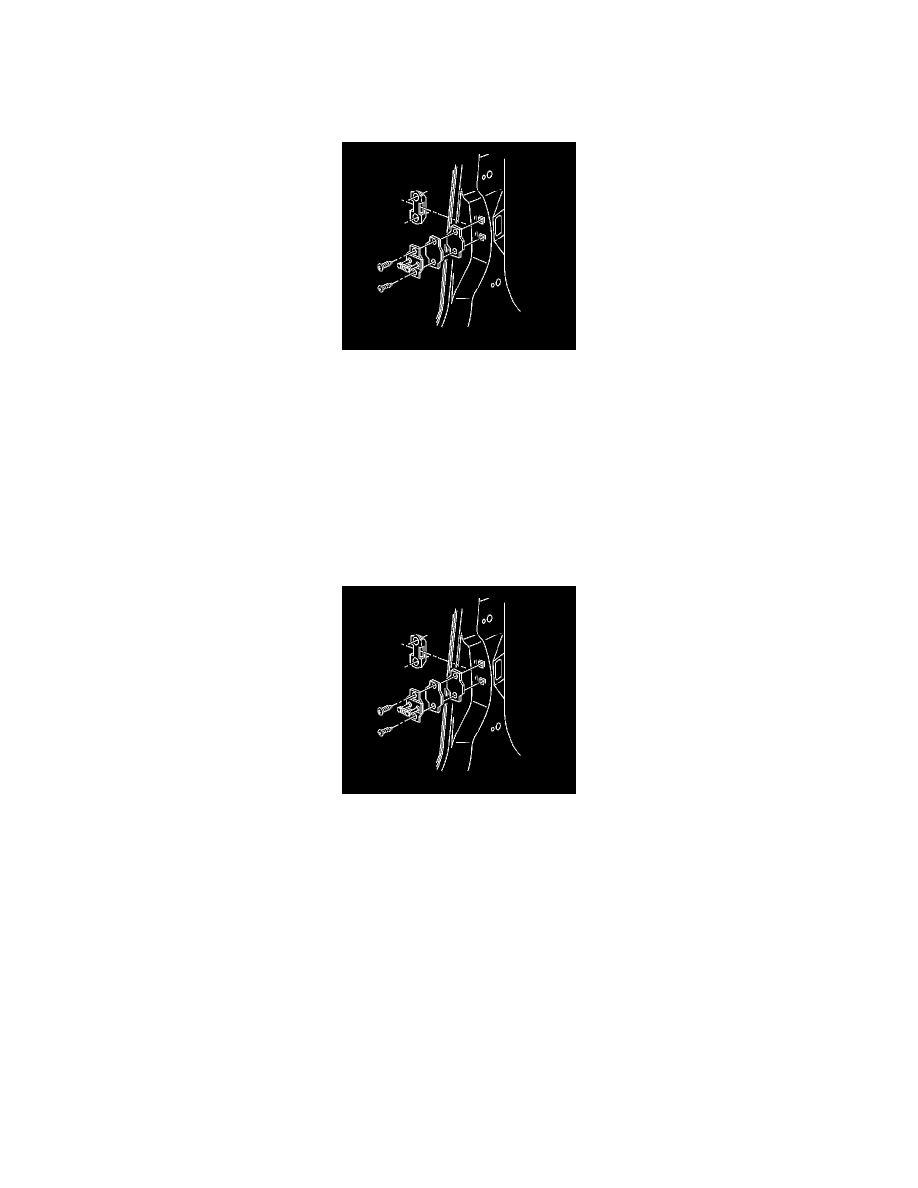
Striker Anchor Plate Replacement - Door
Removal Procedure
1. Remove the front or rear door lock pillar trim to gain access to the anchor plate.
1. Remove the center pillar upper trim panel. (Front Striker)
2. Remove the center pillar lower trim panel. (Front Striker)
3. Remove the quarter lower trim panel. (Rear Striker).
2. Mark the position of the striker with a grease pencil.
3. Remove the screws from the front door lock striker.
4. Remove the striker and the shims.
5. Remove the anchor plate.
Installation Procedure
1. Install the anchor plate.
2. Install the door lock shims and striker.
3. Install the striker screws.
4. Align the door lock striker to the alignment marks.
Notice: Refer to Fastener Notice in Service Precautions.
5. Tighten the door lock striker screws.
Tighten the striker screws to 25 N.m (18 lb ft).
6. Adjust door lock striker if required. Refer to Lock Striker Adjustment - Door (With Mini Wedge) Lock Striker Adjustment - Door (With Clay or
Caulk).
7. Install the front and/or rear trim.
1. Install the center pillar upper trim panel. (Front Striker)
2. Install the center pillar lower trim panel. (Front Striker)
3. Install the quarter lower trim panel. (Rear Striker).