
Impala V6-3.8L SC VIN 1 (2005)
Notice: Refer to Fastener Notice in Service Precautions.
11. Install the nuts to the interface module bracket.
Tighten the nuts to 4 N.m (35 lb in).
12. Install the plastic cover on the On Star module.
13. Install the convenience net and retainers, if equipped.
14. Install the tail lamp retainers.
15. If equipped, install the sill plate.
16. If the vehicle is not equipped with a sill plate, install the push-in retainers beside the lock striker.
17. Close the rear compartment.
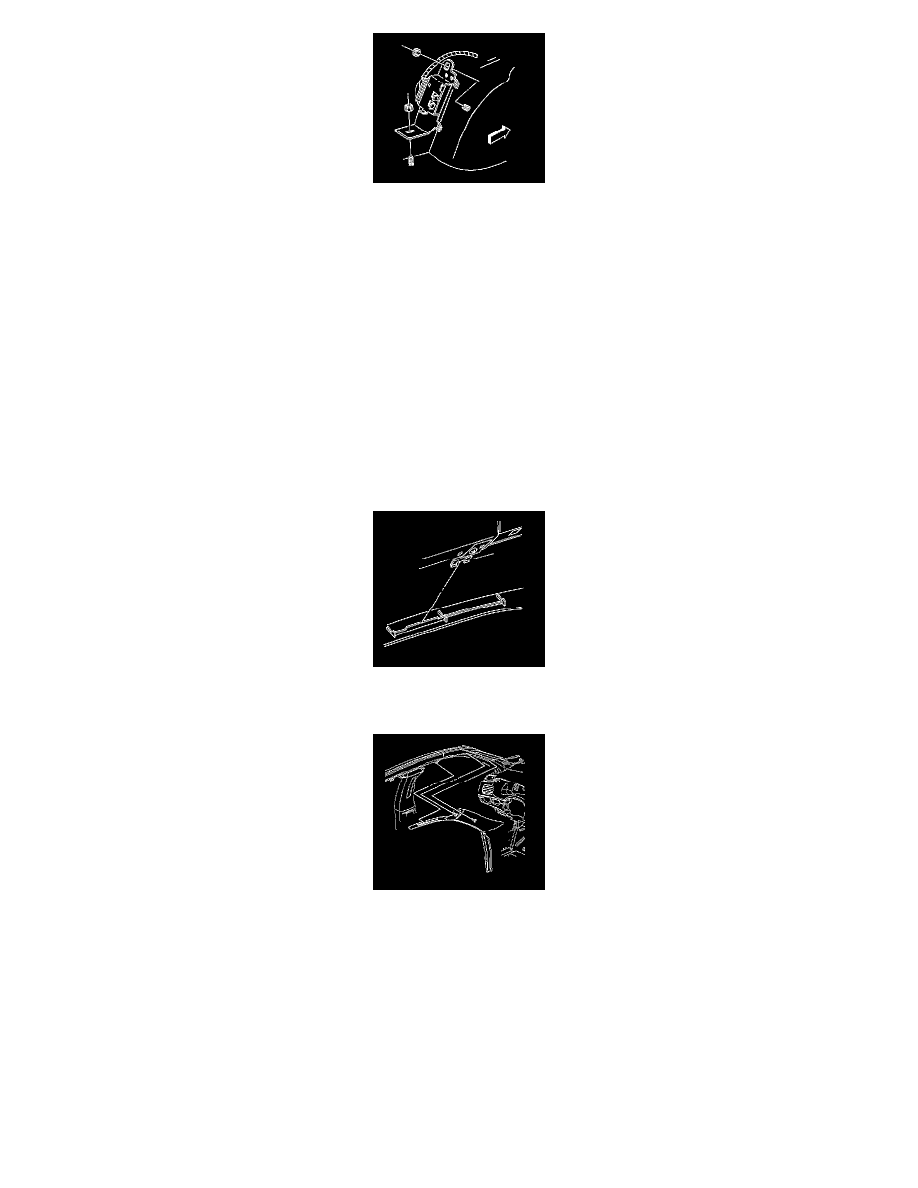
Garnish Molding Replacement - Windshield Pillar
GARNISH MOLDING REPLACEMENT - WINDSHIELD PILLAR
REMOVAL PROCEDURE
1. Remove the windshield garnish molding from the clip retainers on the upper side rail.
2. Slide the roof leg of the garnish molding out from under the center pillar trim panel.
3. Remove the garnish molding from the windshield pillar.
4. Remove the garnish molding lower leg from the front door carpet retainer by pulling up and back.
5. Remove the windshield garnish molding.