
Impala V6-3.8L SC VIN 1 (2005)
18. Disconnect the evaporator tube from the TXV.
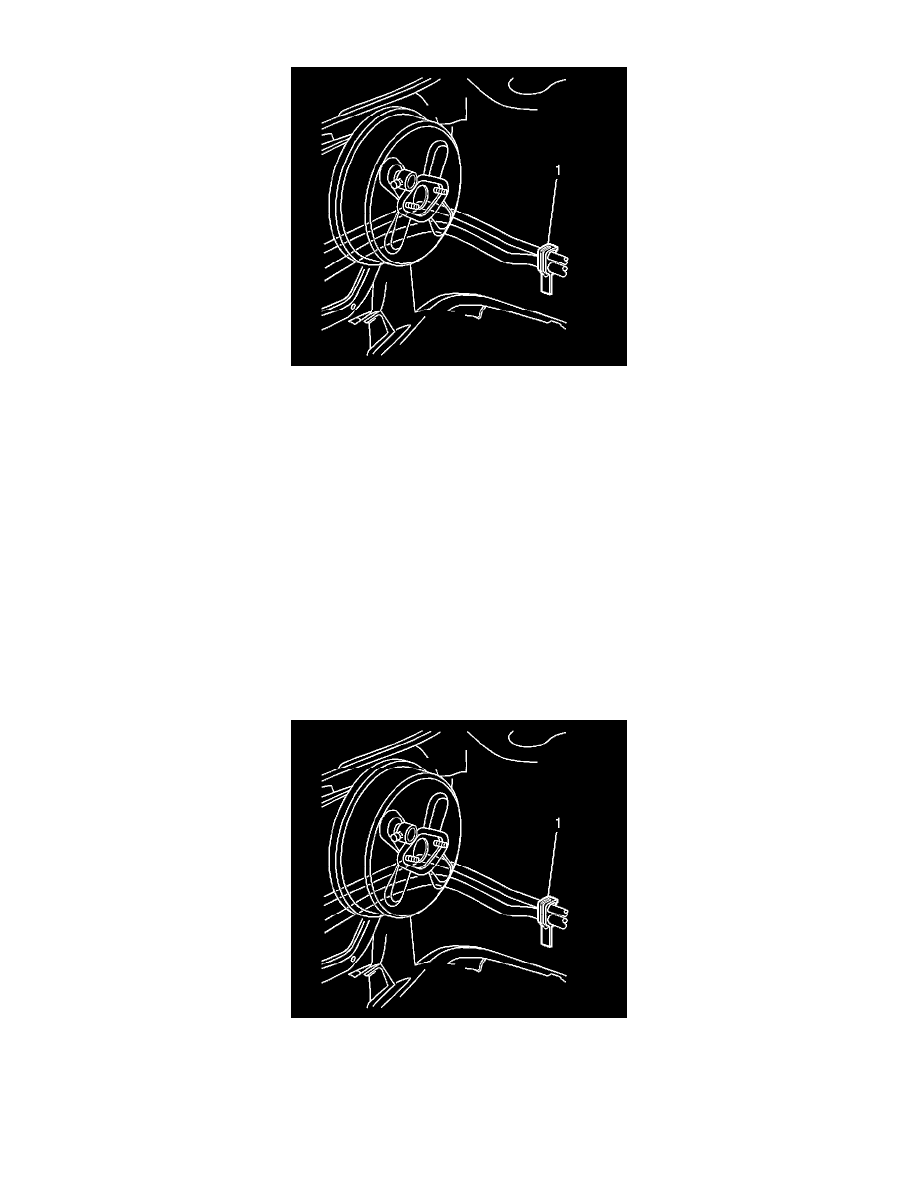
19. Remove the evaporator tube from the support clip (1) on the left fender rail.
20. Remove the transaxle fluid filler tube.
21. Disconnect the wire harness electrical connector from the A/C pressure sensor.
22. Disconnect the wire harness electrical connector C101 near the top of the left shock tower.
23. Remove the evaporator tube from the vehicle.
24. Remove the A/C pressure sensor.
25. Remove and discard the O-ring seals and seal washers.
INSTALLATION PROCEDURE
1. Replace the O-ring seal on the receiver dehydrator and A/C pressure sensor.
2. Install the A/C pressure sensor to the evaporator line.
NOTE: Refer to Fastener Notice in Service Precautions.
Tighten the sensor to 4.7 N.m (41 lb in).
3. Replace the seal washers on the evaporator tube.
4. Install the evaporator tube to the vehicle.
5. Install the transaxle fluid filler tube.
6. Connect the evaporator tube to the support clip (1) on the left fender rail.
7. Connect the evaporator tube to the TXV.