
Impala V6-3.8L SC VIN 1 (2005)
8. Install the evaporator tube to TXV nut (1).
Tighten the nut to 27 N.m (20 lb ft).
9. Install the oxygen sensor connector to the fuel injector sight shield rear bracket.
10. Install the heater hoses to the support bracket.
11. Install the transmission shift cable to the retainer above the heater hoses.
12. Connect the receiver dehydrator to the evaporator tube.
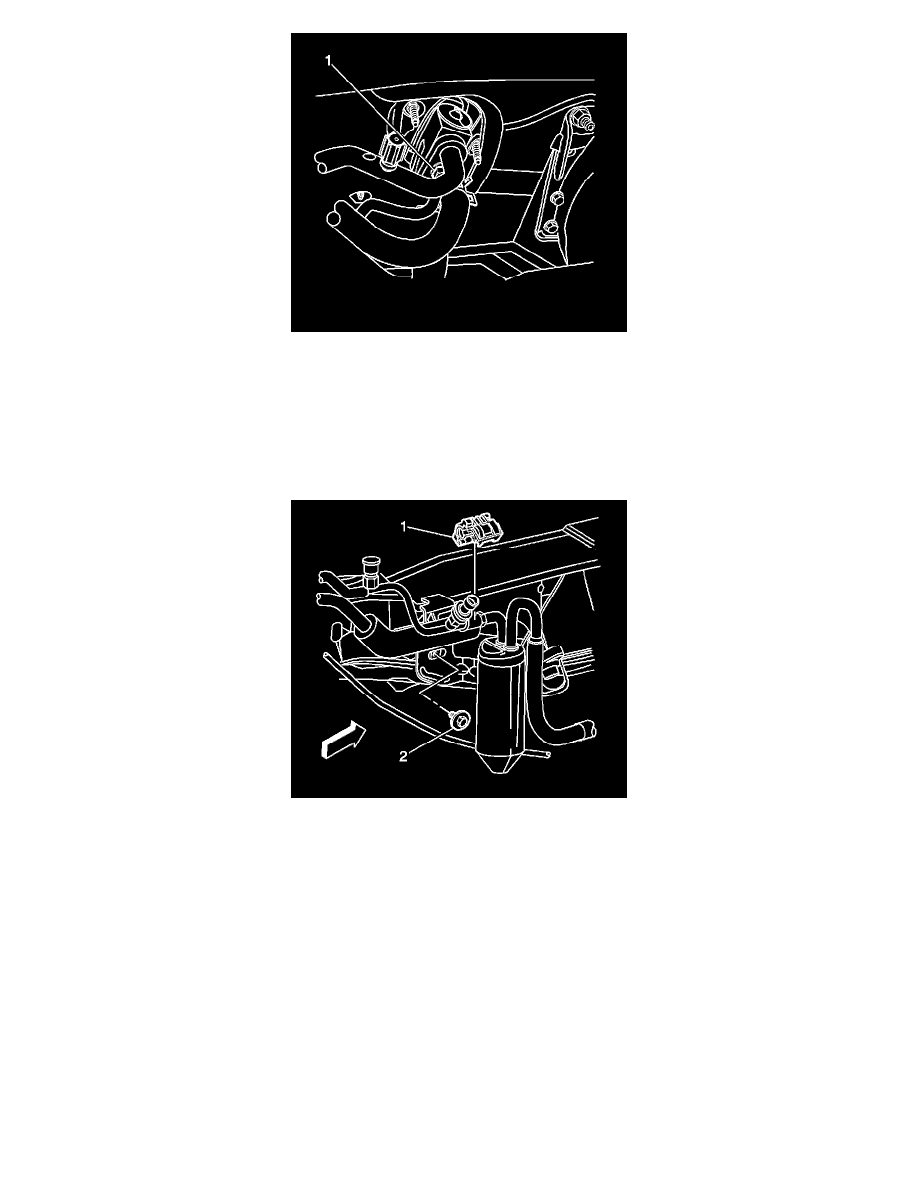
13. Install the A/C line coupling to the evaporator tube and receiver dehydrator tube (1).
14. Install the receiver dehydrator mounting bolt (2).
Tighten the bolt to 10 N.m (88 lb in).
15. Connect the A/C compressor hose assembly to the evaporator tube.
16. Install the A/C compressor hose assembly to evaporator tube block fitting nut.
Tighten the nut to 16 N.m (12 lb ft).
17. Install the brake pressure modulator valve bracket.
18. Install the master cylinder to the brake booster.
19. Install the nuts to the master cylinder.
Tighten the nuts to 25 N.m (18 lb ft).
20. Connect the electrical connector to the brake fluid level sensor.
21. Install the engine vacuum line to the brake booster.
22. Connect the wire harness electrical connector C101 near the top of the left shock tower.