
Impala V6-3.8L SC VIN 1 (2005)
4. Insert terminal into the appropriate terminal holder until it hits bottom and stops. The correct terminal holder is determined by the wire size. Also
ensure that the terminals wings are pointing towards the former on the tool and the release locator.
5. Insert the stripped cable into the terminal. Insulation should be visible on both sides of the terminal insulation wings.
6. Compress the handles until the ratchet automatically releases.
7. Place the terminal into the appropriate cavity and assemble the connector.
Tyco/AMP Connectors (CM 42-Way)
TYCO/AMP CONNECTORS (CM 42-WAY)
TOOLS REQUIRED
J 38125-D Terminal Repair Kit
REMOVAL PROCEDURE
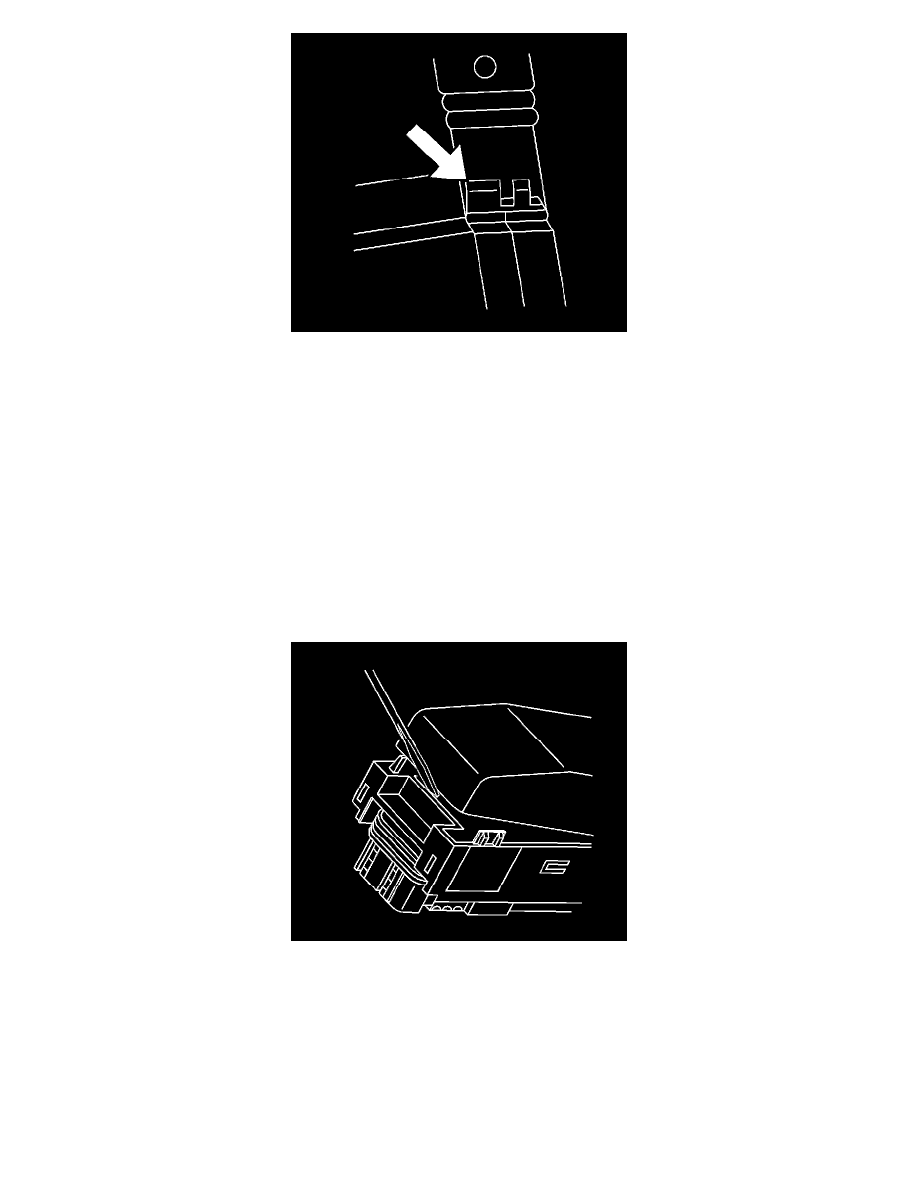
1. Locate the connector position assurance (CPA) on the connector body and pull the CPA out. The CPA is on the wire harness side of connector.
2. Disconnect the connector from the component.
3. Use a small flat-bladed tool to gently pry off the dress cover by inserting the tool under the cover opposite the harness side and prying up.
4. Remove the cover.