
Impala V6-3.8L SC VIN 1 (2005)
Relay Box: Service and Repair
Instrument Panel Electrical Center or Junction Block Replacement - Left
INSTRUMENT PANEL ELECTRICAL CENTER OR JUNCTION BLOCK REPLACEMENT - LEFT
REMOVAL PROCEDURE
1. Disconnect the negative battery cable.
2. Remove the left I/P fuse block access hole cover.
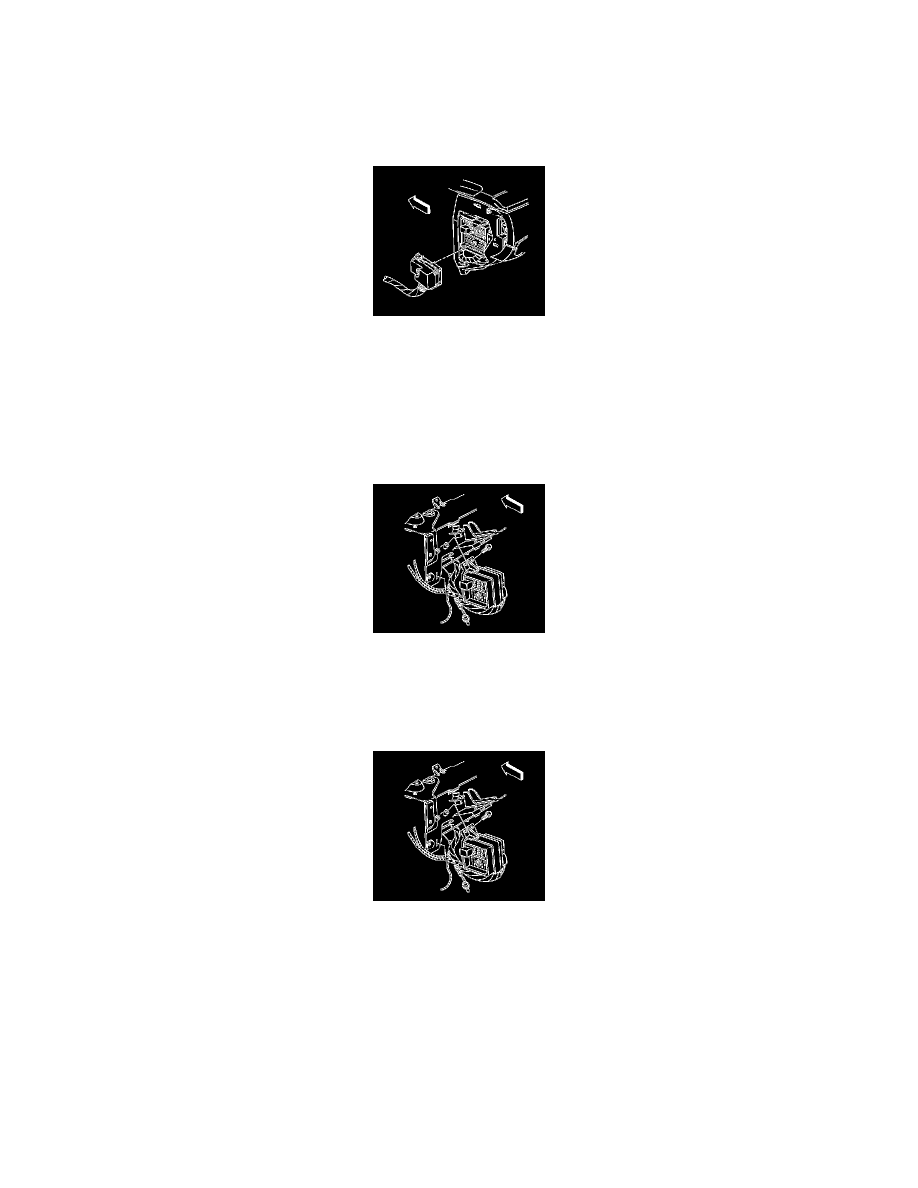
3. Disconnect the outboard wiring harness connector C2 from the junction block.
4. Remove the connector position assurance (CPA) from the yellow inflatable restraint connector. Disconnect and reposition the yellow inflatable
restraint connector for access to the bolts.
5. Remove the steering column filler.
6. Remove the I/P driver knee bolster.
7. Disconnect the inner wiring harness connector from the junction block.
8. Remove the junction block bolts.
9. Remove the junction block tab from the slot in the cross vehicle beam. Pull the junction block away from the I/P.
10. Remove the junction block.
INSTALLATION PROCEDURE
1. Install the junction block tab to the slot in the cross vehicle beam.
2. Install the junction block bolts.
NOTE: Refer to Fastener Notice in Service Precautions.
Tighten the junction block bolts to 10 N.m (89 lb in).
3. Connect the inner wiring harness connector to the junction block.
Tighten the inner wiring harness connector bolt to 7 N.m (62 lb in).
4. Install the I/P driver knee bolster.
5. Install the steering column filler.