
Impala V6-3.8L SC VIN 1 (2005)
Parking Lock Cable: Service and Repair
Park Lock Cable Replacement
Removal Procedure
1. Disconnect the negative battery cable.
2. Remove the console.
3. Remove the knee bolster bracket.
4. Place the transaxle shift control lever in the PARK position.
Important: Ensure the ignition key is in the RUN position. Do NOT attempt to proceed to Step 6 with the key in any other position.
5. Turn the ignition key to the RUN position.
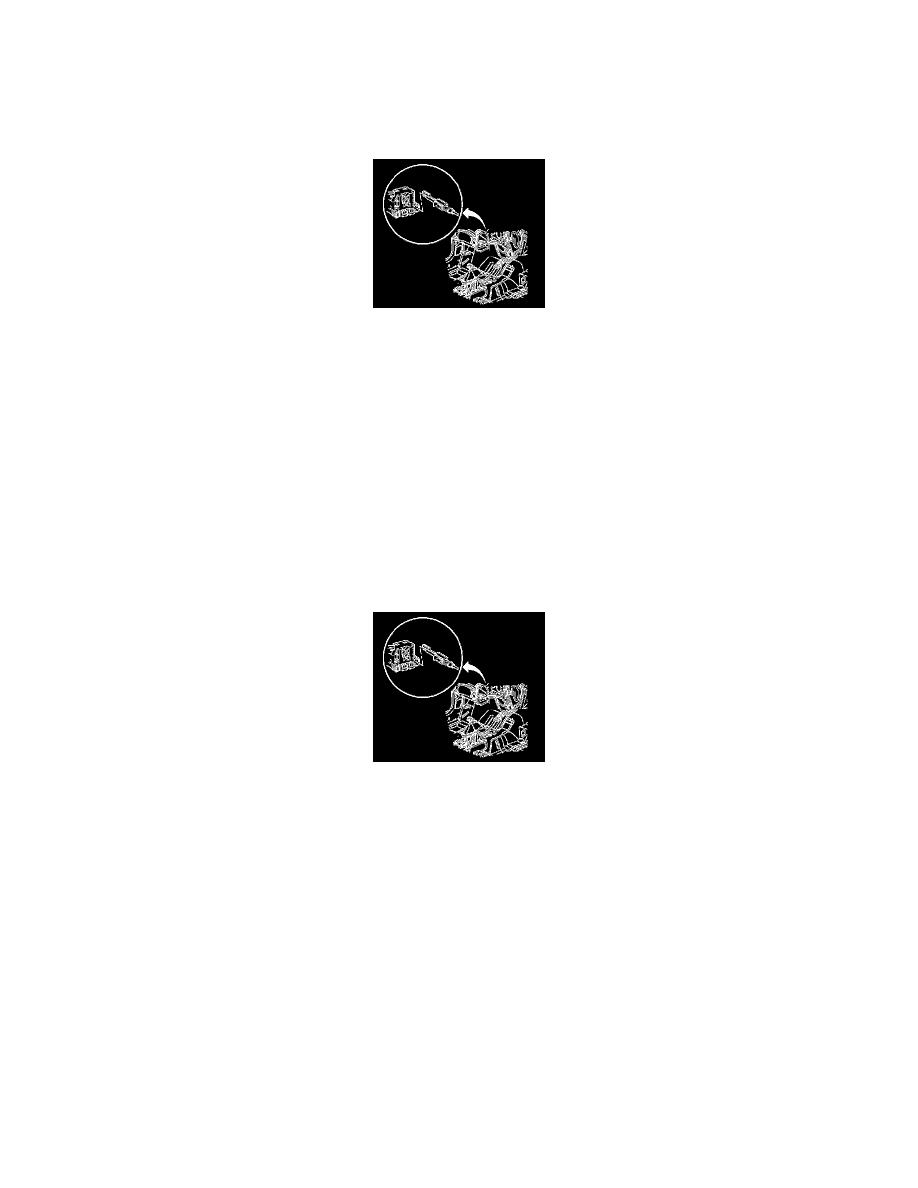
6. Slip a screwdriver blade into the slot provided in the ignition switch inhibitor.
7. Use the screwdriver to depress the cable latch.
8. Pull the cable from the inhibitor.
9. Remove the park/lock cable from the shift control.
10. Remove the cable retainer from the park/lock cable at the shift control.
11. Remove the park/lock cable.
Installation Procedure
1. Ensure the cable lock button is in the UP position.
2. Ensure the shift lever is in the PARK position.
3. Install the park/lock cable.
4. Snap the cable connector into the shifter base.
5. Install the cable retainer to park/lock cable to the shift control.
6. Ensure the ignition key is in the RUN position.
7. Install the cable into the inhibitor housing.
Important: Ensure the ignition key is in the LOCK position. Do NOT attempt to insert the cable with the key in any other position.
8. Turn the ignition key to the LOCK position.
9. Install the cable end onto the shifter park lock lever pin.
10. Push the cable connector nose forward to remove the slack.
11. Push the cable connector lock button down using no load applied to the connector nose.
12. Inspect the operation of the park/lock cable for proper adjustment.
13. Install the console.
14. Install the knee bolster bracket.
15. Connect the negative battery cable.