
Impala V6-3.8L VIN K (2004)
^
Tighten the caliper bracket bolts to 180 Nm (133 ft. lbs.).
4. Install the front brake pads.
5. Install the caliper.
Rear
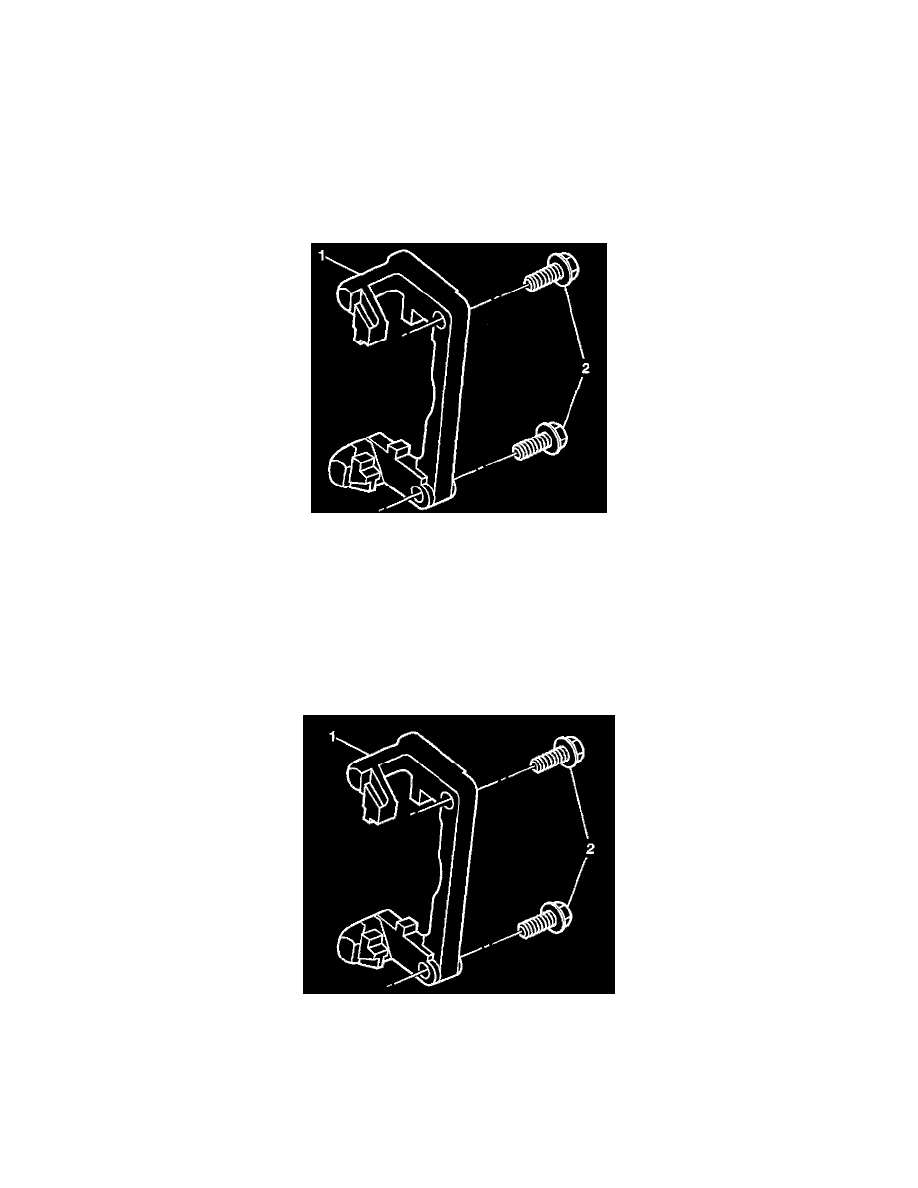
Brake Caliper Bracket Replacement - Rear
Removal Procedure
Notice: Support the brake caliper with heavy mechanic's wire, or equivalent, whenever it is separated from it's mount and the hydraulic flexible brake
hose is still connected. Failure to support the caliper in this manner will cause the flexible brake hose to bear the weight of the caliper, which may
cause damage to the brake hose and in turn may cause a brake fluid leak.
1. Remove the caliper from the mounting bracket and support the caliper with heavy mechanics wire or equivalent. It is not necessary to disconnect
the hydraulic brake flexible hose from the caliper.
2. Remove the rear brake pads.
3. Remove the caliper bracket bolts (2).
4. Remove the caliper bracket (1).
Installation Procedure
Important: To ensure that the proper clamp load will be present when installed. It is imperative that the threads on the caliper bracket bolts, as well
as the mounting holes in the knuckle, be cleaned of all debris and inspected before proceeding with installation.
1. Clean and visually inspect threads of the caliper bracket bolts (2) and mounting holes in the knuckle.
2. Apply THREADLOCKER, GM P/N 12345493 (Canadian P/N 10953488), or equivalent to the threads of the brake caliper bracket bolts (2).
Notice: Refer to Fastener Notice in Service Precautions.
3. Install the caliper bracket (1) with the bracket bolts (2).
^
Tighten the caliper bracket bolts to 115 Nm (85 ft. lbs.).
4. Install the rear brake pads.